Uprated gear linkages and a Raceland stainless 4-2-1 manifold ordered! Going to order the gearbox roll pin, selector and control arm from Citroen tomorrow, and I've already got a GMC quickshift waiting to go on so when I've got all the bits together I'll put up some pictures of it all going on and maybe do a how to guide! Then I think I'd like to get some smoked jewel lights for the rear and an upper strut brace and the car's done for now.
Until I find the money to cam it anyway. :) |
loving the pro 2's but as u say think the simple design of the 3's will suit the car betta!!
jon |
Yeah, easier to clean too! :P Just can't decide if I should sell my current wheels while the Toyo tyres have still got some tread on, or just wait till they've worn out to put them on Ebay, not sure which way will save me the most money!
|
Ul prob get more money wit tyres that are alrite as ppl can bolt them straight on!! But then u wanna make sure u get that Lil bit extra for them and dnt let um go to cheap!! Or make the most of the tyres on there now knowin u prob take a bit of a hit when sellin wheels only!! U got any other wheels to put in if u move the pro 2's on now!?
Jon |
Nope that's the thing and with the Brembos I can't just get cheap VTR wheels they've gotta be 15s. I can't afford to get some Pro Race 3s and fit decent tyres on them right now, otherwise I'd do that first and sell mine.
|
Been to the Peugeot dealership today and was lucky, they had the selector arm, control return arm and the gearbox roll pin all in stock so I've got the lot! Have today and tomorrow off to fit it all so going to get some pictures and hopefully my gearchange will be like new! Still waiting on my uprated gear linkages but they can be put on afterwards easily enough!
Also have a Sparco upper strut brace on the way, so when I get all my parts and fit them we're looking good to go :) Credit card isn't looking the healthiest though :( |
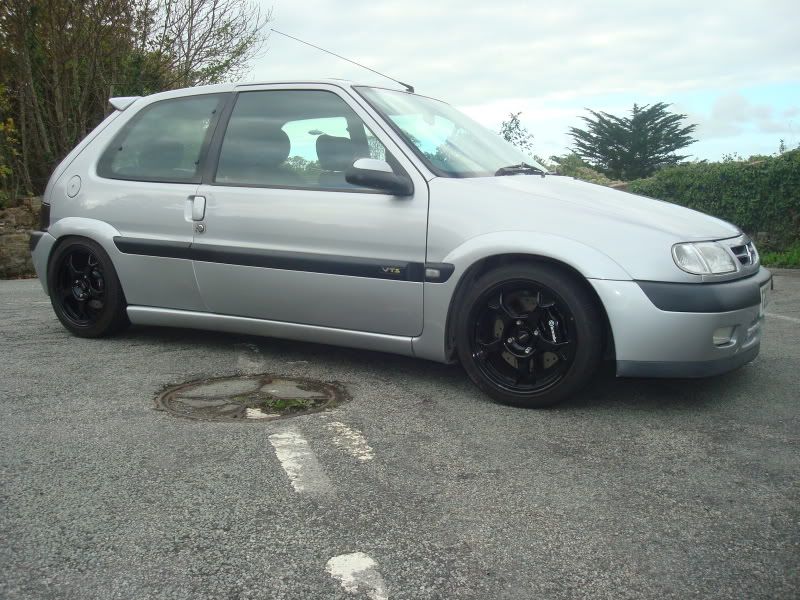
very nice car mate silver FTW haha :y:
|
These are the bits I fitted today, my GMC quickshift and Citroen parts. Still waiting for the uprated gear rods but they can be fitted after easy enough so won’t cover them in here.
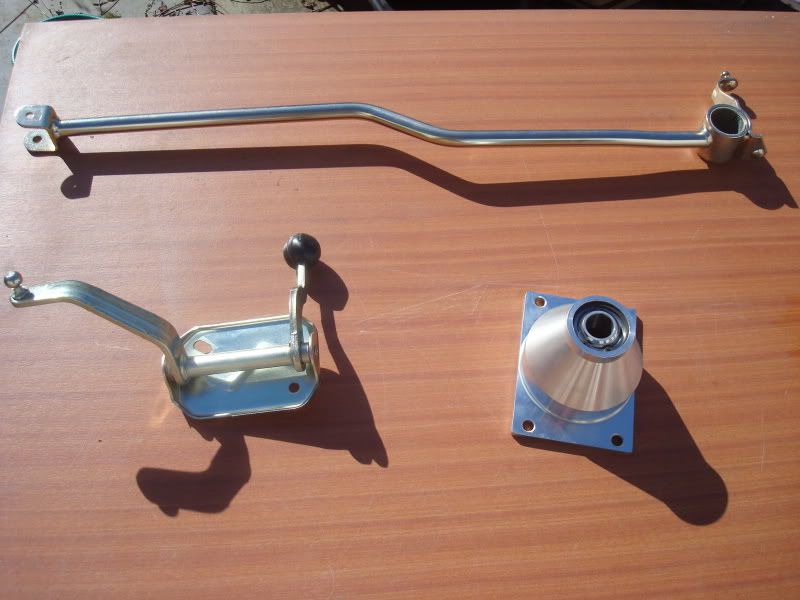 But you may not need all the bits I did, the only way to tell is by getting underneath and giving everything a good wiggle to see where the play is. If you’re unlucky like me and everything is shagged then you’ll need the lot! So to start off with, I jacked the car up to a decent height and dropped it on sturdy axle stands under each wishbone. You don’t have to do this straight away as there’s a bit to do inside the car first but it’s up to you, I like to get it out of the way at the start. You want it to be this high really so there’s room to lie under it. Make sure the car’s solid and won’t drop on you, I always chock the rear wheels and give it a rock to check. 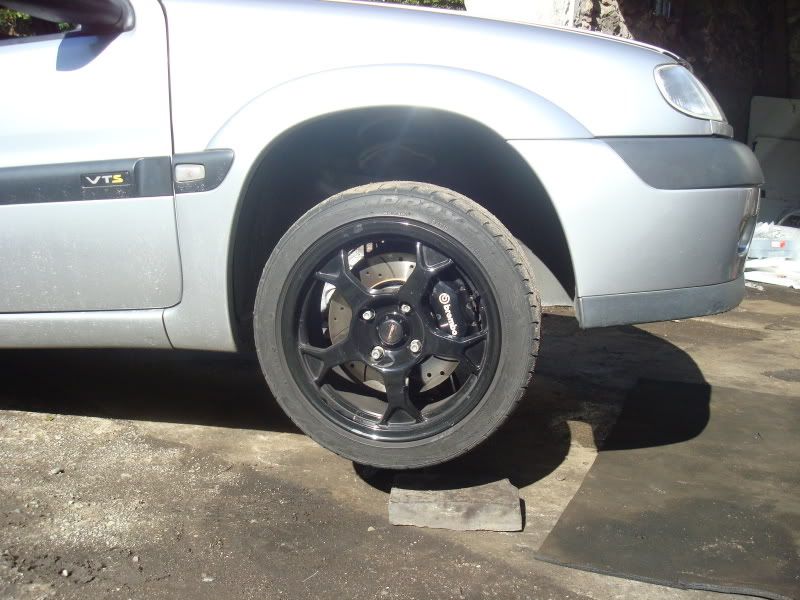 So inside the car: 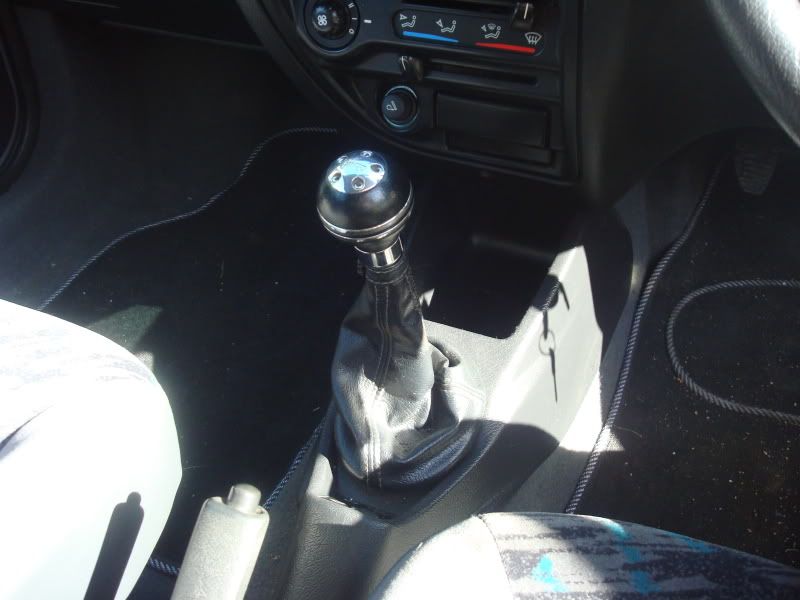 The gaiter around the gear stick can be unclipped from the centre console and lifted up, you can remove your knob at this point if you like but I left mine on as my gaiter had a pop button on it so I could pull it over the top. There’s a single T25 torx screw holding the console down, when this is unscrewed you can lift it up and pop the window switches out: 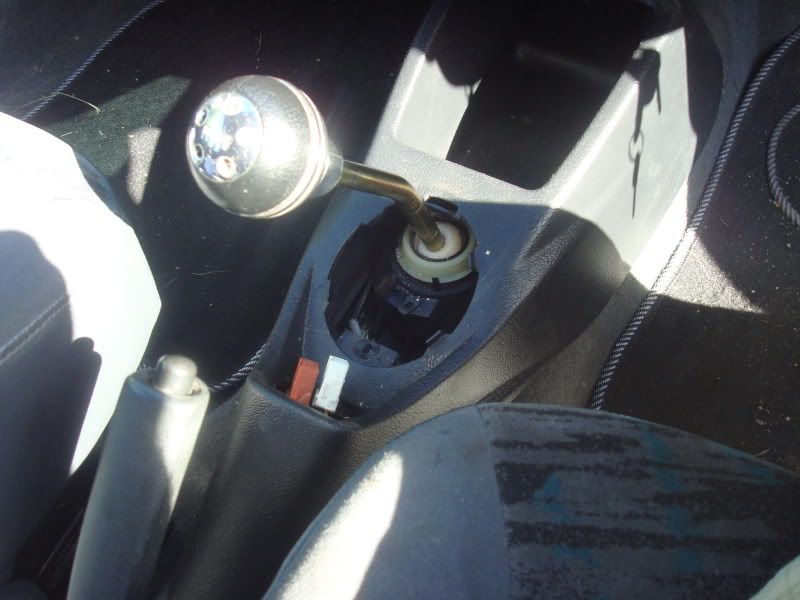 With the drivers seat all the way back and the handbrake down, the centre console just slides backwards to free it from under the dash, and can be pulled out between the handbrake and the seat.  The four 10mm nuts holding the lever housing down can be unscrewed, then the housing can be rotated enough to get at the pivot on the selector bar underneath:  A 10mm and a 13mm spanner will undo this, don’t drop the bolt underneath the car as it’s specially fitted to the pivot bush, it’s not a normal M8 bolt. Once that’s disconnected the lever will lift out. 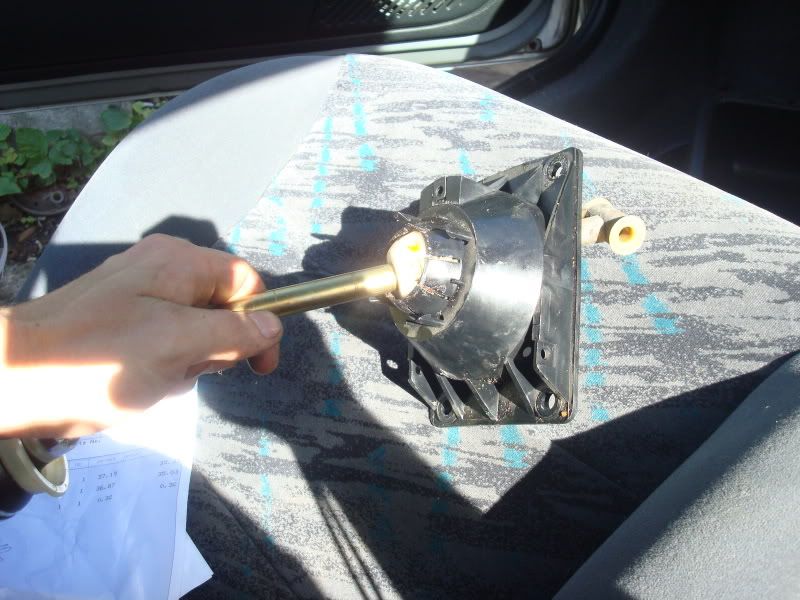 If you’re replacing this for a quickshift, you’ll need to unclip the plastic locking collar.With this done the lever can be pulled out of the black plastic housing, don’t throw away the old housing though you’ll need it later. You’ll notice the white nylon ball on the gearstick, this will need removing to fit the shaft in the quickshift if you’re fitting one. I used an angle grinder as it was the closest thing I had to hand, but a hacksaw will work just as well. A cut down each side of the ball and you’ll be able to split it with a screwdriver and pop it off. 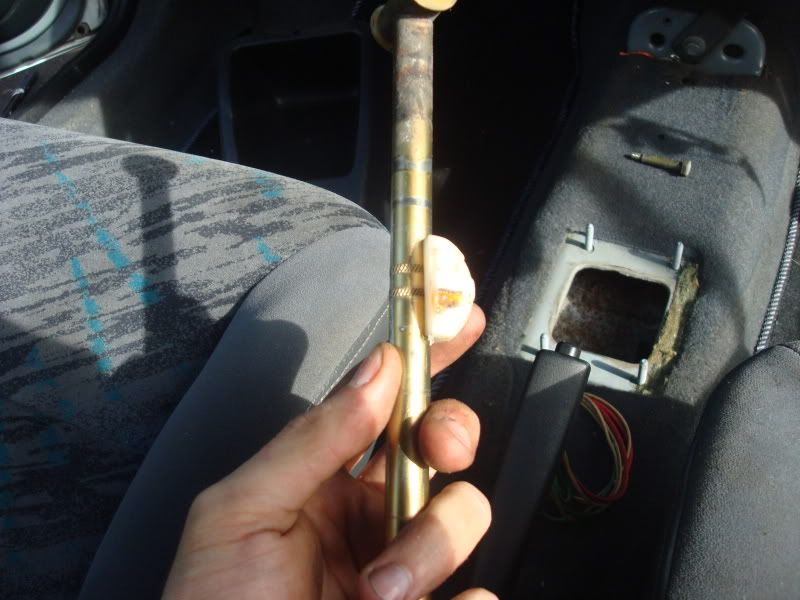 At this point there’s not much else to do in the car, I stuck the quickshift together quickly just because I was impatient to see what it felt like, but the final adjustments will have to be made once everything else has been done. |
So underneath the car first thing I did was remove the exhaust heatshield. If you’re fussed about keeping this it’s probably worth squirting the fixings with WD40 or similar a little while before attempting to remove it, but every single stud snapped off on mine so I decided to bin the front section. I hope my Magnex system and decat won’t create as much heat as a standard system and cat so we’ll see. With the heatshield off you can see the base of the lever where it attatches to the selector arm. Mine was refitted from inside the car as I was playing with the quickshift but yours will already be disconnected here.
 So once disconnected at the back, the only thing holding the front of the bar on is the gear rods. These can be popped off their sockets using an open ended spanner: 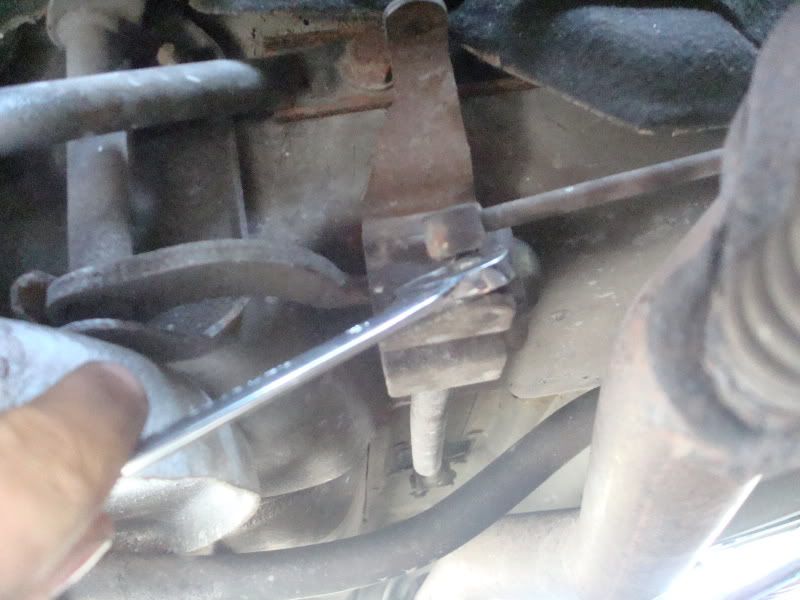 And the bar can then be slid off the nylon ball on the control arm: 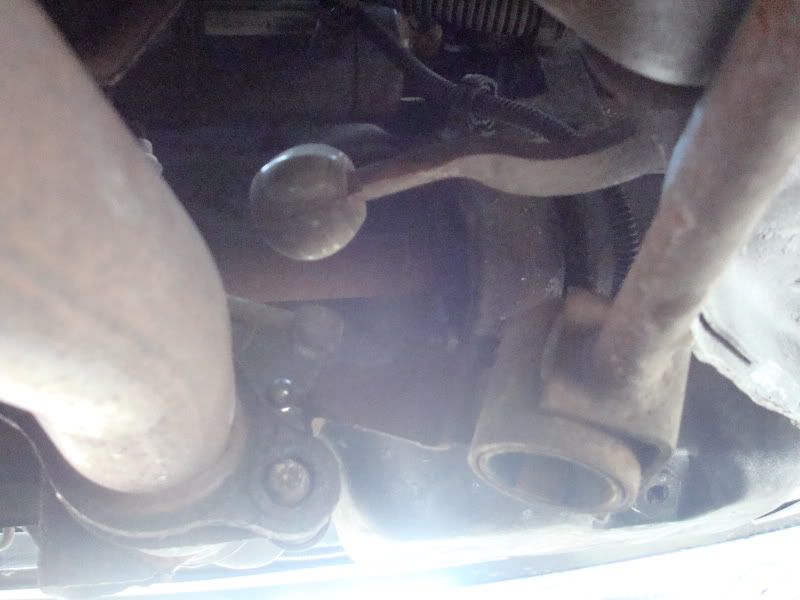 And pulled out forwards underneath the engine: 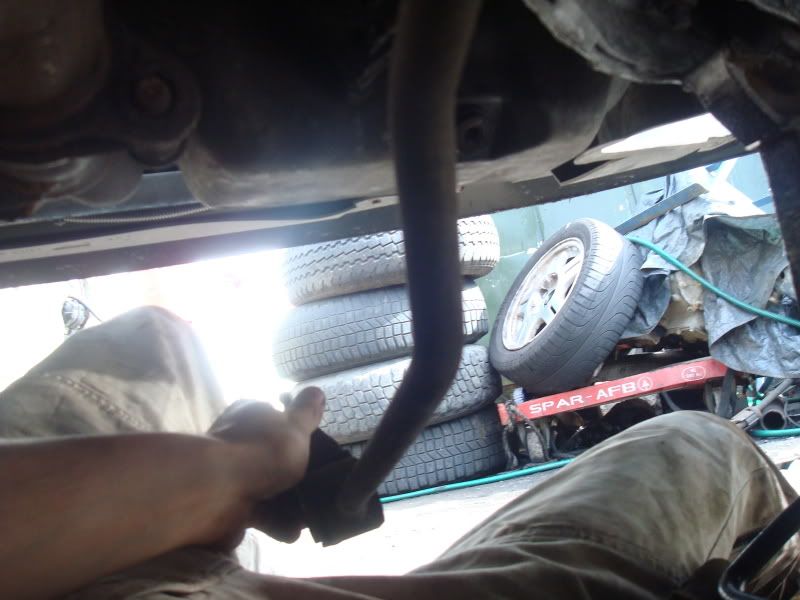 The control arm is held on with two 13mm nuts, one in each corner. There is a bracing strut to the top wishbone plate that needs to be moved first, the top bolt can be removed then if the bottom 16mm nut is slackened it can be pivoted enough to allow the control arm to be unbolted and removed: 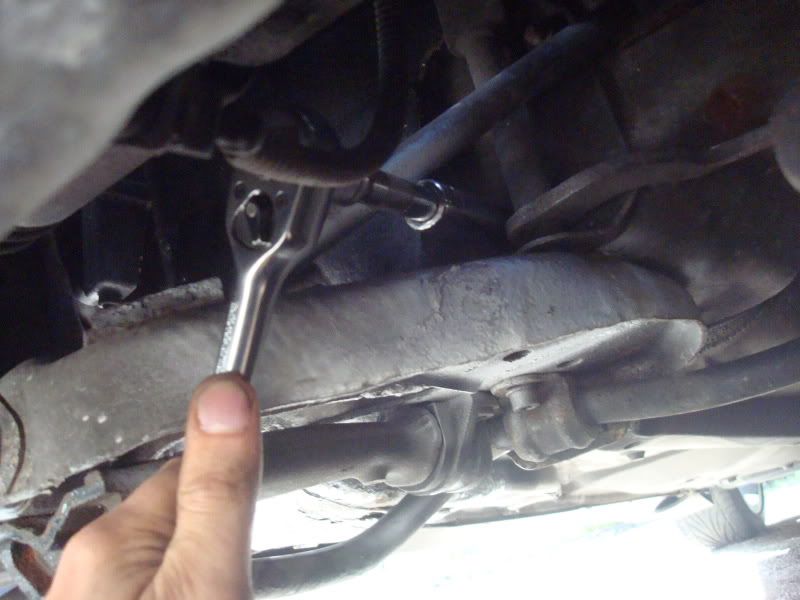 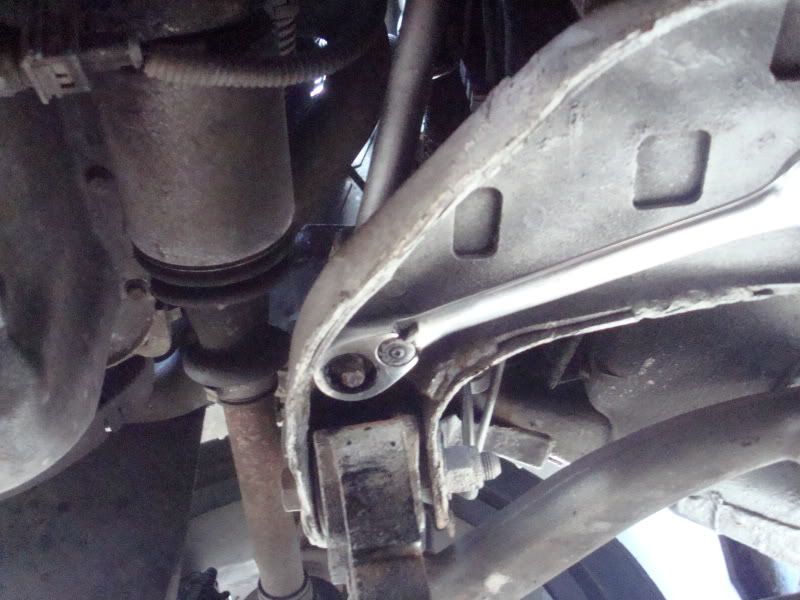 Then there’s enough space to manoeuvre it out: 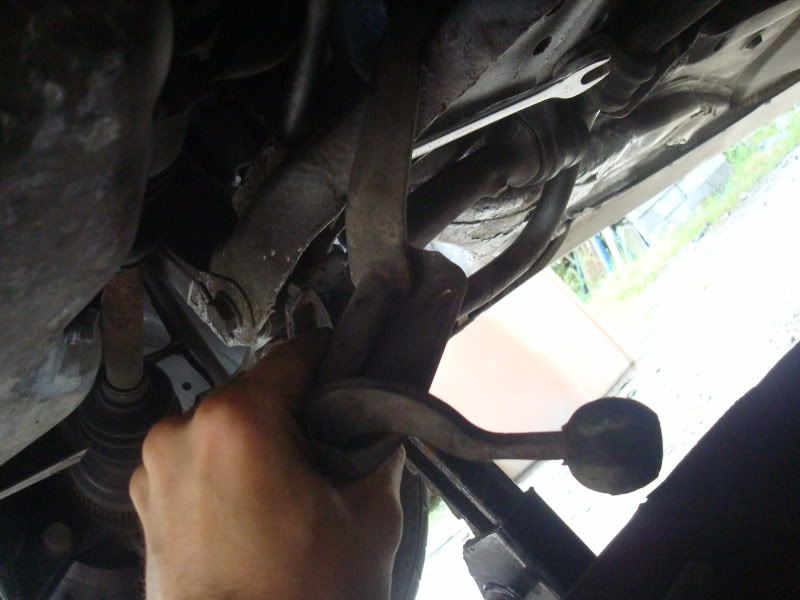 The old vs the new, the new nylon ball fits into the new bush nice and snug with no movement whereas the old ones had half an inch of play! 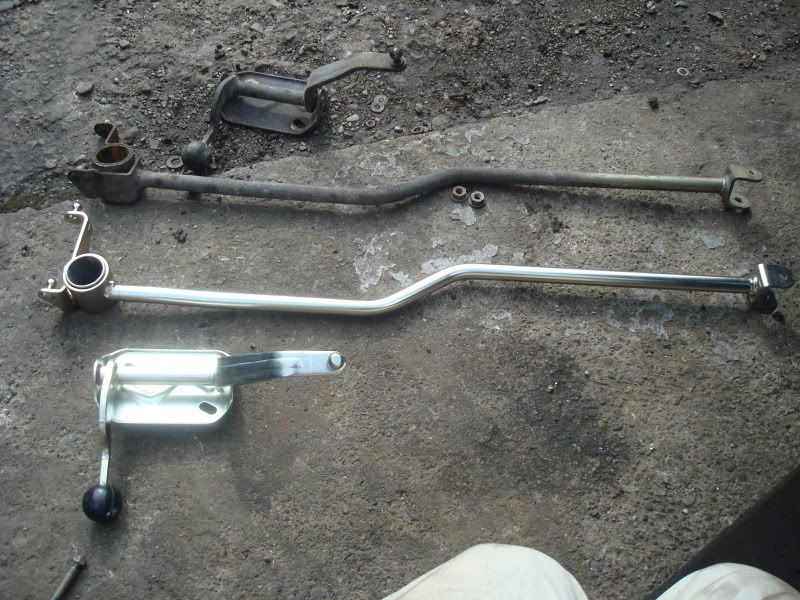 Before putting them back on, I decided to change the roll pin in the arm on the gearbox next while I had extra room. If you’re lucky and your arm has no play in it you won’t need to do this, but it wears on 99% of Saxos so chances are yours will be gone too! |
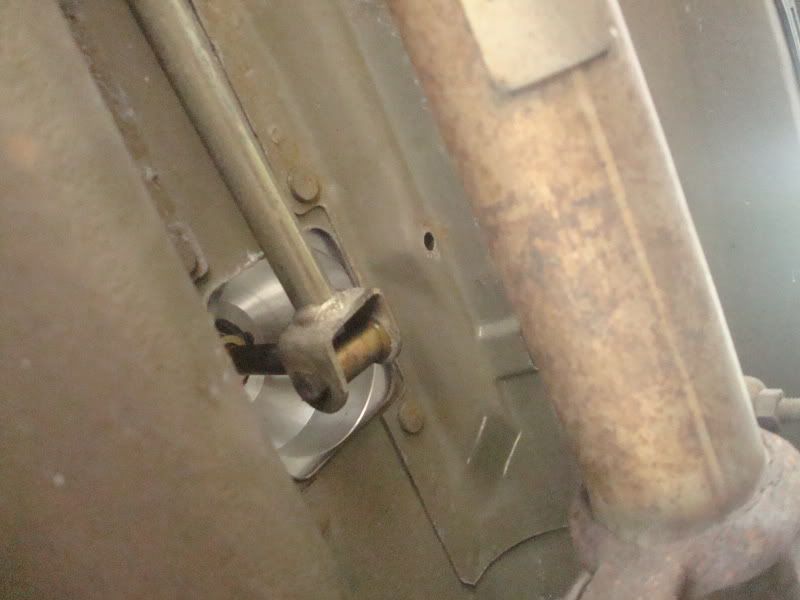
The roll pin is a tapered pin that secures the control arm to the gearbox. It fixes to a spindle that goes into the gearbox and then conducts some kind of voodoo magic that makes your gears work. (or so the Haynes manual says) and quite often can wear and lead to play in your gearstick. It is an interference fit which means it must be knocked in and out with a hammer and punch, simple enough as it only needs a short sharp shock to slide it out but as it’s down the back of the gearbox it’s a bit more tricky.
Probably a hundred and one ways to do it but I used a 5mm allen key bit on a long extension to begin removing it:  Through the gap in the passenger side wing underneath the track rod you can just about get a straight enough line to line up with the pin: 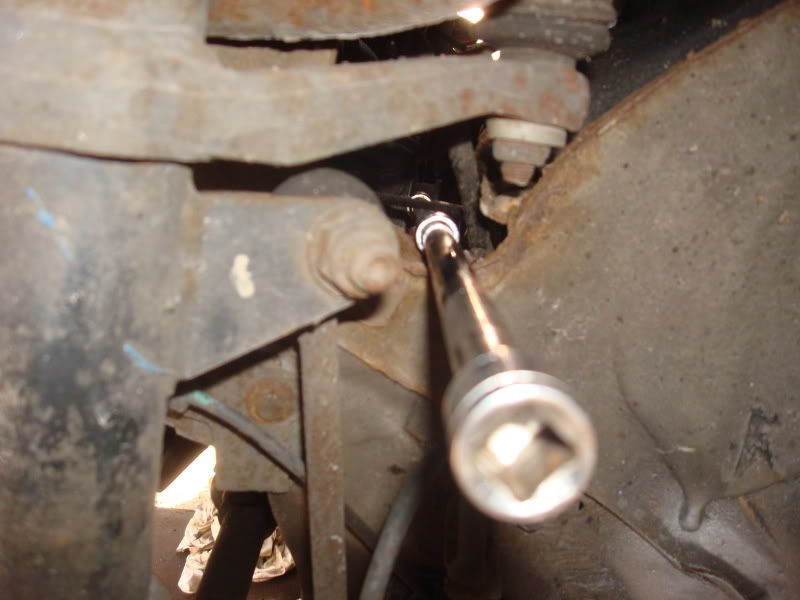 Make sure it’s properly lined up before you give it a twat and you should get this, the old pin is ¾ of the way out in this picture: 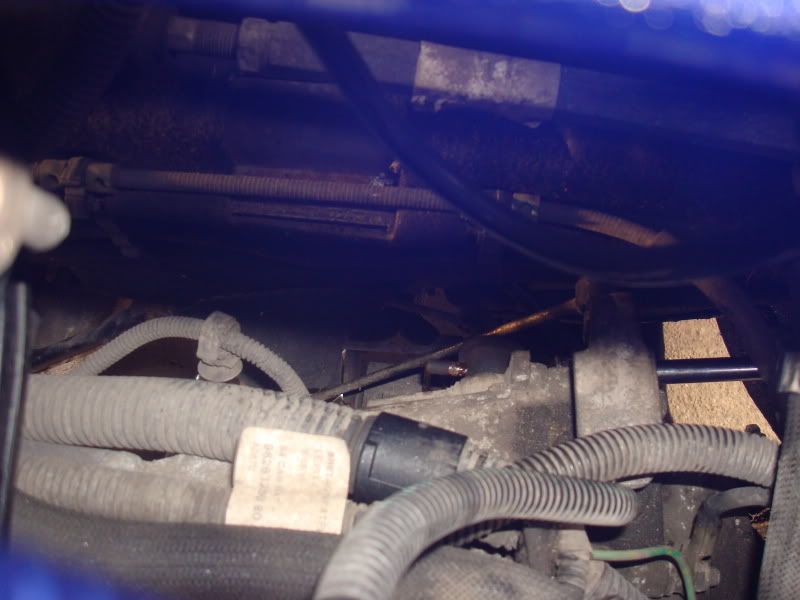 Once it’s completely out the arm can be slid off completely, here with the old and new pins:  It was at this point I discovered a problem. My roll pin didn’t actually look that bad, I was expecting it to have a big groove in the middle where it had worn and allowed the arm to move, but it was actually alright. I checked again and it turned out the spindle the arm sits on was moving in and out, not the arm itself. This is a bit of a bugger as it means the main cause of the play is in the gearbox itself, not something I fancy trying to fix because of the voodoo magic I mentioned earlier. As I didn’t want to try taking the box apart and fixing all the clockwork inside just to get rid of a little bit of play in the gearstick I had another idea. If I could make sure the spindle didn’t have room to slide in it would take out the play almost completely and ‘fix’ the problem. A bit of a bodge may be, but I drilled out a thick M12 repair washer to the diameter of the spindle. If you need to do this it would be worth using a good quality washer to avoid it wearing down quickly, and you’ll need a HSS step or cone drill to do it like mine: 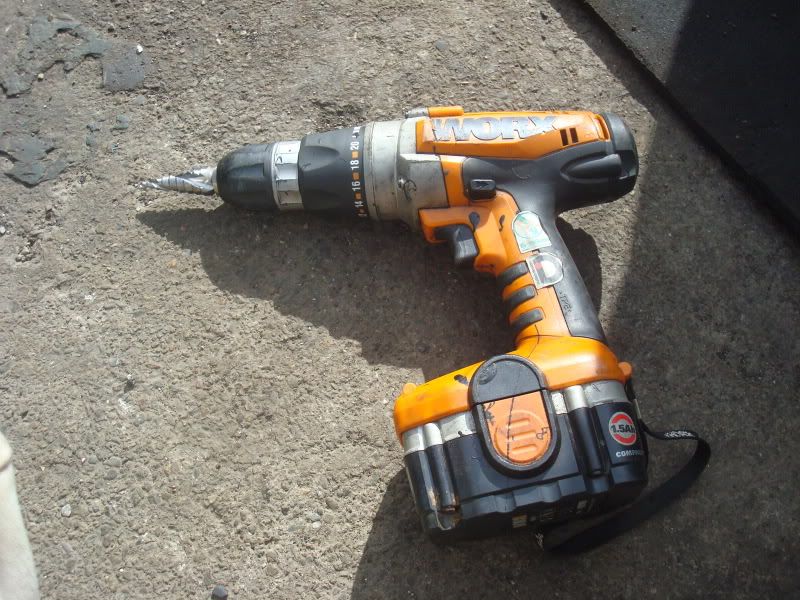 The new spacer on the arm: 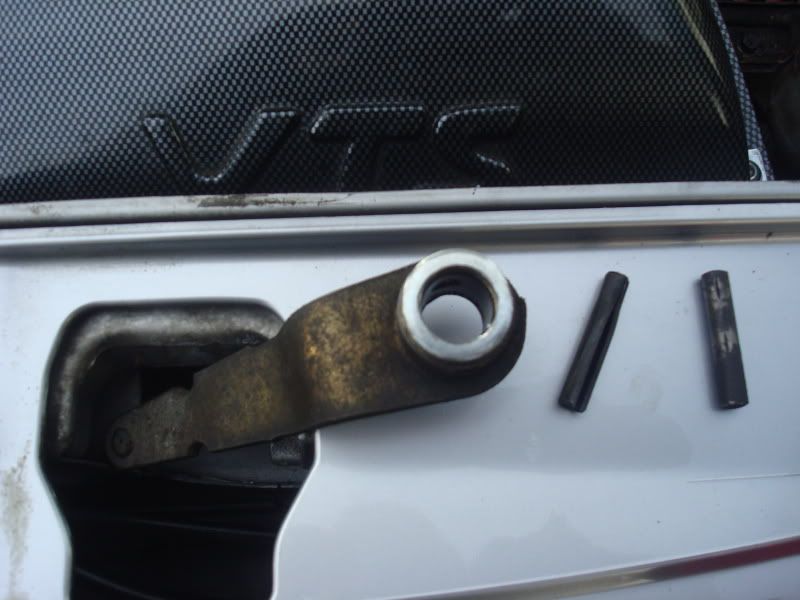 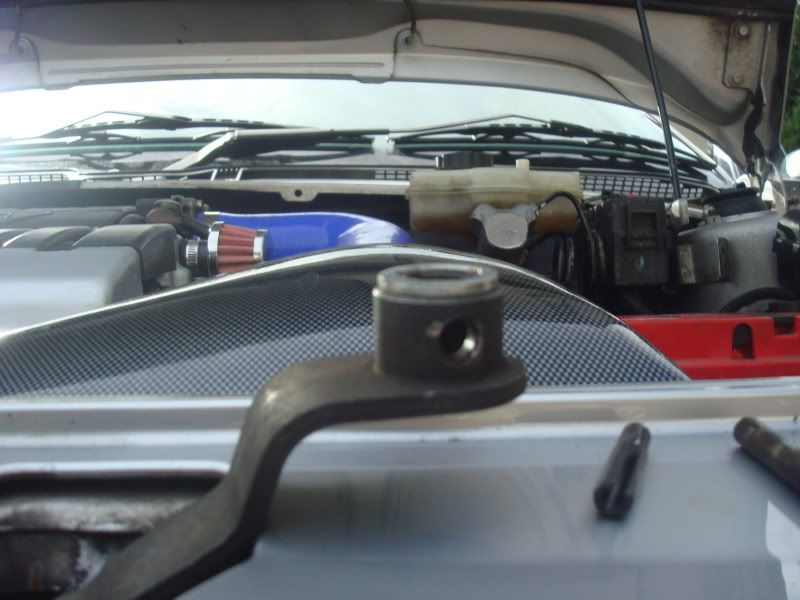 The spacer slid over the spindle perfectly and it was the right size to sit in the recess the arm was sliding into to stop it moving: 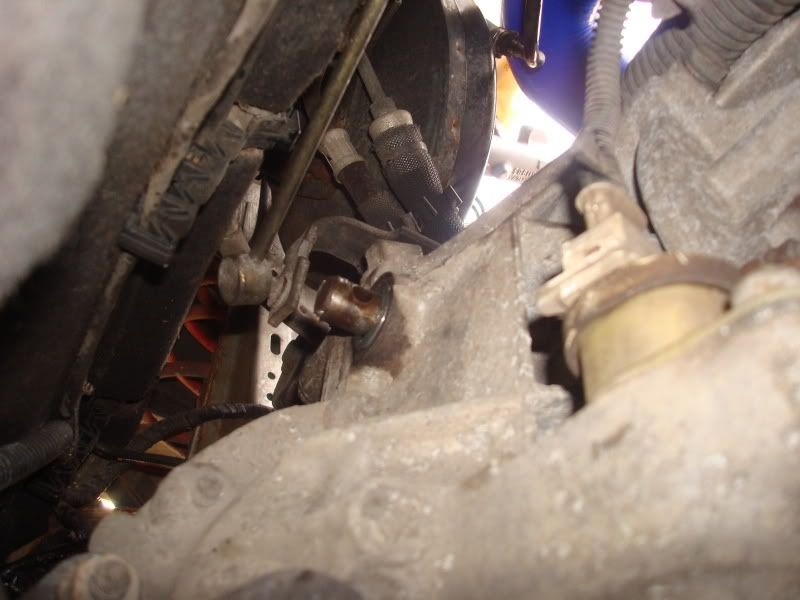 Then the arm on, the spacer was just the right thickness, you don’t want a washer too thick as you won’t get the holes to line up, and if you need to force the roll pin in the arm will lock and won’t rotate smoothly. 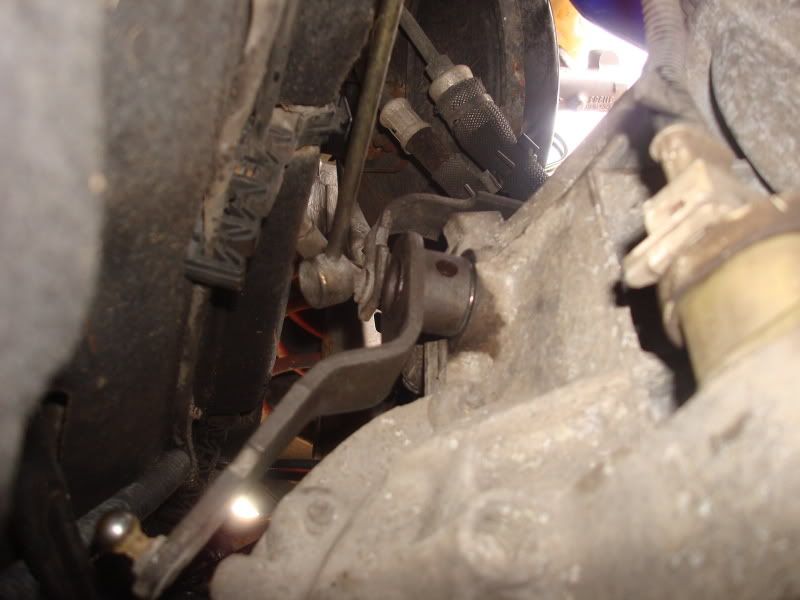 The new roll pin inserted into the hole:  And now I needed to do the same trick, a longer extension from the other side with a socket on was enough to knock the new pin into the arm: 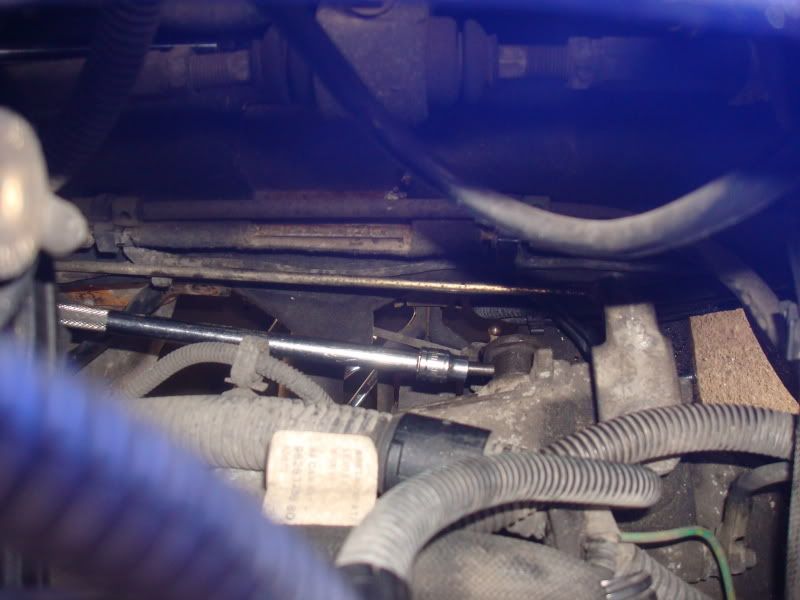 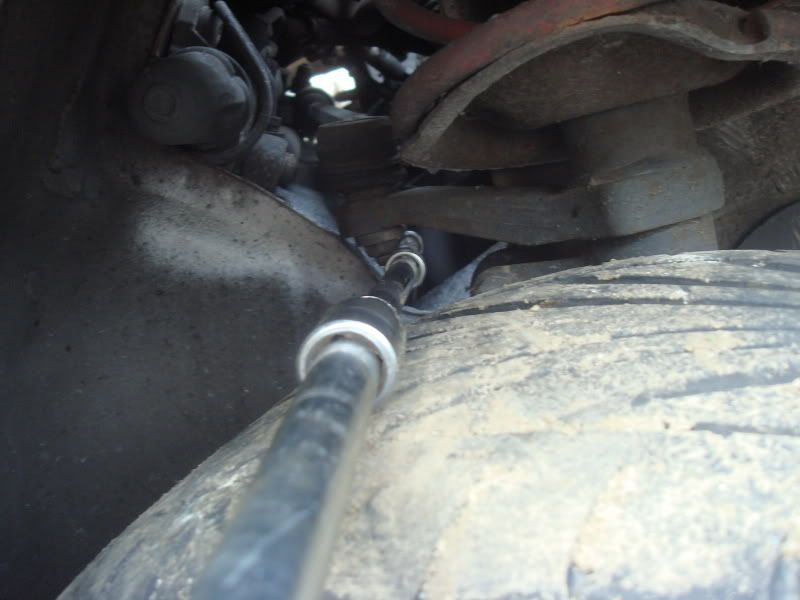 And it’s in! There’s a tiny bit of in and out movement but that’s only because I wanted to leave a bit of room so it could turn, it’s miles better than the good few mm it could move beforehand.  So the worst of my problems fixed, a simple solution and a bit fiddly to do but it does the job fine. |
So with the fiddly bit over and done with all that’s left is to refit the new bits! As I’m waiting for my uprated linkages I’ve refitted the old ones for now, but the worst of the play was in the gearbox arm, the selector rod and the ball on the control return so with those all sorted there’s a massive difference. Not even sure I needed the uprated rods, but there is a tiny bit of play still in each one so I’ll still put them on when they get here just for the finishing touch.
So the control return arm and selector rod are fitted back together, all moving parts, cups and sockets are coated in grease just to make everything feel smooth: 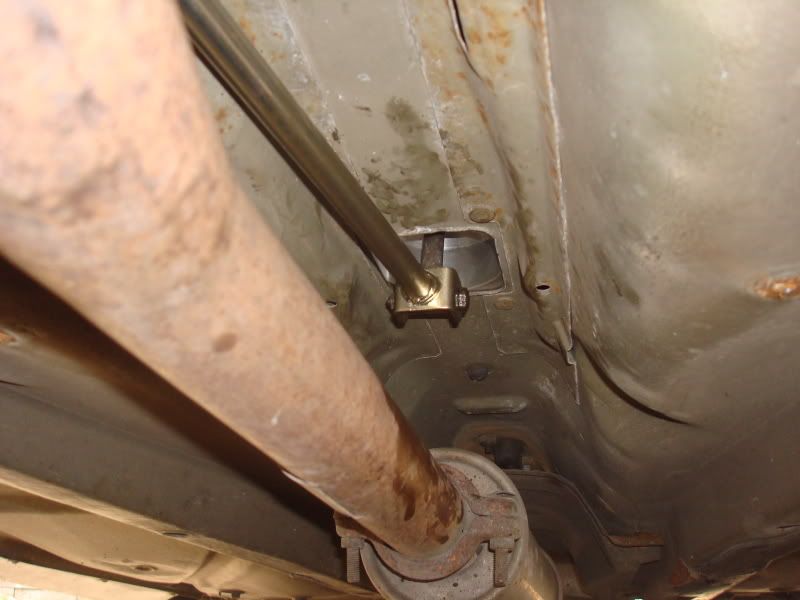 Not forgetting to refit and tighten the diagonal brace to the wishbone mount: 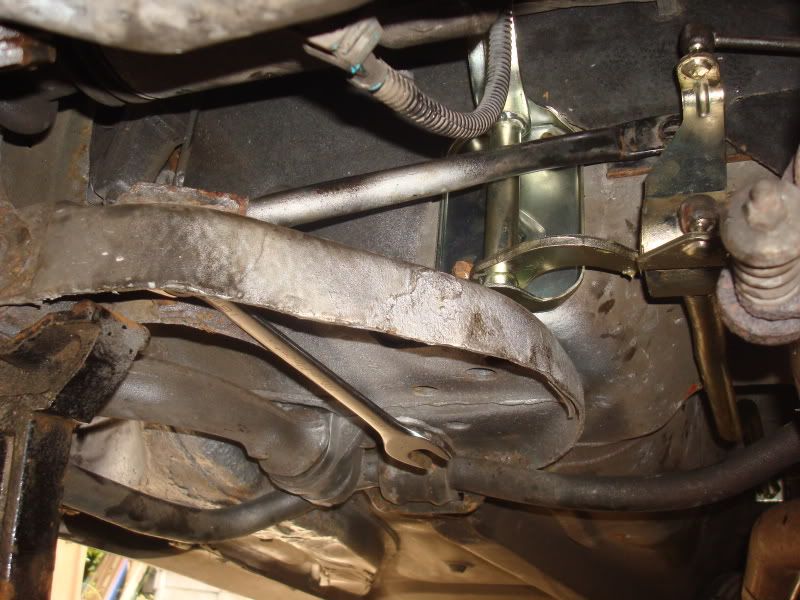 The old gear rods all popped on by hand with a bit of grease, though I’ll fit my uprated ones as soon as they arrive. With everything reassembled and working fine the car can be dropped down and the inside put back together: 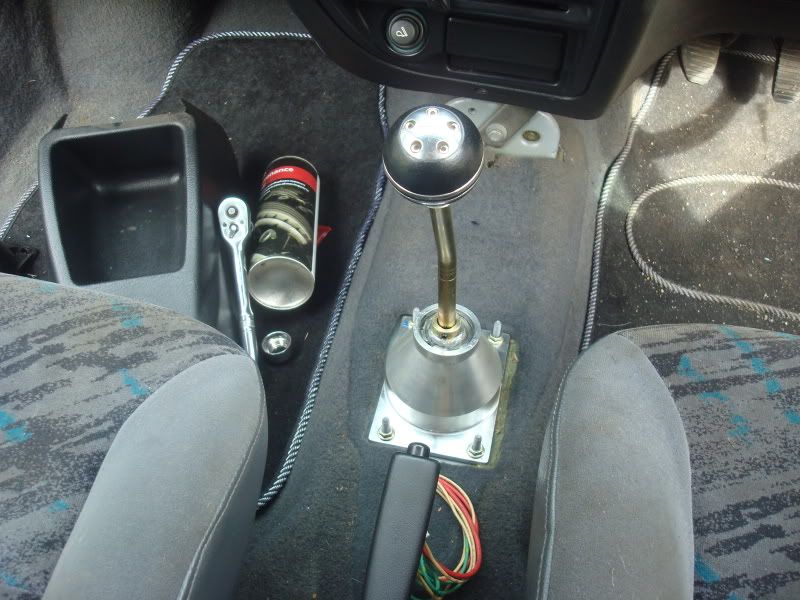 The quickshift adjustment is by the two locking collars on the lever. The lever can be set at any height in the housing to adjust the throw, I played around with mine to get it how I wanted it, then when I was happy a drop of loctite on each of the grub screws and a final tightening up made it nice and solid. I cut the back off the old lever housing to act as the bracket for the centre console, with the housing and console re drilled it can be fitted back as it was before: 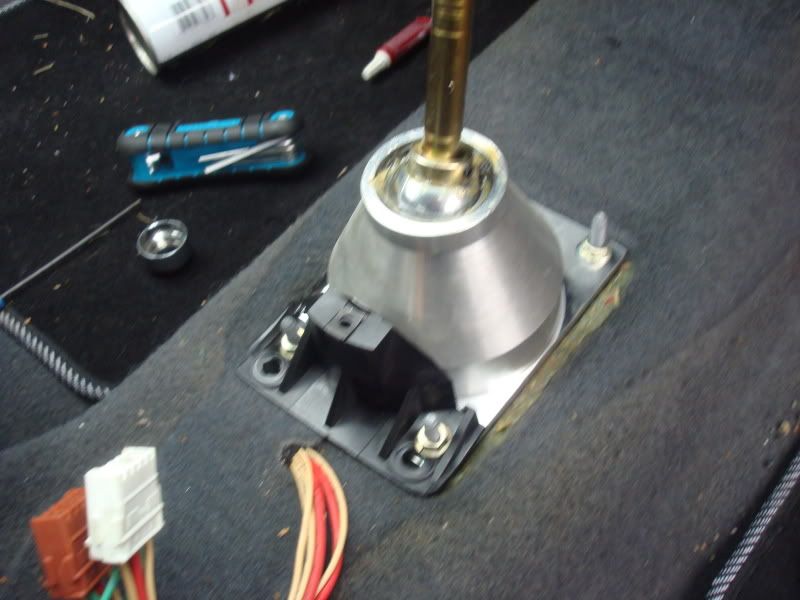 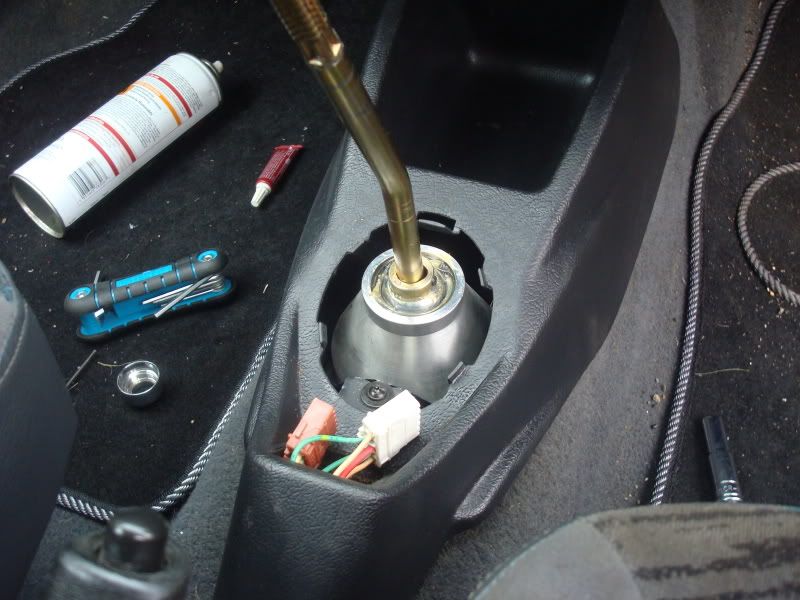 Then window switches, gaitor and knob back on with loctite again and that’s it! The difference between the new and old gearchange is night and day, a massive improvement and definitely worth doing if you’re planning on track days or fast driving. I’ve never driven a Satchshift fitted car but with how this feels now I’m not sure I can see the point! |
Bad news, thought I'd got one of the last Raceland VTS manifolds about since they went under, but had a phone call today and they're out of stock at Pug1off which means I haven't got one on the way after all :(
Means I'm on the lookout for a stainless 421 mani for £150 or less, guess I'll have to go 2nd hand and keep an eye on ebay! |
Isnt there a janspeed one goin in the forsale section!?
Jon |
Yep but I don't think Janspeed ones are stainless and it's a stainless one I'm really after! If he's still got it when I get paid I might make him a cheap offer cos it's not what I really want!
|
Few more pictures after a quick clean:
   Brembos again: 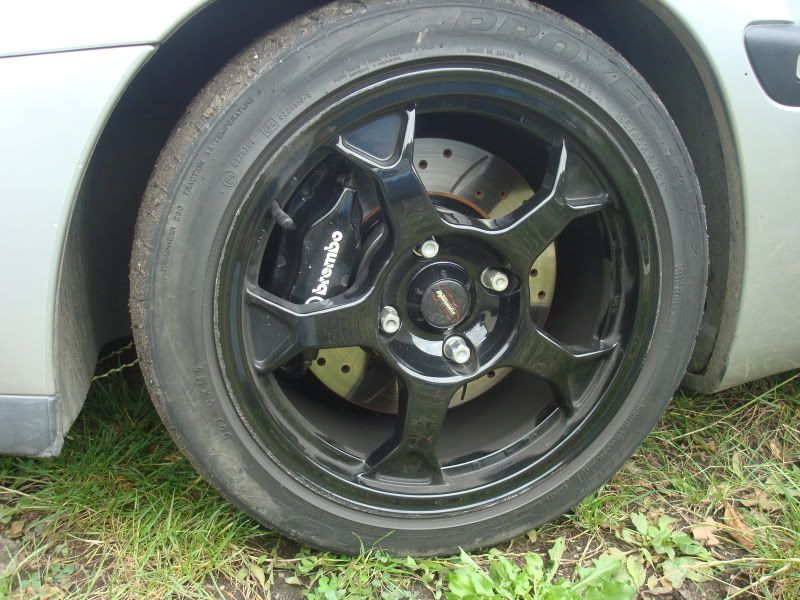 Have fitted a set of smoked rear jewels, with the back dewipered and tcutted badges the rear of the car looks a lot better IMO: 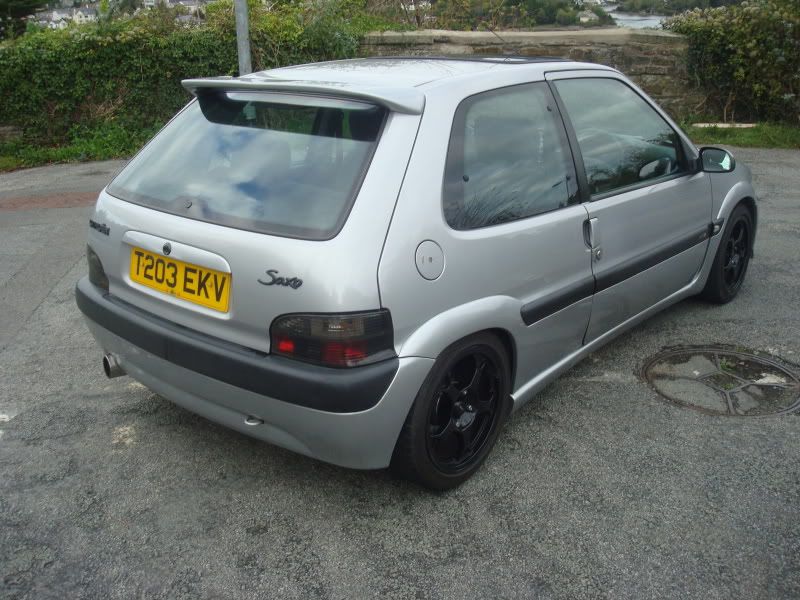 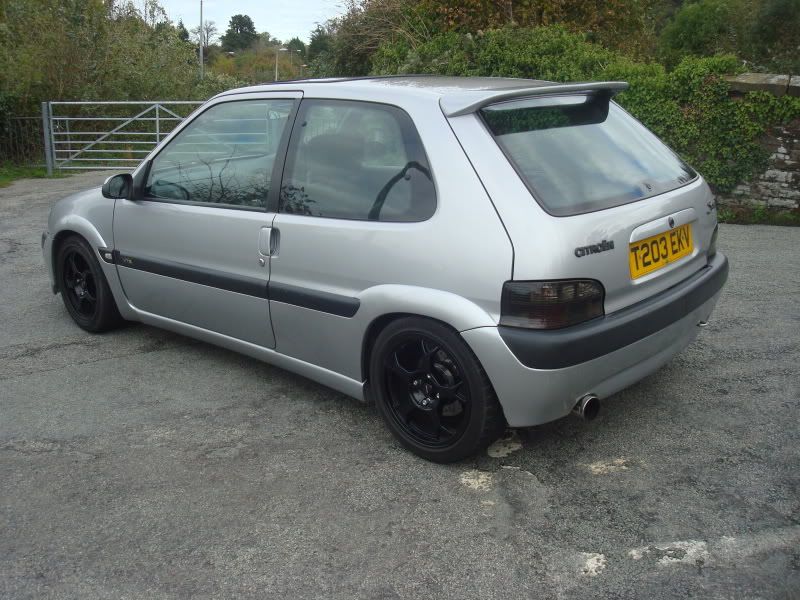 And the engine bay, Sparco strut brace fitted, just waiting on my stainless Raceland manifold to arrive and it'll be finished off for now: 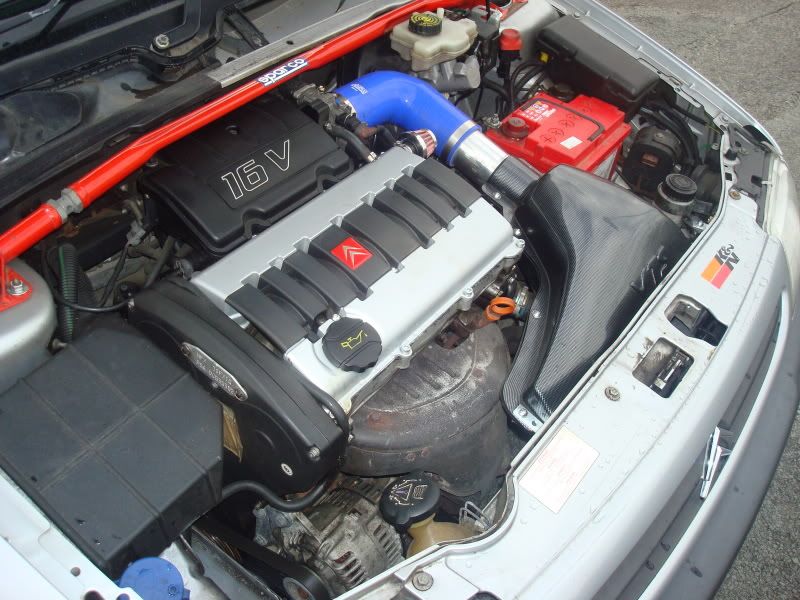 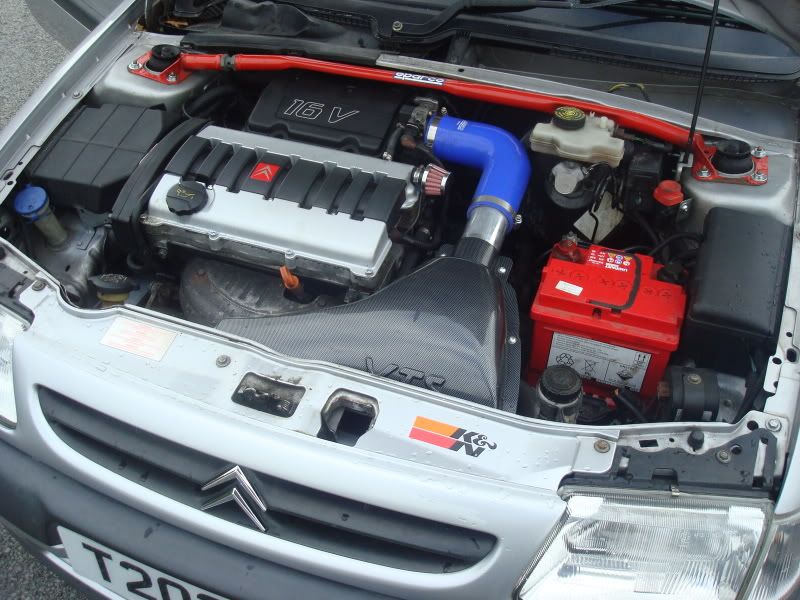 |
| All times are GMT. The time now is 22:50. |
Powered by vBulletin® Version 3.8.2
Copyright ©2000 - 2025, Jelsoft Enterprises Ltd.