A productive day!
Did an oil change, went much like any oil change really. Now all topped up with Unipart's finest. Noticed a washer cap missing - quite common apparently. Couple of quid on eBay... So added to the to-do list. As is resetting the service indicator. The last owner said that it had a recent cambelt and noticed a sticker under the bonnet confirming that it was changed in 2013. I'll assume the sticker is truthful! Whilst the oil was draining out, I decided to get on and drill some holes behind the licence plate. I think that Saxos are quite good on cooling, but a few of the track spec ones that I had seen had extra cooling holes drilled. Had a 57mm cutter to hand, seemed like as good a size as any. This type of cutter (as opposed to the type with a backing plate) can go right through without getting snagged on anything - or so I thought...  So I measured and marked:  I changed my mind a couple of times, but was finally happy with the spacing between holes, existing number plate screw holes, etc. Double checked with the cutter:  And double checked all my spacings again... Measure 29 times, cut once. Decided to stick some board in front of the rad, just in case I burst thorough the bumper and into the rad... 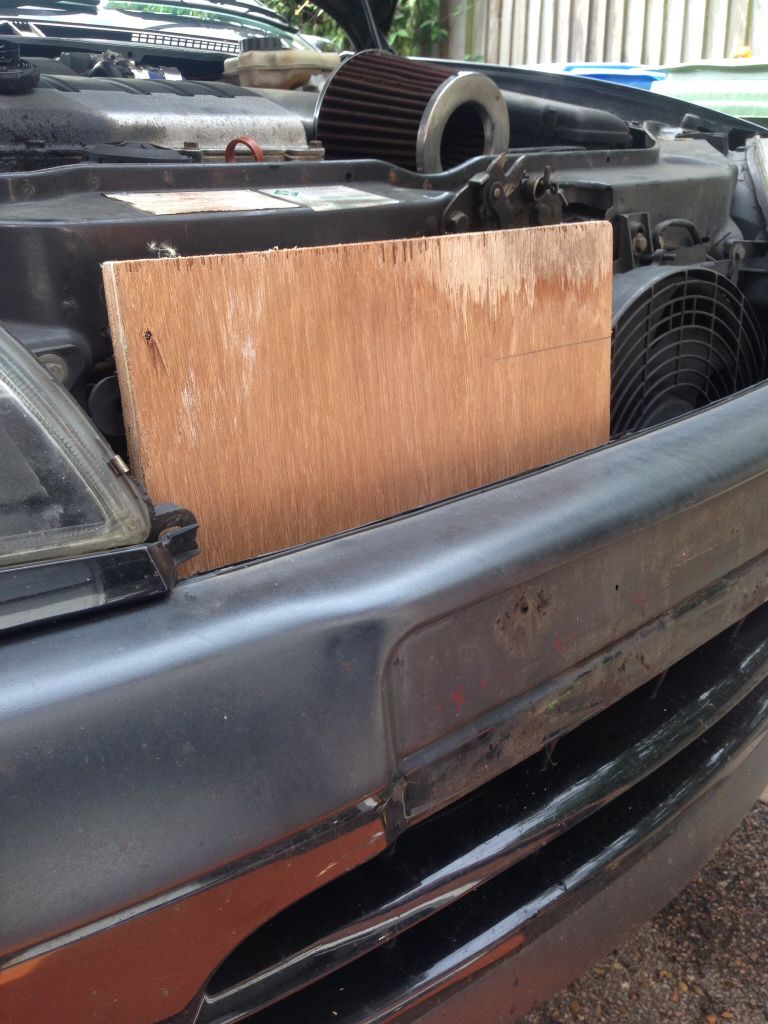 Having drilled some pilot holes (noting that the plastic was quite soft), I cracked on... And hit a problem: 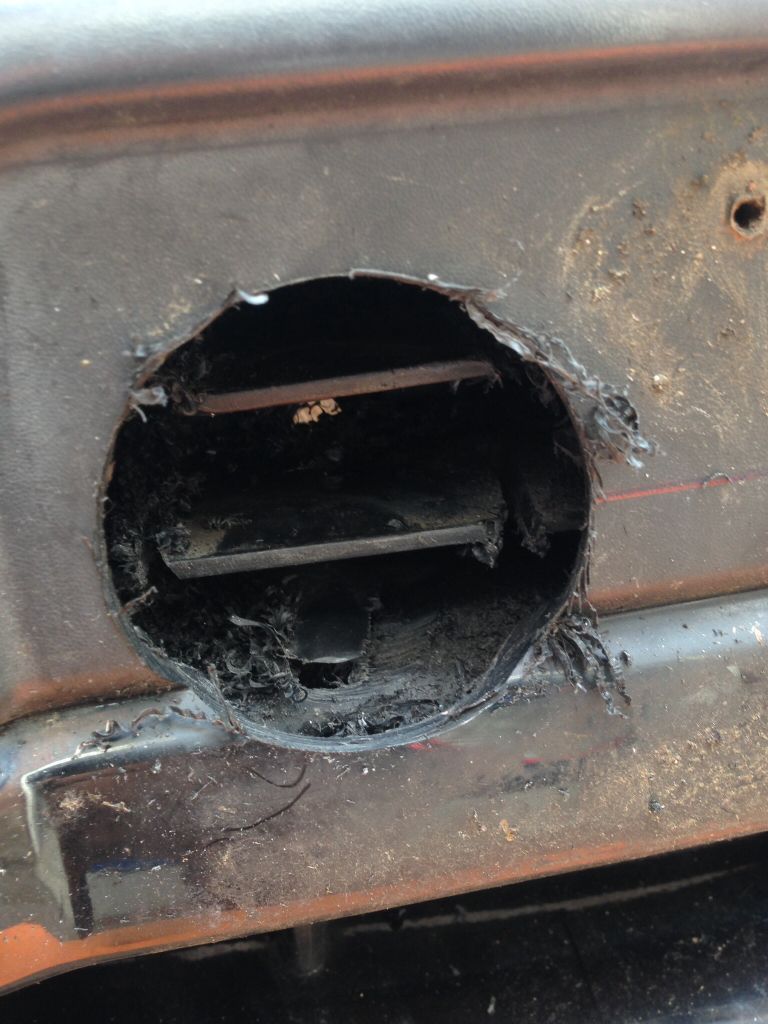 There is an internal structure (never thought much about what was inside of a bumper!) and the hole cutter could only get so far before being stopped by the internal structure. Had to Dremmel this out, before resuming with the hole cutter. Got there in the end, but if I was doing it again, I would buy a longer / deeper hole cutter, so that I could do it in one pass. Really did make a 15 minute job into a 60 minute one. I was warned that it was a pain doing this mod, but didn't quite comprehend the way in which it would be awkward! Good ventilation now though. 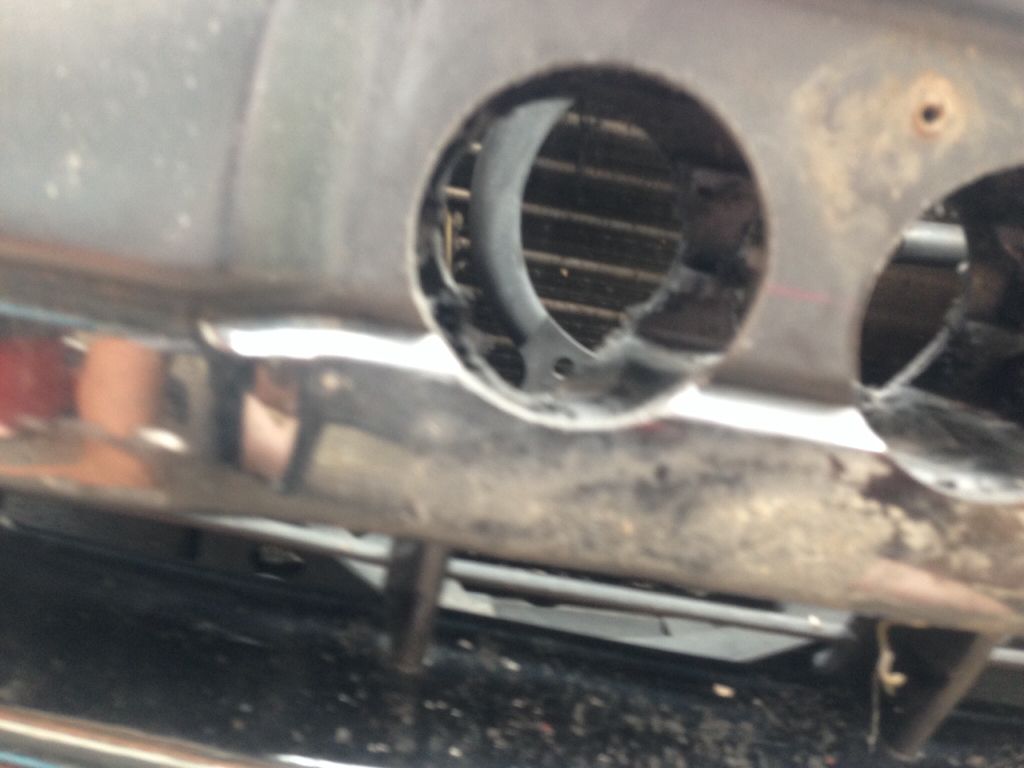 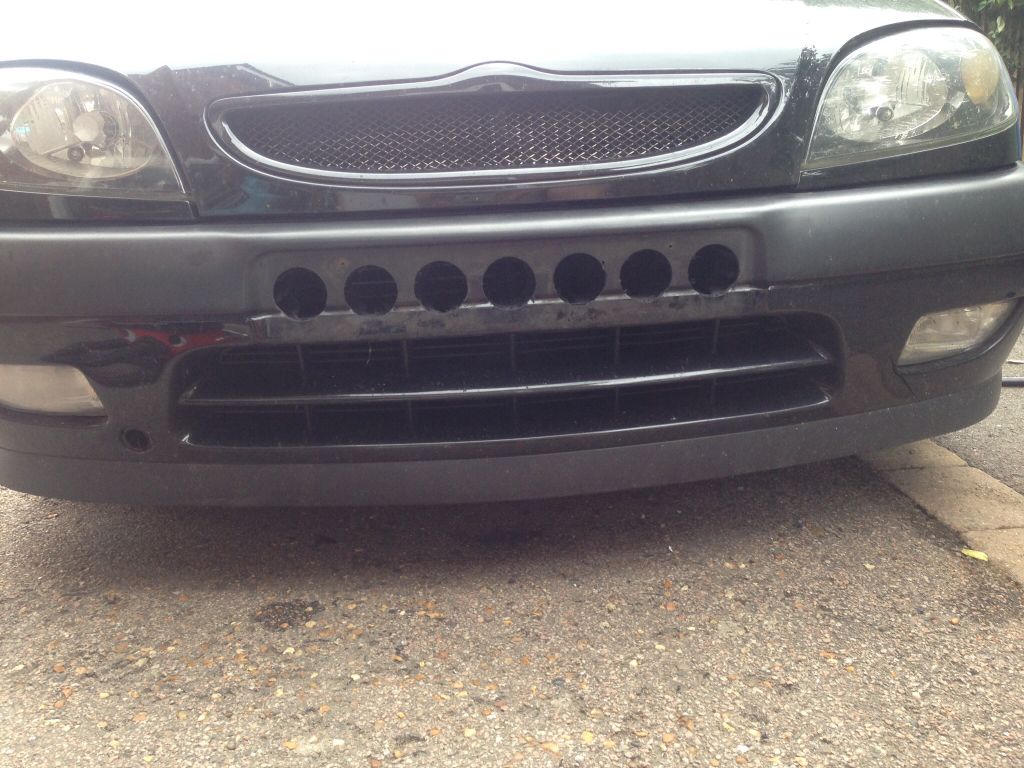 And with the plate back on, for the plain street car look. 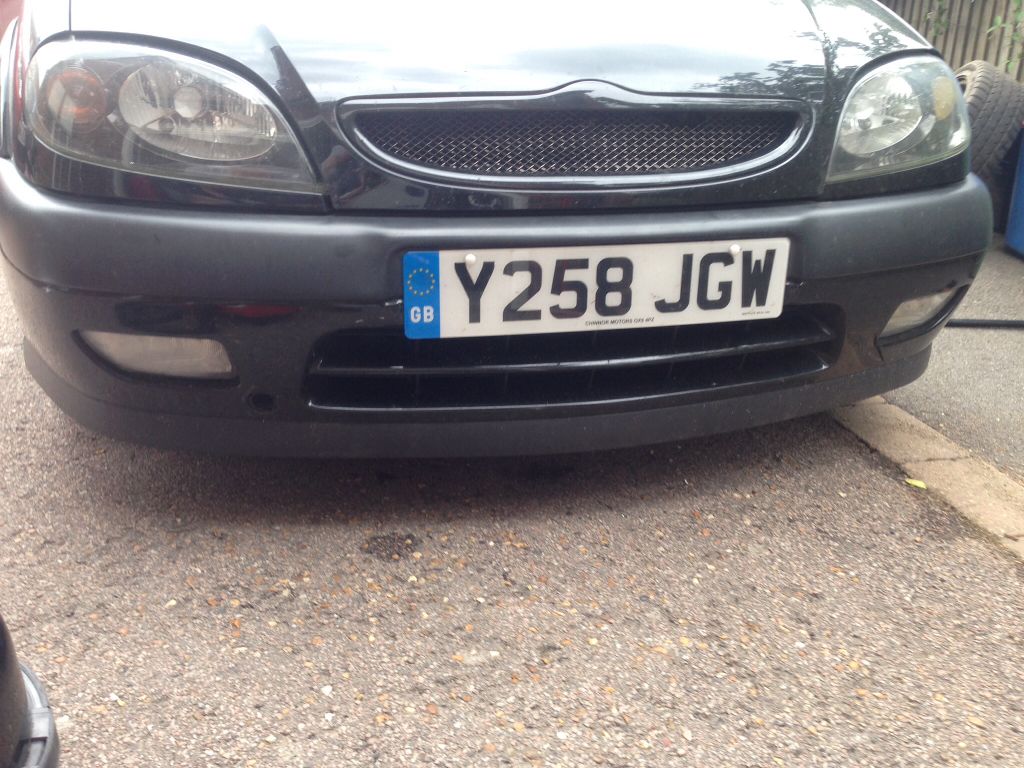 Hopefully that will keep me cool at Goodwood. Anyone think that it needs to be meshed? To stop stones and stuff smash in the rad? The opening in the bumper if pretty open already to be honest, so I'm thinking it will be OK? Famous last words maybe! More to follow... |
Back from the shops, so I can continue my update. Fajitas for tea, with key lime pie for dessert if anyone is interested.
Had a proper look at the passenger side door mech - not adjustable. Seems like quite a lot of Saxos suffer from sagging doors and this one is no different. I knew it was out when I bought it, but assumed that it was adjustable. Anyway, looks like a welding / bodyshop job. Not a pig and quite cheap by all accounts, but it won't be done pre-Goodwood. A new category added to the list... Live with it for now. Same goes for the electric mirror switches (I called them electric window switches earlier in the thread - that was me being a dick and writing the wrong things). Had those out, but it is all sealed and looks non-serviceable. Squirted some contact cleaner in there, but didn't expect much and true to form, it didn't do much. Mirror position can be adjusted from outside the car anyway. Added to the live with it for now list. Better news on the radio front. I'm not driving A to B without some Radio 2, track car or not. I needed a code, but couldn't find one in any of the paperwork. I had read that sometimes they are written on the unit and so it was: 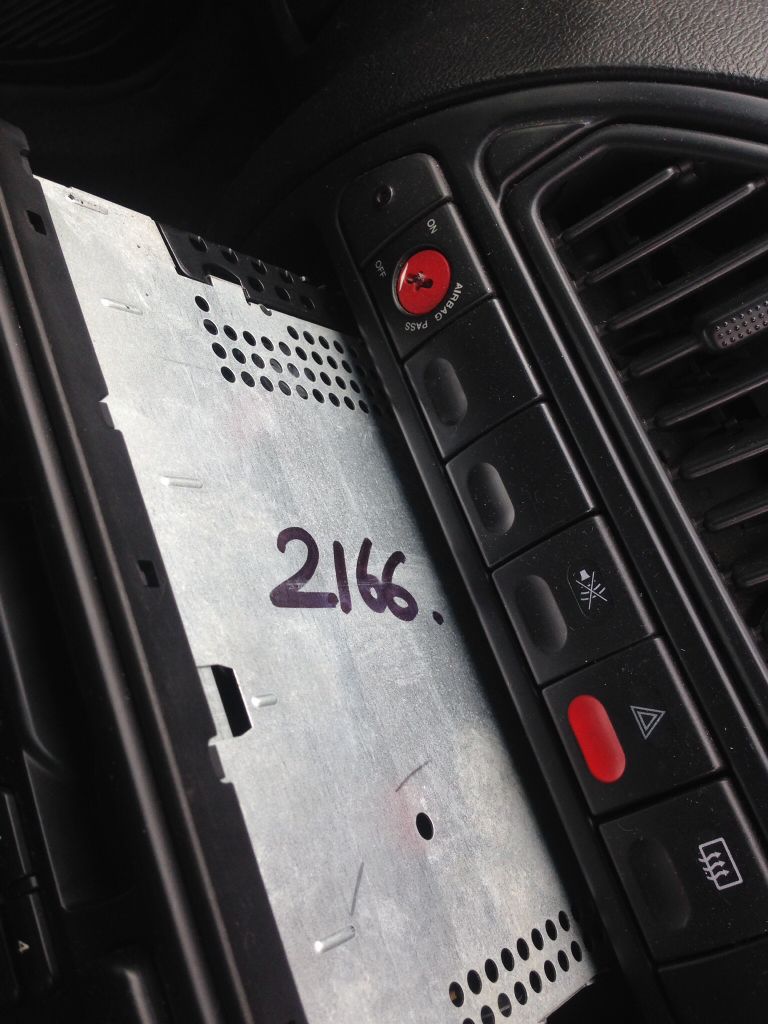 Saved me having to decide whether to pay for a code (£20), or whether to get a second had unit off eBay. Not the last word in Hi-Fi I'm sure, but it will do! Next up, camera mount. I'd always thought that a headrest mounted cam would be a good option in a car without a cage. Not difficult to make, but I wasn't sure what material to use, but the Gods solved that one. Randomly my garden umbrella had appeared earlier in this thread: 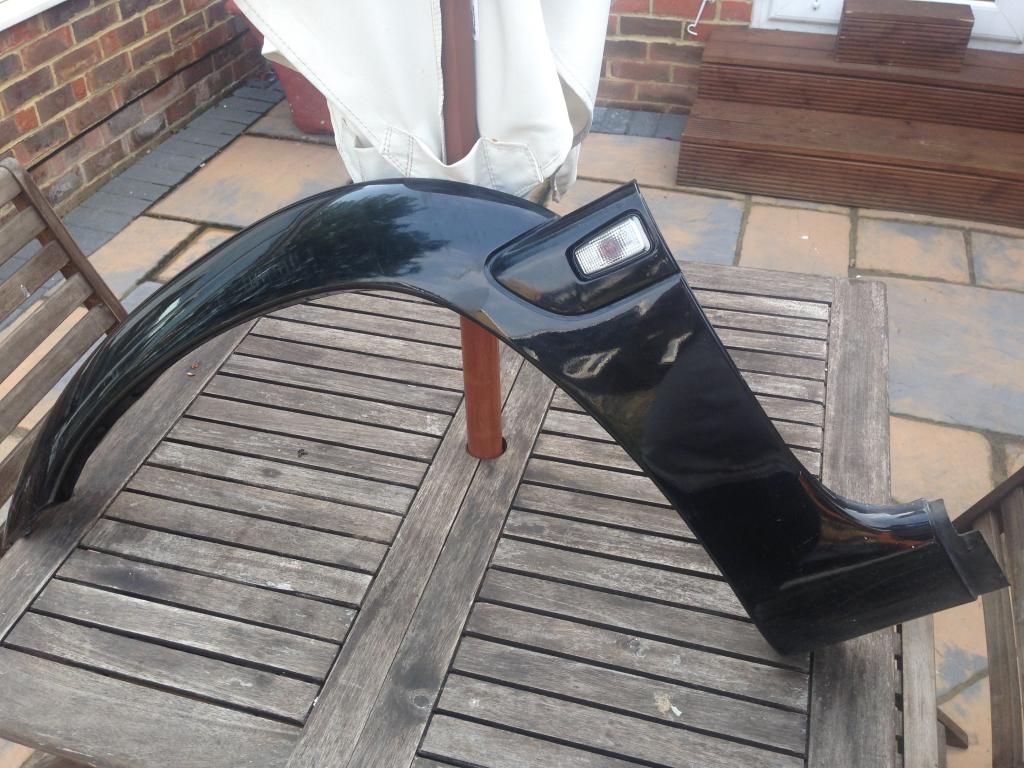 It took a tumble in the recent thunderstorms, snapping the shaft. I decided to recycle it, as it was irreparable. This is the result: 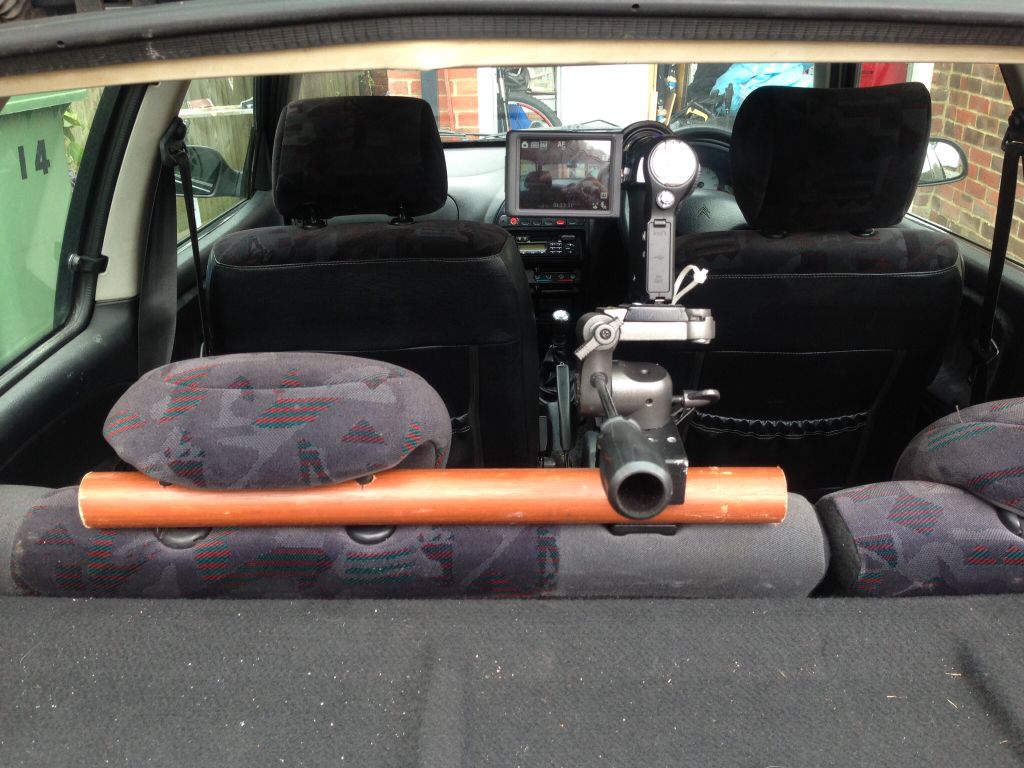 It does fit on the front and rear headrests, but the catch is broken on the front passenger headrest and the headrest can be slid right off. The headrest would need to move about 8 inches before becoming completely detached, but a flying camera would be less than ideal if I have a big off (although in a Saxo, a flying camera might be the least of my worries). Double checked the framing: 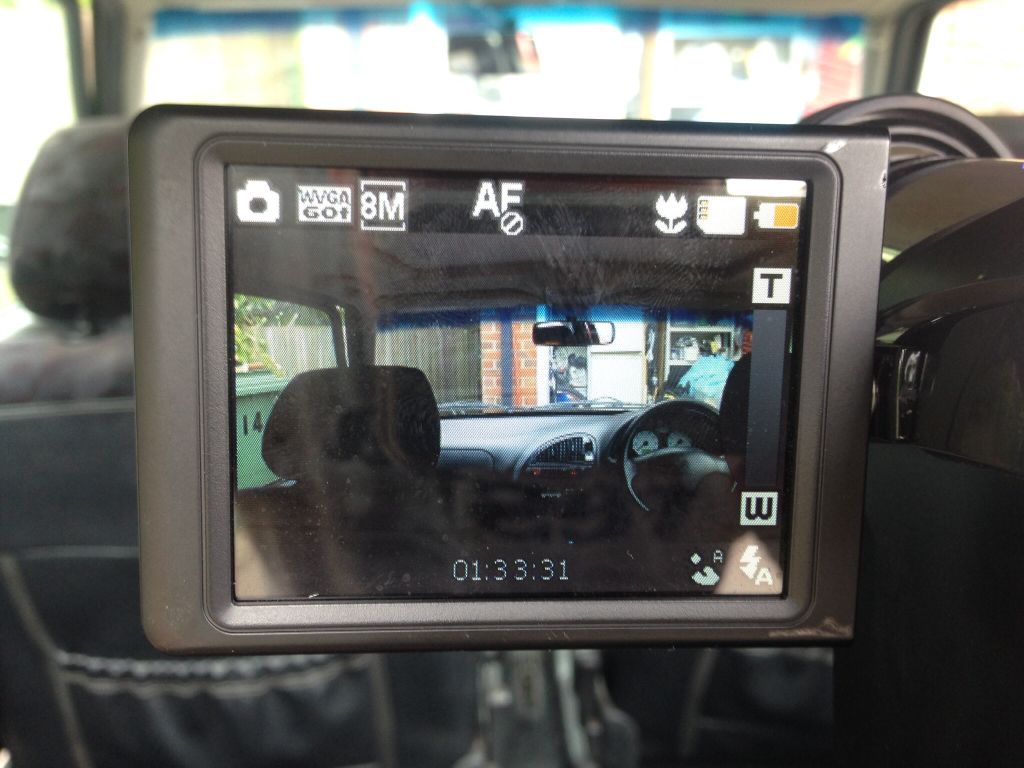 Happy with that, especially as the camera quality is good enough for me to be able to zoom in during subsequent editing. Will try to remember how to use the camera properly and might be able to sort that in advance. Only additional change to that mount was to drill a third hole so that I can tether the camera to it. So that is me up to date... |
The running list... Updated with a couple of new jobs and ticked off some old ones.
Parts ordered for: Brake fluid change Coolant / change To do: Order and fit some EBC Yellowstuff front pads Clean it Order and fit washer bottle cap Reset service indicator Live with it for now: Adjust door mech (non-adjustable - needs pro) Look at electric window switch (prob needs replacing, can adjust mirror externally anyway) Completed & status: Take a look at the front discs. Done. They are like new Remove spare wheel and carrier from under the car. Done - sort of. Unless the car is on ramps, or you cut it, you can't get the carrier off. Spare removed and hanger safely secured. Give the tyres a proper once over. Done. Rear passenger is legal, but might not be after Goodwood! Rest all lovely. Source and fit new wing mirror Refit door trim Source and fit new arch trim Buy some new clips for the arch trim Oil change - done Find radio code - done Sort out a means for mounting a camera - made one Drill some ventilation holes behind the plate. Done. |
A+ for the getto camera mount ;)
|
I had a bit of a debate with a mate about the camera mount - with people that I trust when it comes to these things.
Having the camera mounted on the rear seat, facing forwards will give acceptable, but not great pictures. Mounting it to the driver's seat was an option, but there is a big question mark over safety - especially in a rear ender. If only the passenger seat headrest clips were intact! Thinking about some different options and thought that the back-seat passenger grab rails might make a good option. They have two beefy screws in them and are clearly designed to take a load. I had some more umbrella shaft (oo-er) and had some bits of plating and brackets knocking around. With the passenger side grab handle off, I set to: 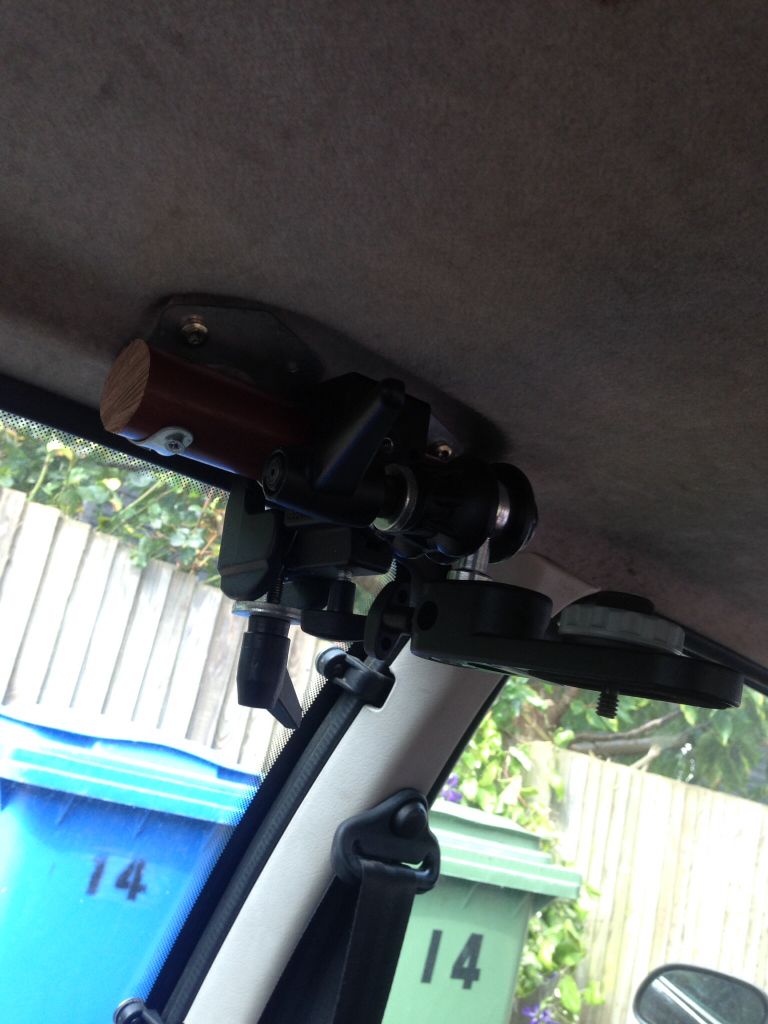  The brackets are actually designed for holding spades and stuff in the shed, are 1mm thick and the limbs have a rib in them so they are quite rigid. Even more so when the are all screwed together. Need to change the screws for dome heads, as the countersunk ones make me cringe - but I didn't have any to hand. Will also give it a paint to smarten it up. I plonked my iphone on the mount for a test view:  Much better. If there is a pax, I'll probably just swap to rear facing rather than trying to sneak a view past their head. Oh, and the camera will probably be suspended upside down. I've had to film like this before and it is easily corrected during editing. |
Also been shopping...
Self explanatory... 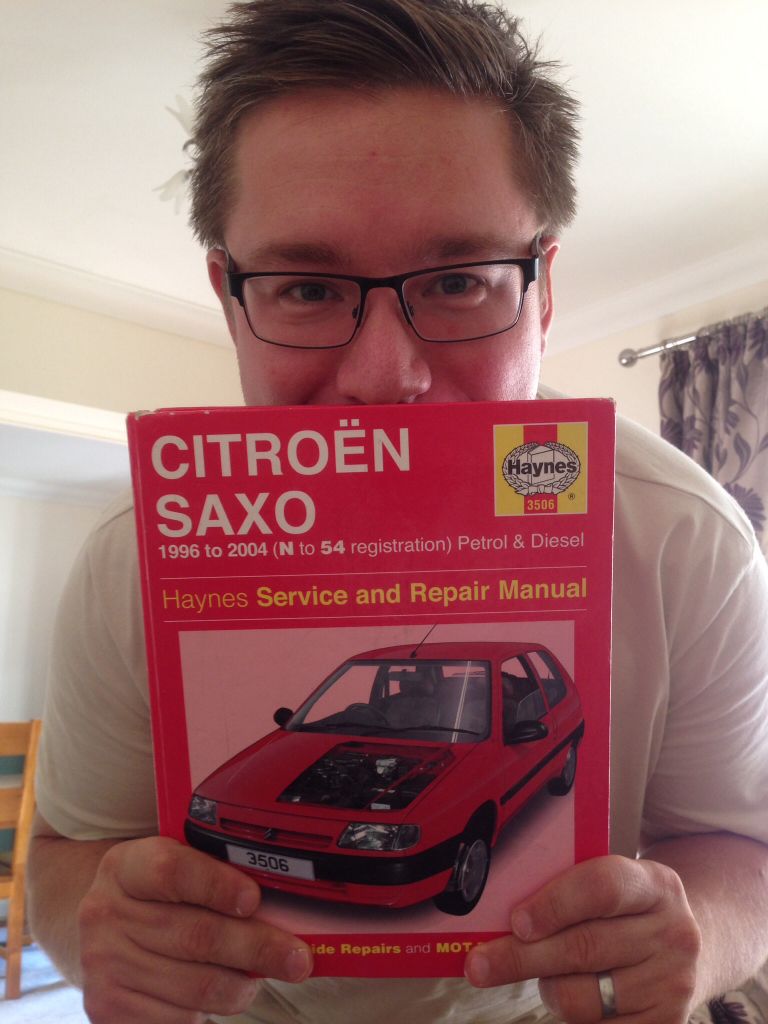 Was surprised to see the Talbot logo on this? Was new, but could have been kicking around for years. Feels like it is made for the cheapest plastic in the world. 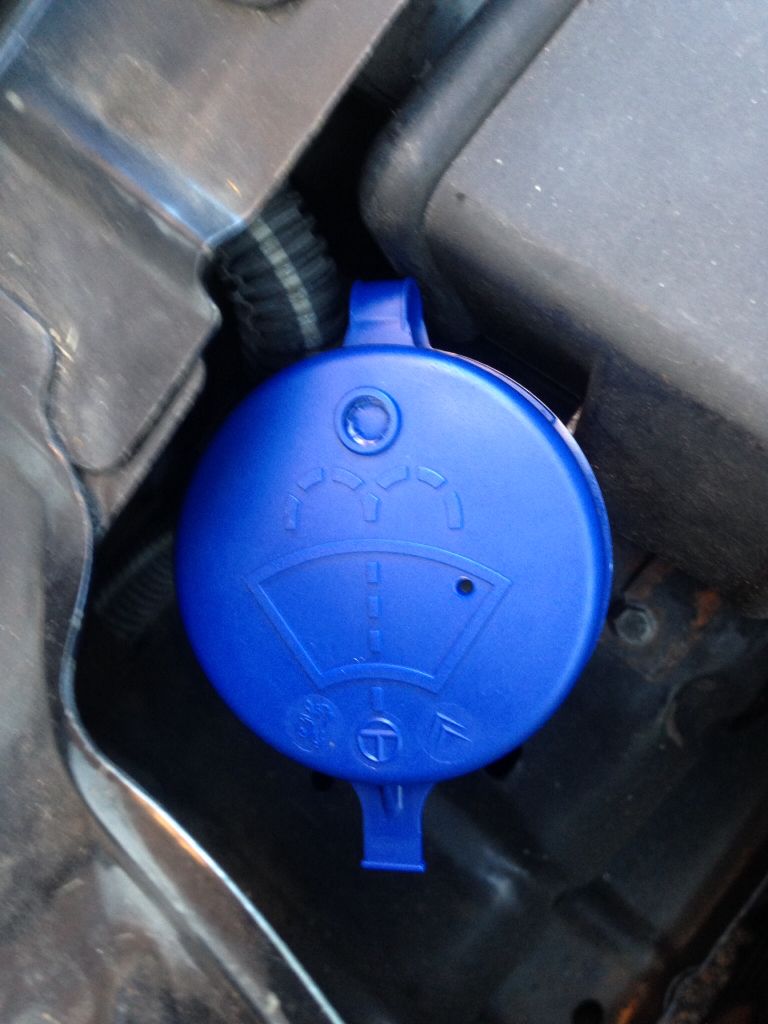 Been picking up a couple of gear linkage parts as and when they have come up online. 6 different parts to replace, located 4 of them at a good price - new & genuine. Didn't fancy any quick shift items or similar. These are 3/4 parts I've ordered - others are in the post. 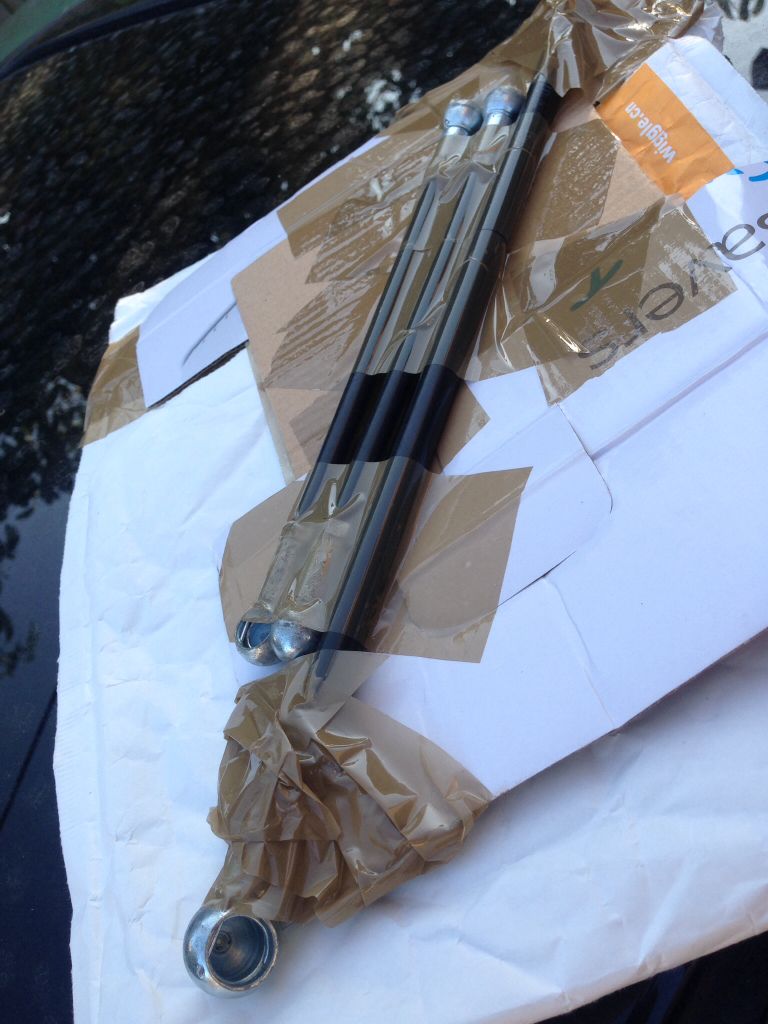 Yellowstuff - £60 delivered. Loads of vendors at the same price, but these came for JJC Race and Rally via eBay and were delivered very quickly. 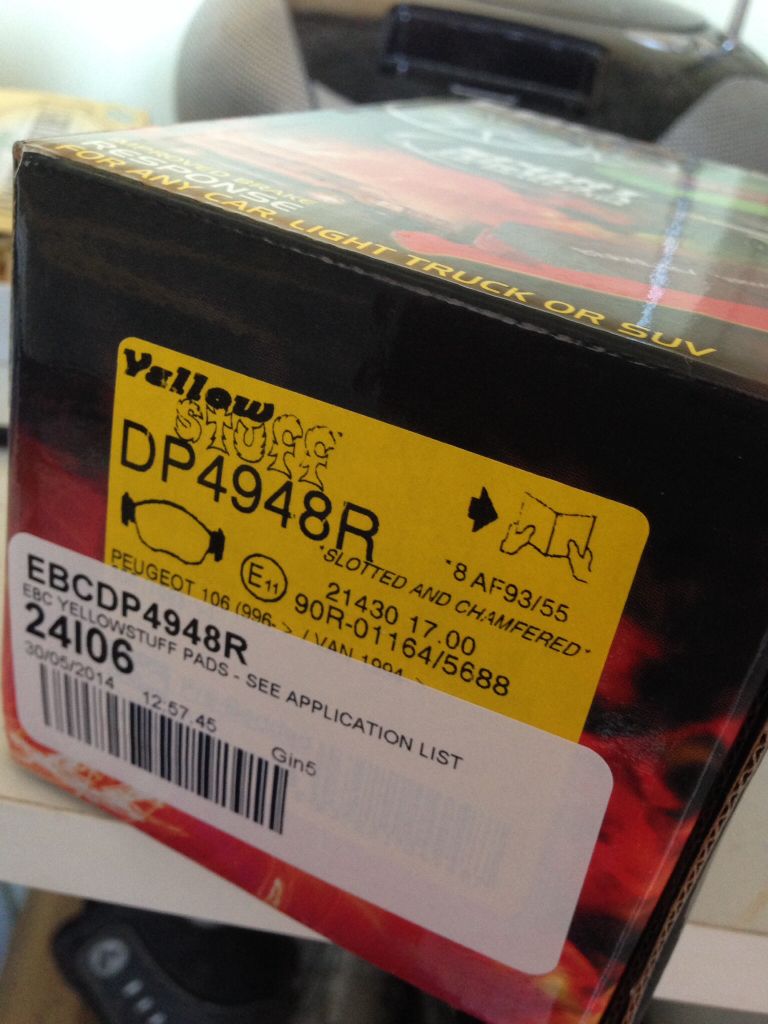 Hopefully this weekend will see this all fitted. I'm a bit apprehensive about changing the brake fluid. Done it on motorbikes a few times, without issue, but first time on a car. I've got a pressurised bleeder and will follow the manual, so I'm sure it will be fine. |
Good progress mate, I really recommend the internal quick shift makes such a differene and as sad as I am I like the look of it too.
|
Quote:
|
*looks great
|
What a wanky day!
Only managed to find more jobs today, not actually tick any off. Started by planning on changing the coolant, wasn't desperate, but thought that I may as well. Looks like it has an aftermarket radiator, with no drain screw and the clips on the lower hose were at an awkward angle and I just couldn't get to them without taking half the car apart. Banged a test strip in, came back fine, **** it, that will do. So to load up with dot 5.1. Wheels off... What's this? A 19mm bolt, strange, the rest are 17mm. One random wheel bolt, flat, not tapered like the others. At least the thread is the same and the wheel undamaged, but that can go in the bin and have ordered a new one. Brake bleeder on... What a mother****er! This is not my friend: 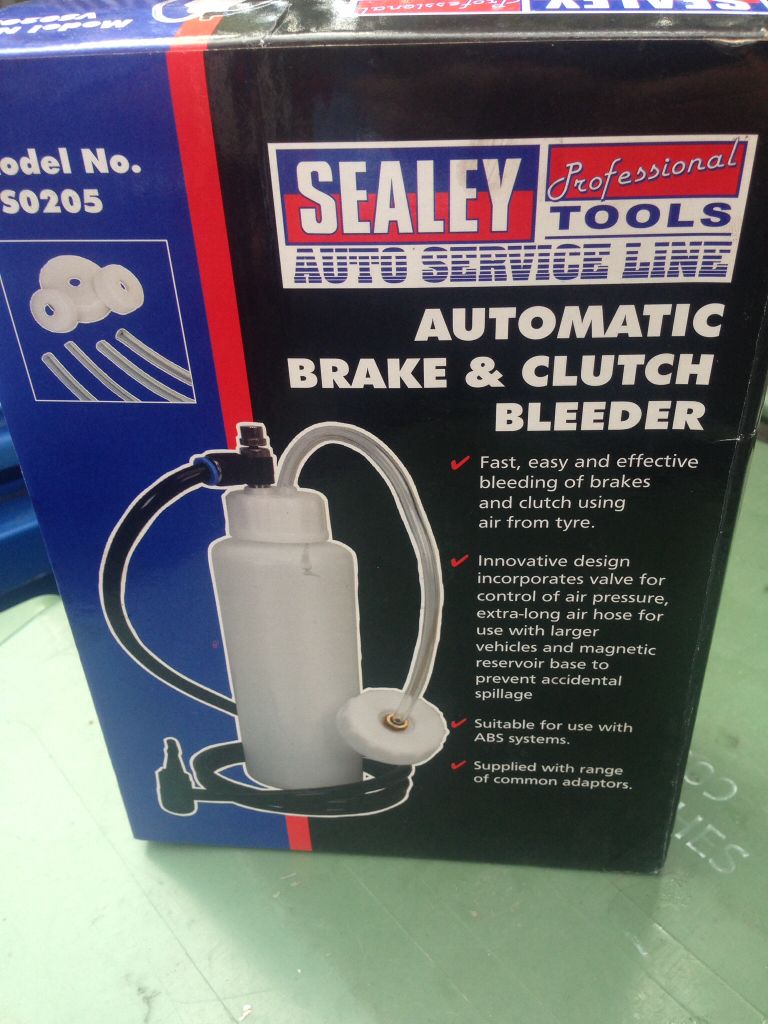 I think that it is faulty, as the valve on the bottle will just not manage the pressure properly... All it does is leak air, which stops it working. Having not used one before, it was hard to know what a good one looks like. Anyway, reached the 'faulty' conclusion after a lot of messing about. Thought that I would bang in the EBCs, reached round the back of the front driver's side caliper and it was greasy as ****. The CV boot looks new, but has become disconnected - probably due to the lack of a cable tie holding it on. The boot itself looks tiptop, but just not where it should be. I don't have any CV grease, so put the wheels back in and put it back on the ground. Fortunately the disc is not contaminated, nor the existing pads. Cocking cock and bloody bollocks. Ordered up some CV grease, a new wheel bolt and started the process for sending back the brake bleeder and ordered up a new one. I really don't want to admit defeat on that bloody brake fluid, even though I know I could run down to UB's and have it all done in no time. Have a day off next week, so will try it again then... As much as today frustrated me, I do enjoy working on cars and I'm glad that I found the CV boot and dodgy wheel bolt now and not later. |
Chin up you will get there and all this agro will be forgotten on your trackday ;)
|
I tried one of those bleeders after 30mins of dicking around I rang my brother and he came over and pressed the brake, might be easier to rope a mate in rather than struggle with one of those.
|
Quote:
|
Quote:
|
Today was a much better day! Brakes done (EBC Yellows, dot 5.1 flushed through), CV boot sorted, new wheel bolt fitted.
Used a Gunson Eezibleed for the fluid change - worked perfectly. The to do list is looking reassuring small and cosmetic. To do: Clean it Paint camera mount (stole some paint out of Dad's garage ) Live with it for now: Adjust door mech (non-adjustable - needs pro) Look at electric window switch (prob needs replacing, can adjust mirror externally anyway) Coolant flush Completed & status: Take a look at the front discs. Done. They are like new Remove spare wheel and carrier from under the car. Done - sort of. Unless the car is on ramps, or you cut it, you can't get the carrier off. Spare removed and hanger safely secured. Give the tyres a proper once over. Done. Rear passenger is legal, but might not be after Goodwood! Rest all lovely. Source and fit new wing mirror Refit door trim Source and fit new arch trim Buy some new clips for the arch trim Oil change - done Find radio code - done Sort out a means for mounting a camera - made one Drill some ventilation holes behind the plate. Done. Order and fit some EBC Yellowstuff front pads Order and fit washer bottle cap Reset service indicator Sort CV boot. Done. Order and fit new wheel boot. Done. Brake fluid flush. |
Sorry - lazy cross post from another forum - that was Friday...
|
This was today! :A:
Spent about 30 minutes on the car today, but they were deeply satisfying! No, I didn't get a bunk up in it! My tame mechanic was insistent that a bodyshop would just use a jack to adjust the door and talked me through the process. There is a little bit of a technique, but I'll keep that private out of respect to Gareth and his business. I can't recommend Gareth at ACE Engineering, Billinghurst enough - I've travelled from Kent to Sussex on a number of occasions as his service, expertise and coffee is that good. Start: 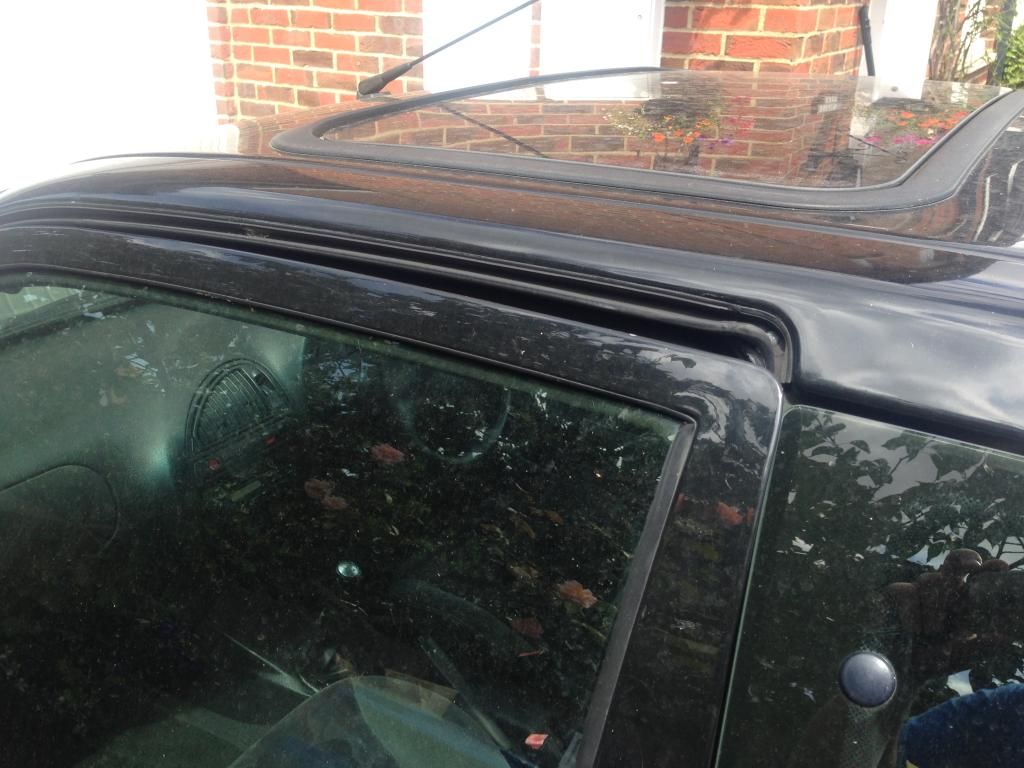 About a good inch drop there. Got the jack underneath the door and got busy! Took a few goes to get it right. Halfway though:  And to finish: http://youtu.be/uLwjUGKyGM8 I thought that this would be a pro-only job according to what I'd read elsewhere, but I guess good advice from someone you trust goes a long way. This door was properly annoying and now it isn't. Cheers Gareth! Then I attacked the interior with some Autoglym interior shampoo. Got out all kinds of filth off the cream headlining, A, B and C pillar trims. It was properly manky in there - must have been smoked in, I guess. Although I did have the Inbetweeners sketch in my head where following the trip to Caravan Club, Neil's spunk is all over the car and he argues that Simon should clean it up because it's his car... I dread to think what various youths have done in this car over the years. No pictures of this. I'm not some 50:50, Detailing World wanker. Finally, my back garden got all Blair Witch... No, not a paranormal episode, just the home made camera mounts getting a luck of primer and then satin black. My mate Nige was insistent that they would look more professional that way. He was right too...  |
I like this, you seem to not be shit
|
Ah the old jack under the door number. I had the same issue with my old R5 GTT, although Im not sure the door had sagged that much. Good effort!
|
Quote:
|
| All times are GMT. The time now is 02:57. |
Powered by vBulletin® Version 3.8.2
Copyright ©2000 - 2025, Jelsoft Enterprises Ltd.