very good thread i will use this good pics too
|
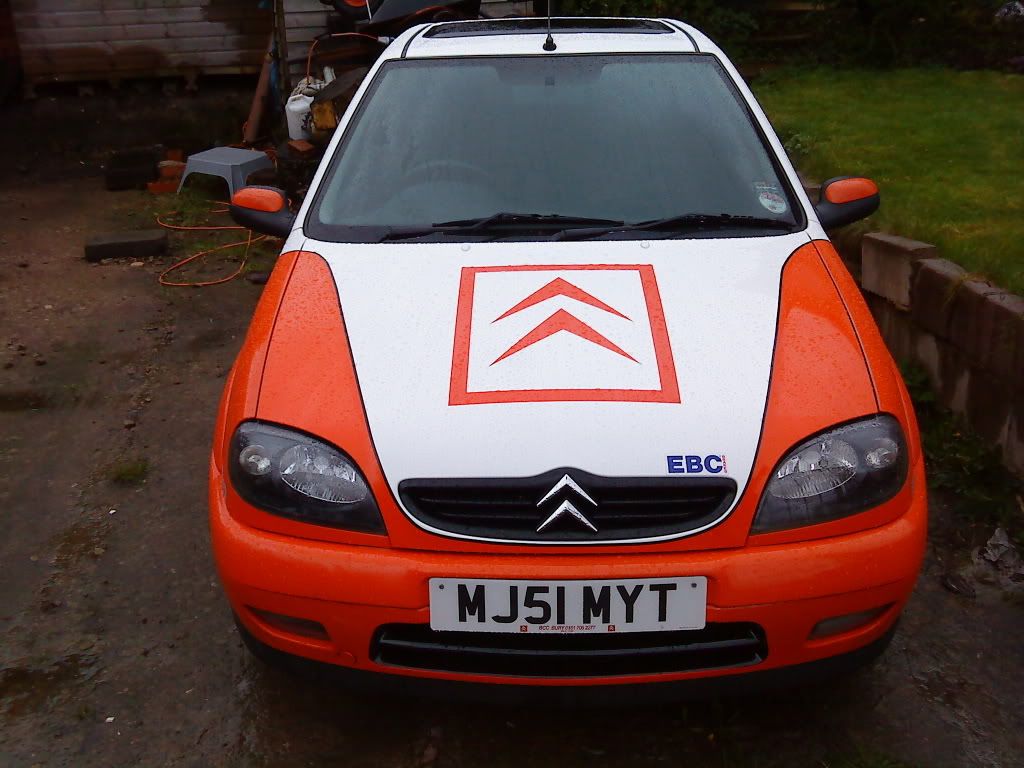
Heres my progress pics
this is the legal way to do it. Spent today splitting and painting the insides of the headlights matt black, love how it has turned out!! lights out 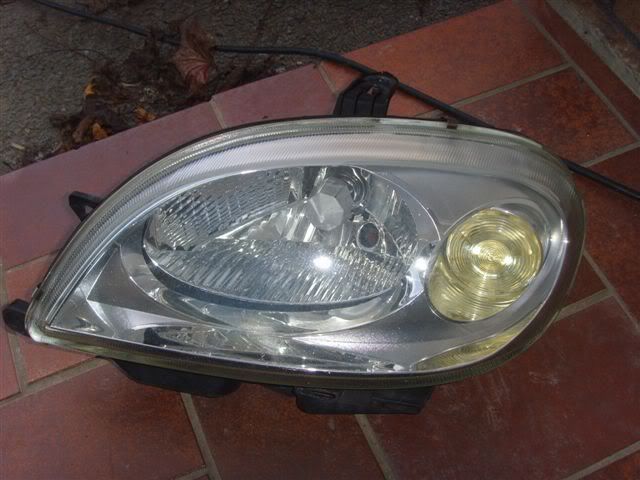 Light unit heated, with a hair dryer, and split open 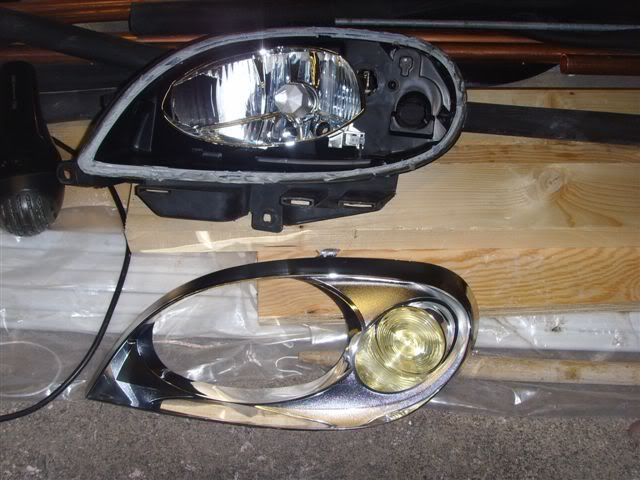 silver insert taken out and sanded down with 120 then 180 grit paper 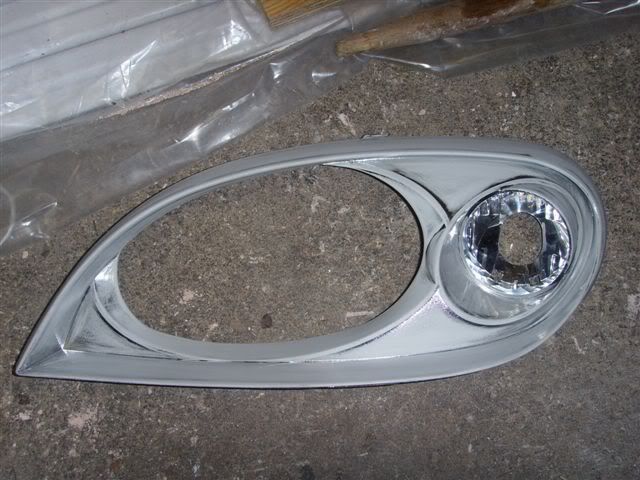 painted it 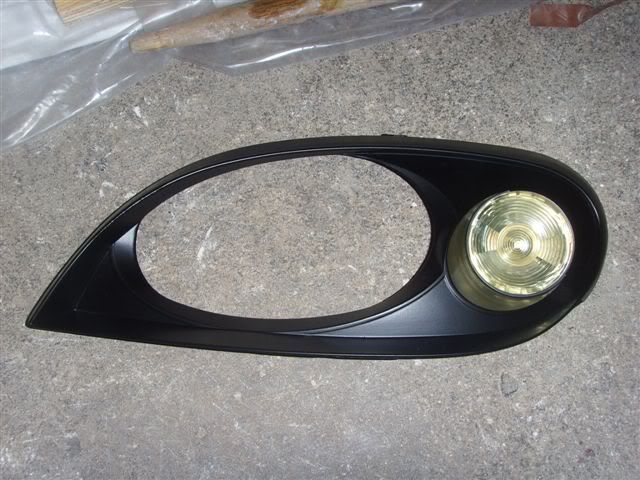 fitted again 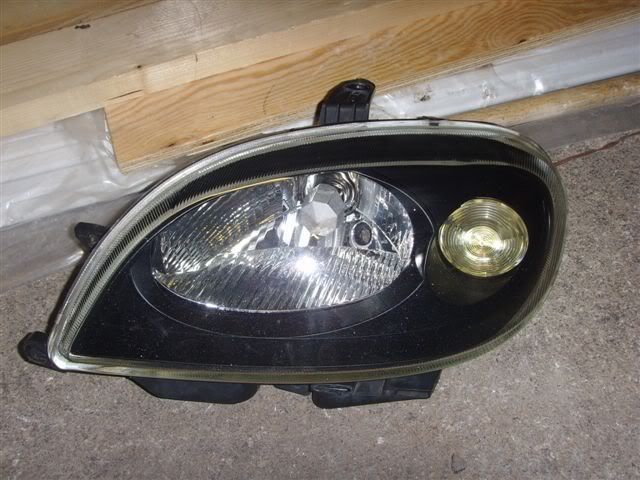 finished and back in the car 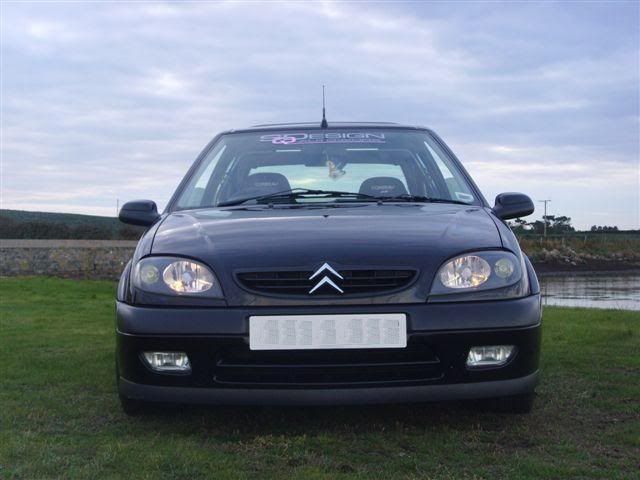  no need to prime or lacquer them if you know how to paint properly |
so you didint pop it in the oven just used a hairdryer yeah?
looks great |
yea no need for an oven, 5 minutes with a hairdryer and a small screwdriver does the trick
|
just done mine in the oven "over cooked" lol....
|
5 mins would be better than 10 i reckon
|
lmao your a legend, melted headlights ftw
|
everyones guna want a set now....
|
This is a step by step guide of how to smoke saxo MK2 lights.
Its as simple as possible because i am simple. The commentary for each picture is mainly underneath each picture Firstly open the bonnet and disconnect the lights. You will be faced with this  the next pictures will show how to disconnect two of the four wires.  This will pull out 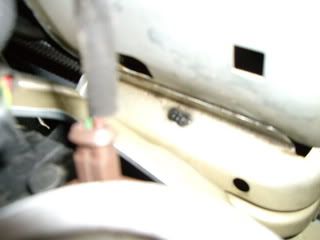 this needs to be twisted then it ill come out 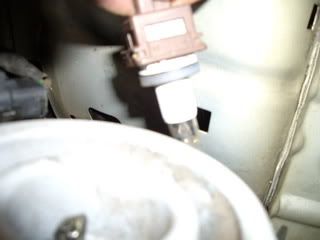 The other two are easier to get out when you have got the light out. There are three screws holding the light in 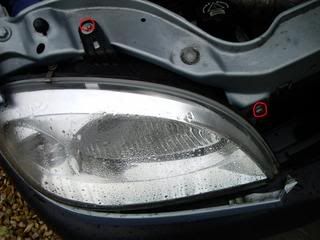 those two are easy to get at with a 10mm spanner/socket there is another one under the brow 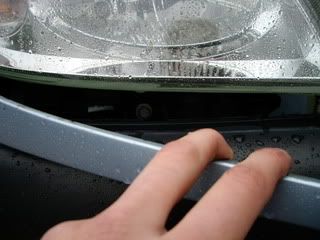 This is hard to get at but i used a 10mm ratchet with an extension. You will need to remove the brow, they are attached with three clips these are very delicate, i broke 3 of them. short trip to citroen will sort that out 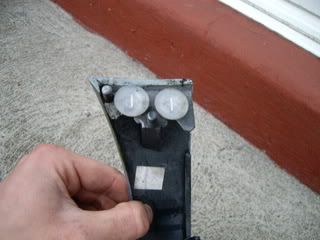 With them bolts undone the light can be pulled out. Now you can disconnect the other two wires. 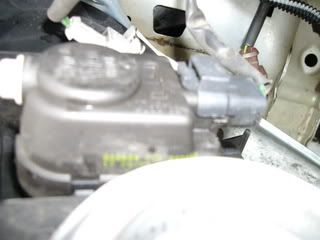 this has a clip on the side that you lift then it will slide out 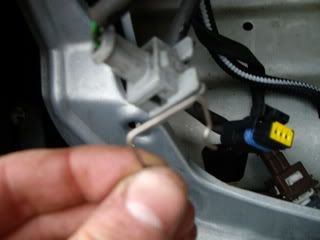 you will need to put a screwdriver under the clip and pull it up, mine flew 20 feet in the air and i spent the next 10mins looking for it. Now the light should pull free 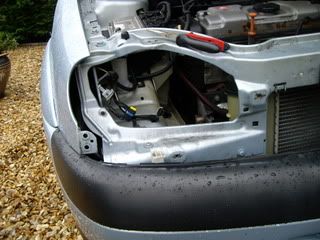 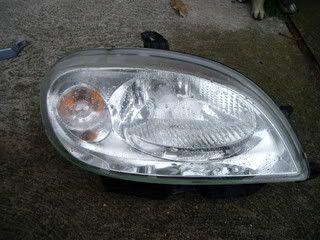 Now do the same the other side 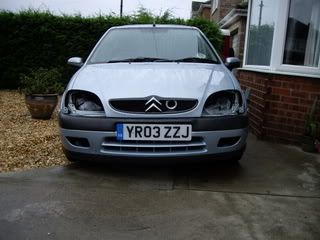 AHHHH I'M BLIND Now the lights are out pull the rubber off the back, it will pull off. Now release the spring clip and the bulb will come out.  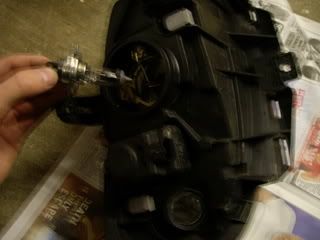 Don't touch the bulb lense Next twist the indicator bulb and pull it out  Now there are three clips around the lense of the light, pull them off with a screwdriver.  The light is now ready to be put in the oven. Yes it does feel very wrong. I put it in the oven on gas mark 2 for 10 minutes when you get it out it will be very hot I used a screwdriver to help ease the lense off 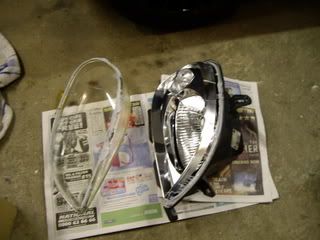 now take out the part you are going to spray 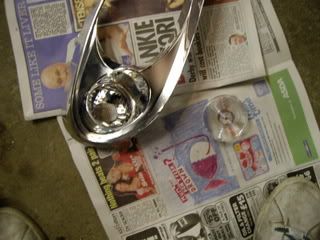 remove the indicator lense by the three clips on the back 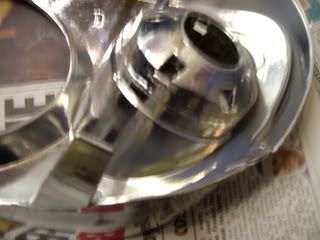 Because there is a reflective part where the indicator bulb sits i didn't want to spray that so i cut out a piece of cardboard to the exact size and placed it in now sand it all down and spray it with primer 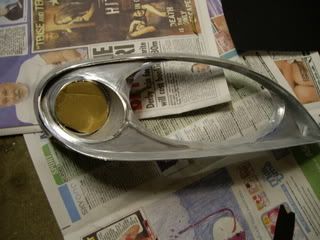 apply three coats leaving it 15mins between each coat and sanding down between the first two coats  after leaving the primer for about 30mins apply black paint, i'm using gloss black from halfords 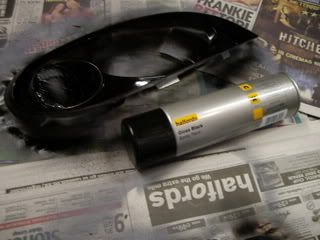 I applied 3 coats with 15mins between each coat. now its all sprayed leave it for a good hour or so to let the paint fully dry. Put the light and lense back in the oven WITHOUT the part you just sprayed. This will start to melt the glue. i put the oven on gas mark 2 for 5 mins Now get it out the oven and place the part you sprayed back in Make sure you put the indicator lense back in before you put the headlight lense back together 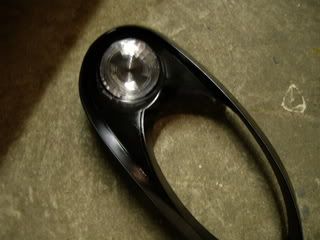 place the newly painted part back inside and put the headlight back together. Put the clips back on and allow to cool. I also put some cable ties on to ensure it stuck well 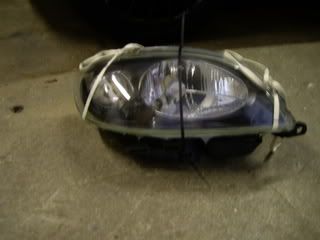 once the light has cooled down, put all bulbs back in and the rubber back on. Now you can put the light back on the car, reattatch all connections and screw in the 3 bolts. also clip the lower brows back on. Heres some pictures of one light as i need to go and buy some more clips for the other brow! 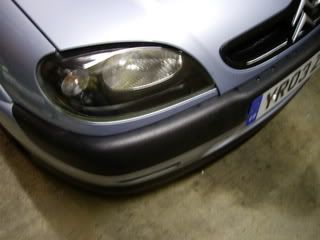 ta dah its mostly common sense but this guide makes it easier. sorry about some of the pictures but if i don't hold this camera completely still they all blurr. |
a guide inside a guide... i like it
|
done this, very easy looks alot better
|
can u do mk1 headlights
|
looks great, if im feeling brave after all my other ideas i might attempt this one, think ill try buy some spare lights to do it!
|
Salmon1 not liking the silver route myself, looks too silver! also why would you want to spray the reflective bit silver?? lol :geek: p.s what did you do with the little cap that fits around the the main headlight bulb that allows you to adjust the position of it??
|
Cheers for this guide mate:D really helpful, couldnt of done it without it. im very pleased with how neat they look, especially when i looked in the 'styling' section and saw some smoked headlights (looking exactly the same as mine now do!) for an 'approx.' price of £200!! mine cost 13:d
|
Vtr craig, Very good step by step guide,and picys too!! nice one....
|
did mine last weekend
works really well |
jus did my mk1's yest, look ace. N simple to do. Can maybe do other peoples if they dont wana?
|
Quote:
Basically i am very simple and need everything to be simple so i can do it cheers |
i just painted mine but didnt mask off the indicator part like here...
legeal to have that painted black and not masked off or what? |
yeah u will be fine with the indicator part, as long as the main headlight reflective unit is still reflective, should pass MOT okay, well done on doing your lights!
|
Quote:
|
It is the same as the fogs yes...
Whats the colour to use is it Matt or Satin black? I think its matt but not sure? |
Quote:
|
just done my lights looks great ! thanks for the guide VTR_craig
|
Quote:
But i have done a step by step guide with pictures for smoking the saxo fog lights... http://www.saxperience.com/forum/showthread.php?t=82938 It's for premium members only im afraid though... Many thanks, Alex :) |
great guide, thanks!
|
i am goin 2 do this 2 mine on friday an think its guna look mint, great guide.
|
Great guide, getting my paint tonight and will do my lights tomorrow!
|
indeed, pics!!!
|
im going to do mine as conor of here ripped me of on a broken set grrrrrrr
|
great guide m8 i did my fogs 2 an i think they look sweet
 |
is it safe to put lights in the oven? To break the seal... and the seal goes back on perfectly right? No retouching needed?
|
the heat of the oven will allow you to prise the lens off the light and should be able to stick it back on too. dont let the light get too hot as the plastic brackets will start to melt. even so once you have stuck them back together its still worth going around the edge with a sealant gun to ensure there are no gaps
|
Umm this probly isnt a good idea if you have a flame oven is it? would i be able to use a hair dryer? to warm and soften the glue?
|
Quote:
Here's the outcome... 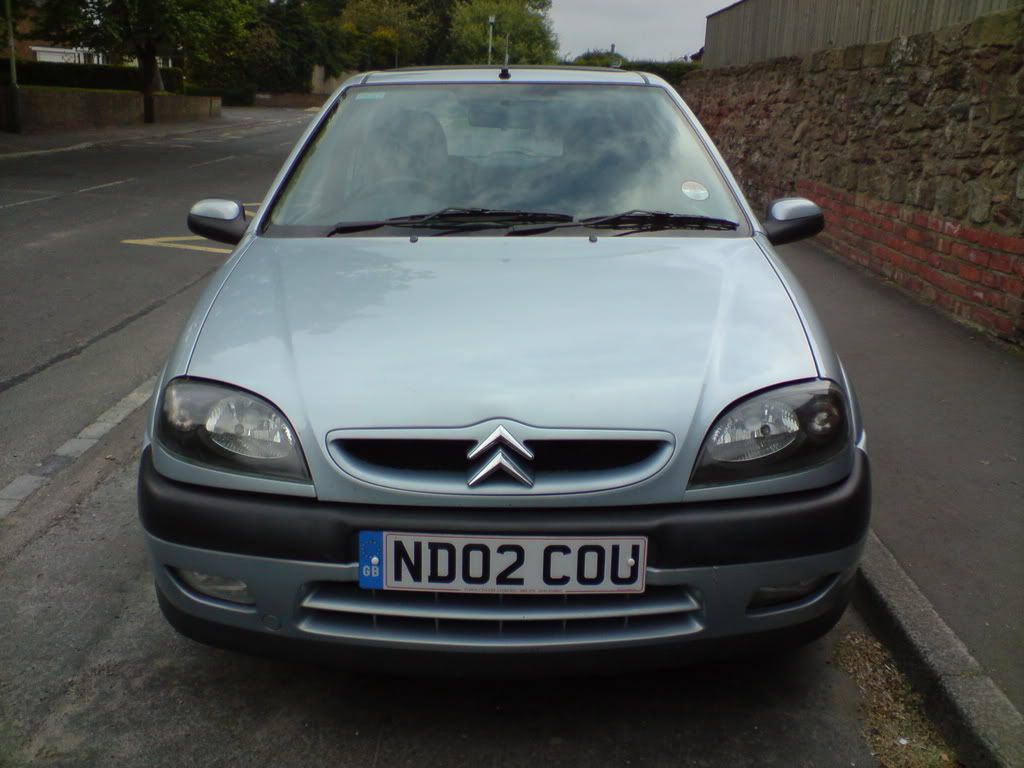 looks alot better imo...i also did my grill...theres a guide on here for that also :) |
Cheers mate, my car needs a new grill so ill pop to a scrap yard and get them done! :D
|
Awesome guide mate, wana do my lights when i get paid :D
All the pics of them on here look wicked! |
how long will this take?
i've heard people can do them in half days but normally you gotta leave days and even weeks for all coats to apply |
Takes about 2 hours mate from removing the lights to fitting them back in. Easy job!!!
Bondie |
| All times are GMT. The time now is 07:21. |
Powered by vBulletin® Version 3.8.2
Copyright ©2000 - 2025, Jelsoft Enterprises Ltd.


