Saxperience - Citroen Saxo Forum

Saxperience - Citroen Saxo Forum (http://www.saxperience.com/forum/index.php)
-   Saxo Styling & Interior (http://www.saxperience.com/forum/forumdisplay.php?f=20)
-   -   How To:- Colour Code Mk2 Headlights *Lights Perfectly Legal* (http://www.saxperience.com/forum/showthread.php?t=47845)

jay-vtr 9th March 2008 23:10

yeah u will be fine with the indicator part, as long as the main headlight reflective unit is still reflective, should pass MOT okay, well done on doing your lights!

gojka 16th March 2008 22:53

Quote:

Originally Posted by Salmon1 (Post 655829)
Needed-


Long nose Pliers
10-13mm Spanners
Flat Head Screwdriver
Sandpaper/Emry Cloth
1 Can Primer
1 Can Paint
1 Can Laquer (optional)

Cost- £14 if paint is 3for2 at Halfrauds.


Step 1- Remove Headlights

To remove Headlights you need to open bonnet, Remove top two bolts.

there is one further bolt that hold the headlights on which is located under the bottom "brow", you need to remove this, be careful though, it is quite flimsy.

Once all three bolts in view remove them, for me long nose pliers were fine, but most need to use spanners.

Now all bolts undone, disconnect all electrics and remove lights.


Step 2- Preperation

The glass is glued to the headlight, the glue need to be heated up for the glass to slip off.

In order to do this put in oven at 150degrees for 10minutes.


then run a hot knife along and it will pop off.


Now remove all bulbs and the internal chrome part that will be getting sprayed.


Sand down all chrome you are going to spray with ROUGH sand paper or emry cloth. I personally prefer emry cloth.


Once it has a rough finish and is not shiny it is time to get sprayed.


Step 3- Spraying

Apply 3 coats of primer, using smooth sand paper/emry cloth between coats to rough it up a BIT. Leave 15 minutes between coats for drying. JUST A LITTLE BIT THOUGH.


Now it is time to apply 2 coats of your favoured colour. Alloying 15 minutes to dry between coats.


Then finally apply at LEAST three coats of laquer. Allowing 30 minutes between coats for drying. (OPTIONAL)


Step 4- Putting Back Together

Heat up the headlight WITHOUT newly painted part in the oven for 5 minutes at 150degress.


Then fit newly painted while glue is still hot, then fit bulbs. I found it a perfect opportunity to fit Xenon Bulbs.


then fit Glass back on and put clips back on.


Alloy to cool down.

Fit back to car doing reverse of stage 1.


Enjoy


p.s- Pictures added later tonight.

does this procedure also work for the fopglights

Ben_L 20th March 2008 09:27

It is the same as the fogs yes...

Whats the colour to use is it Matt or Satin black? I think its matt but not sure?

Raz 20th March 2008 10:33

Quote:

Originally Posted by saxmaniac5 (Post 1977766)
It is the same as the fogs yes...

Whats the colour to use is it Matt or Satin black? I think its matt but not sure?

im pretty sure ts matt black asweel :y:

danfish69 3rd April 2008 15:33

just done my lights looks great ! thanks for the guide VTR_craig

furioAL 3rd April 2008 15:38

Quote:

Originally Posted by gojka (Post 1968569)
does this procedure also work for the fopglights

Yes buddy, it is the same basic principle for doing the fog lights...
But i have done a step by step guide with pictures for smoking the saxo fog lights...

http://www.saxperience.com/forum/showthread.php?t=82938

It's for premium members only im afraid though...

Many thanks,
Alex
:)

johnnyg_vts 9th April 2008 17:58

great guide, thanks!

rally_chd 21st April 2008 21:54

i am goin 2 do this 2 mine on friday an think its guna look mint, great guide.

Xtremewheels 28th April 2008 12:04

Great guide, getting my paint tonight and will do my lights tomorrow!

ReissJ88 28th April 2008 22:48

indeed, pics!!!

browne174 29th April 2008 01:06

im going to do mine as conor of here ripped me of on a broken set grrrrrrr

rally_chd 1st May 2008 18:03

great guide m8 i did my fogs 2 an i think they look sweet


Exx 7th May 2008 16:41

is it safe to put lights in the oven? To break the seal... and the seal goes back on perfectly right? No retouching needed?

Jungle_Jim 7th May 2008 20:53

the heat of the oven will allow you to prise the lens off the light and should be able to stick it back on too. dont let the light get too hot as the plastic brackets will start to melt. even so once you have stuck them back together its still worth going around the edge with a sealant gun to ensure there are no gaps

Cainevtr 28th May 2008 00:07

Umm this probly isnt a good idea if you have a flame oven is it? would i be able to use a hair dryer? to warm and soften the glue?

Raz 28th May 2008 09:34

Quote:

Originally Posted by Cainevtr (Post 2180600)
Umm this probly isnt a good idea if you have a flame oven is it? would i be able to use a hair dryer? to warm and soften the glue?

Yes...its perfectly fine to use a hair dryer...its what me and Matty_VTR used when we did mine on Sunday...

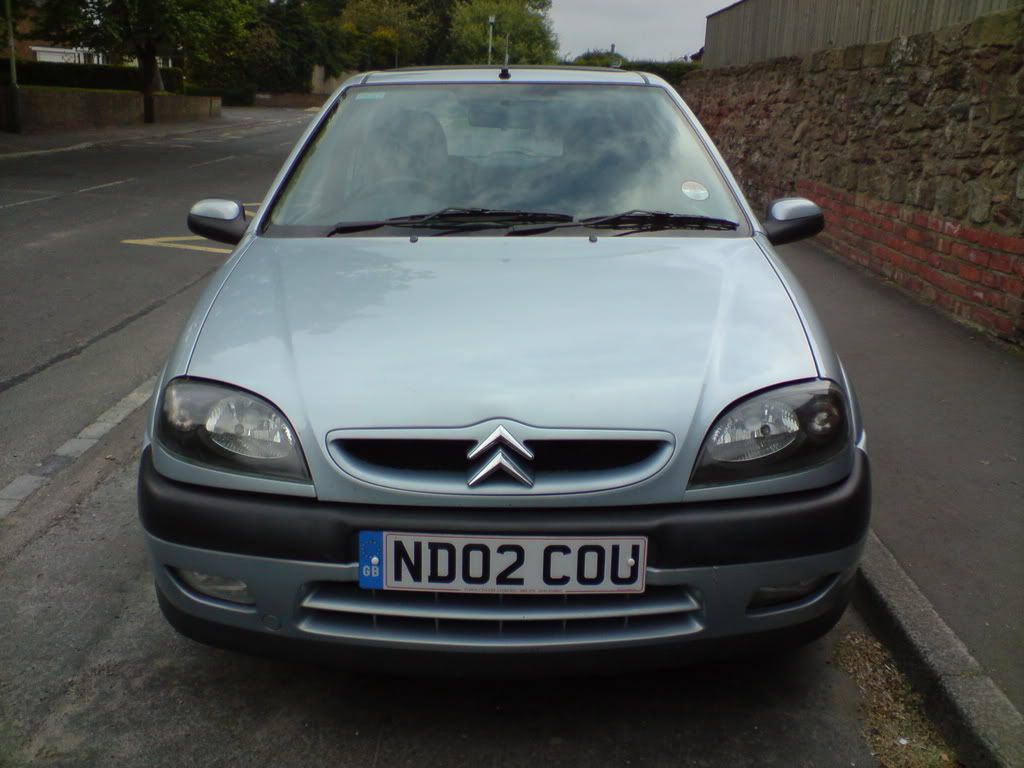
Here's the outcome...


looks alot better imo...i also did my grill...theres a guide on here for that also :)

Cainevtr 28th May 2008 10:57

Cheers mate, my car needs a new grill so ill pop to a scrap yard and get them done! :D

spoon_19 28th May 2008 19:34

Awesome guide mate, wana do my lights when i get paid :D

All the pics of them on here look wicked!

Furio_Rob 16th July 2008 22:07

how long will this take?
i've heard people can do them in half days but normally you gotta leave days and even weeks for all coats to apply

Bondie 16th July 2008 22:18

Takes about 2 hours mate from removing the lights to fitting them back in. Easy job!!!

Bondie


All times are GMT. The time now is 10:40.

Powered by vBulletin® Version 3.8.2
Copyright ©2000 - 2025, Jelsoft Enterprises Ltd.