Fitting a TU5JP4 (C2, 206, 307). What you need to know - detailed guide
Contents
Step 1: Getting ready Step 2: Identifying engine Step 3: Swapping the inlet manifold Step 4: Swapping the cam belt covers Step 5: Swapping the engine mount Step 6: Converting the oil filter Step 7: Swapping the sump Step 8: Other things to consider Step 1: Get everything ready This guide is based on using the 110hp C2 vtr, 206 and 307 lx engines. C2 vts engine is slightly different and more powerful as a result. I recommend having an old J4 engine to take the parts off to swap but you can probably find all the bits seperate on e-bay / for sale on here. Just check you have EVERYTHING you will need as its realy annoying having to ask your mom to give you a lift 10 miles to halfords for a stick of loctite or an oil filter. Get your engines in a space that you are comfortable working in, indoors is obviously much better if it rains! and a healthy supply of tea is preferred: 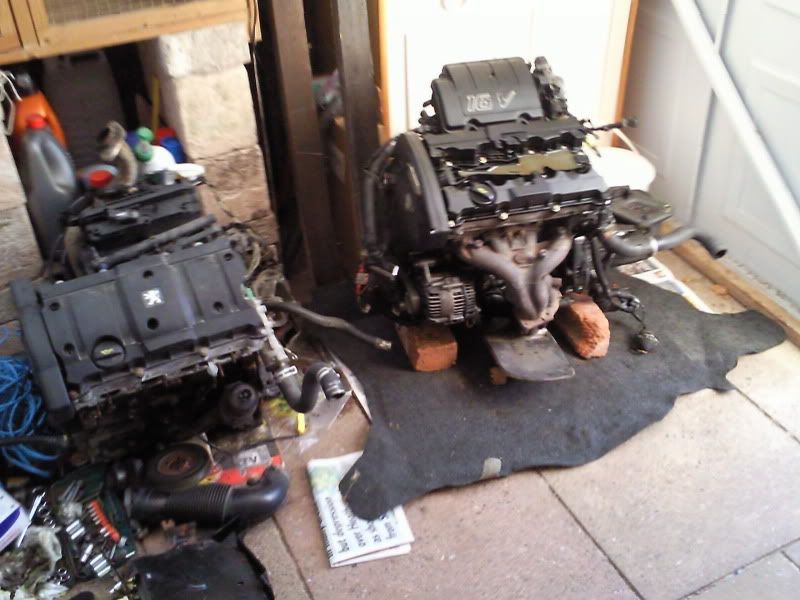 It also helps if you have a dog tethered to a bin outside with a caravan and lots of dirt and holes in your jeans so you look like a pikey, this also means you can constantly quote "d'ya like daaaargs" all day:  (I didn't want to leave him at mine and had to stop him killing my moms cats or running off out of boredom lol) Leave everything on your J4 until your ready to swap it or take pictures of how everything is assembled, especialy alternator tensioners and cam belts. Step 2: Identify your engine There are two types of JP4 block, this doesn't make much difference but it helps to know these things. Easy way to tell is, does it have a blanking plug for the oil pressure sensor? (where it would usualy be on a J4 block). If it has then its the earlier type and if its just blank then its the later type. You can also tell from the engine number sequence. Engines before number 2336722 are the older type and after 2336723 are the later type. Earlier type: 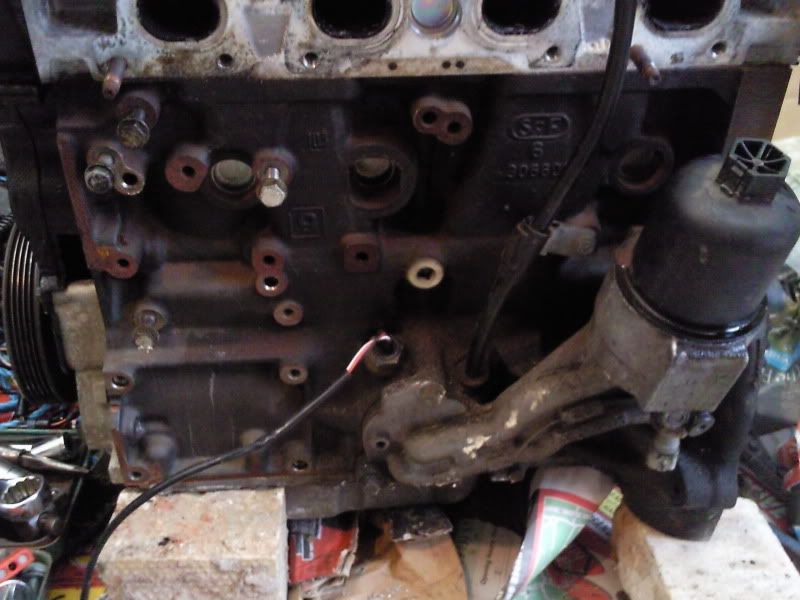 Later type: 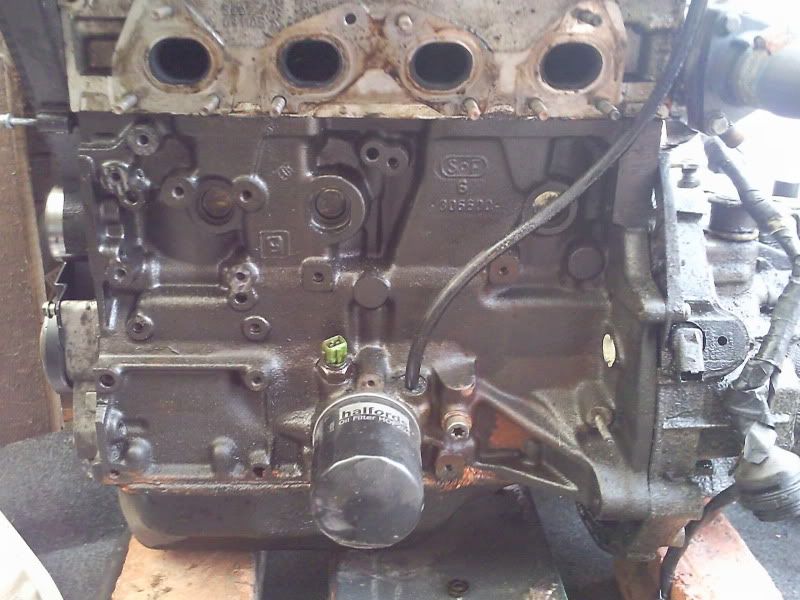 (ignore the fact that this has already had a J4 oil filter conversion) The only other difference between them I can find at the moment is the fact the cam cover gaskets have different part codes. This is because the earlier type uses a seperate rubber seal and the newer one uses a complete seal and baffle plate as below: 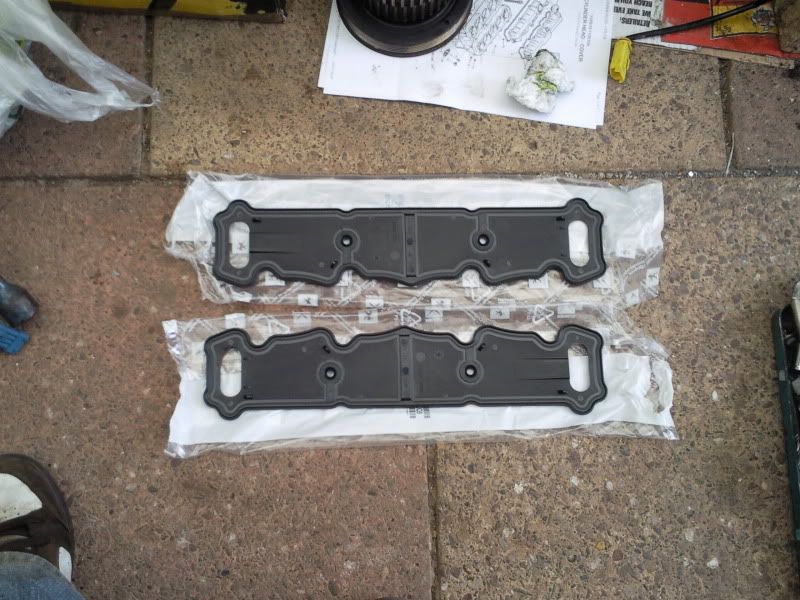 Step3: Inlet manifold Right this is where your most likely to make a disastrous error. If this looks too complicated then your journey ends here or you need to get some cash out and buy a cable adaptor from GMC. The reason for changing the inlet is simply because the JP4 uses a fly-by-wire electronic throttle body rather than a cable, and simply swapping the throttle body doesn't work as they are different fitments (the J4 inlet and body is also bigger so more airflow = more power) The JP4 uses a different stud pattern to fit so you will need to drill and tap holes for 5 new studs. To do this you need to make a template for drilling. I am using a piece of thin corrugated card as it is easy to mark holes by pushing bolts into it. You can come up with your own method but I will detail how I did mine. Remove the two upper studs and the large centre stud. To do this without damaging the studs wind 2 nuts onto the thread and tighten them to each other, then use a spanner on the nut behind to unscrew: 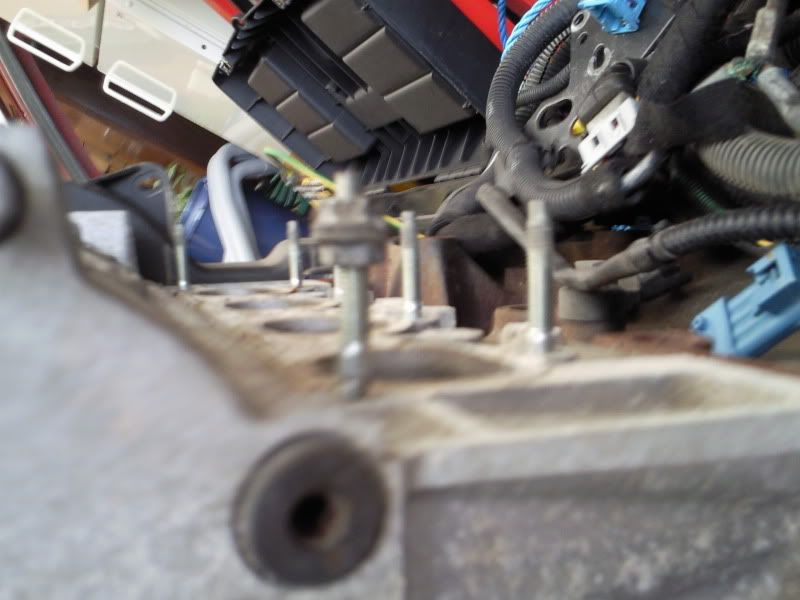 Use this method to remove more studs from the J4 head Now place your card on a flat surface and place the J4 manifold ontop (you could secure it with tape just make sure it stays still. Then using a screw or similar make a shallow indent in the card on every hole: 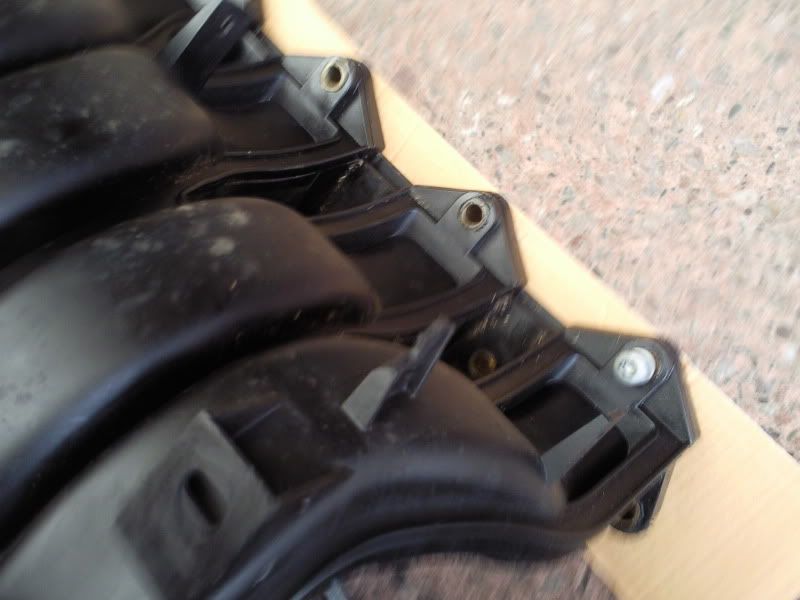 Remove the manifold and check the spacing of your marks as follows (use a ruler not a tape measure this is for illustration only): Between middle stud and adjacent stud 85mm: 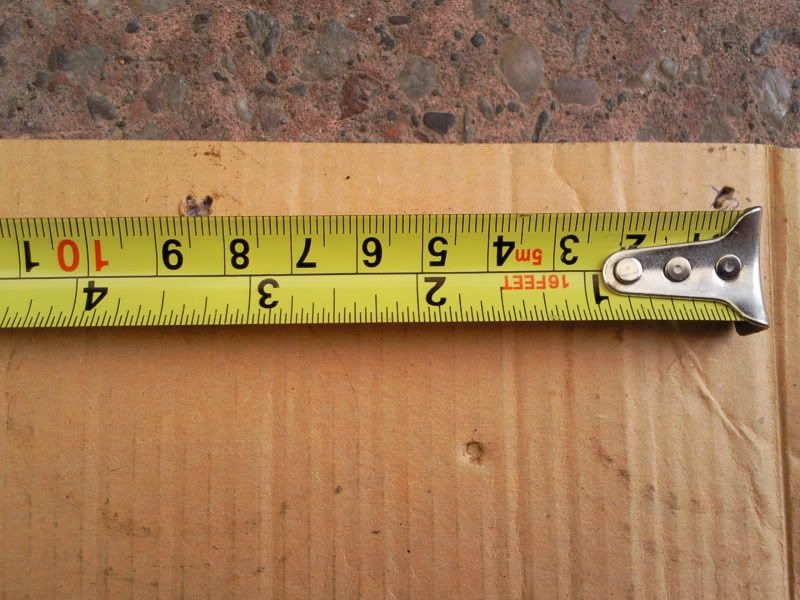 Between outer and adjacent studs 72.5mm 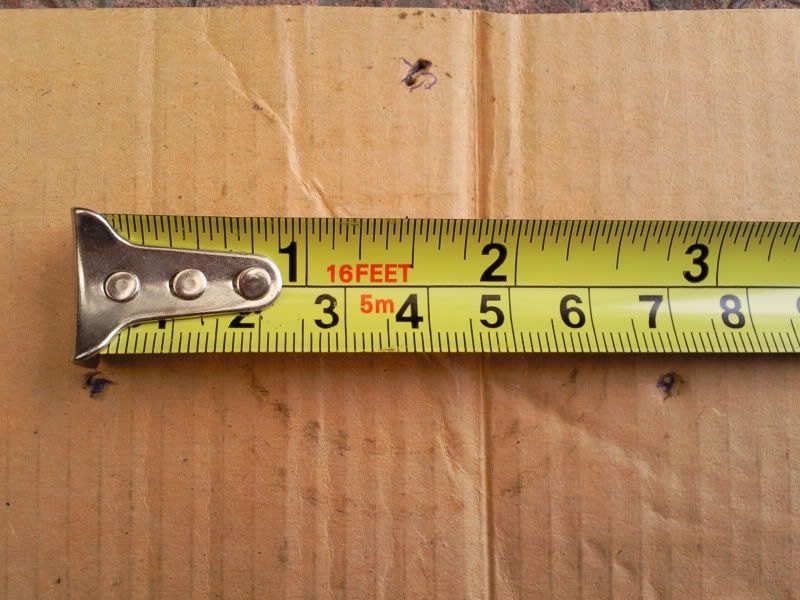 Between middle and opposing studs 60mm 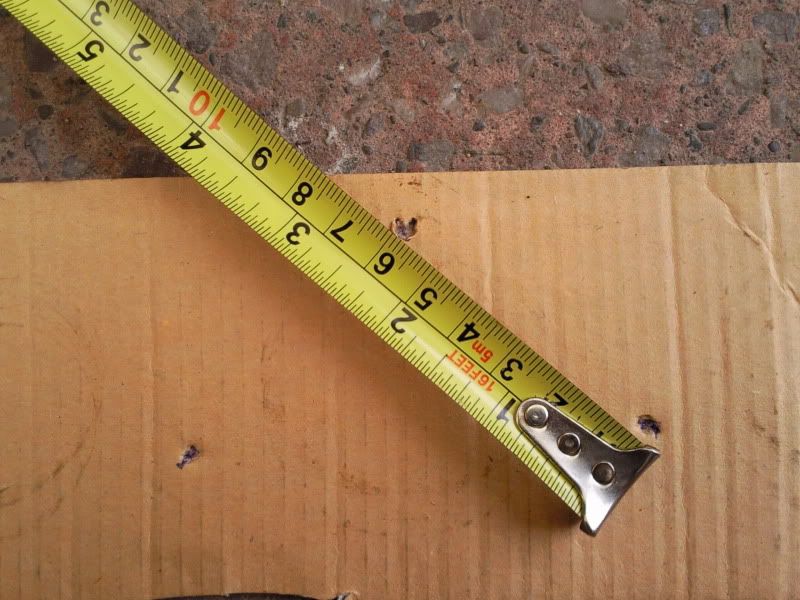 Now draw two straight paralell lines through the 2 rows of studs, there is 44mm between the two lines and your outer two studs should sit just below the top line. Now press your template over the studs on the engine (only the bottom four): 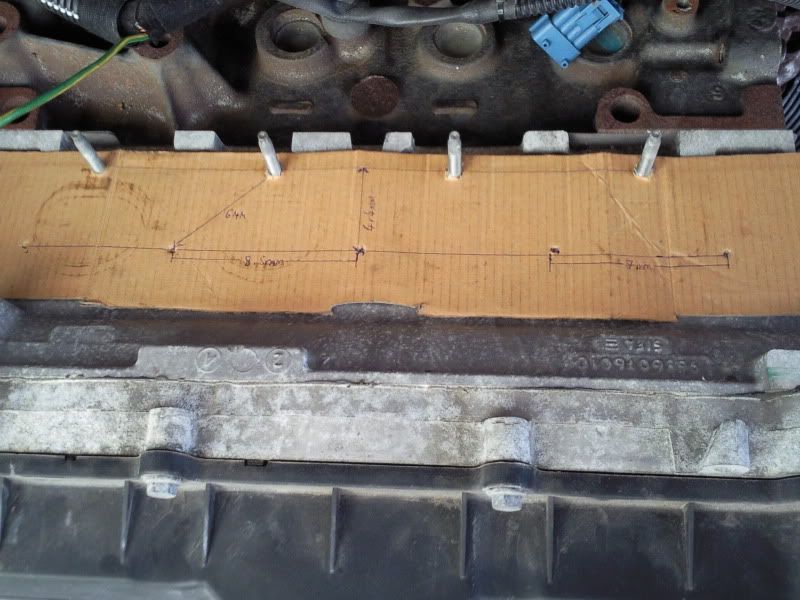 Now place you template back onto the manifold and push some bolts throught the holes you just made to hold it in place. Then make your holes for the top row (if you get it wrong you'll know because the punch won't go through): 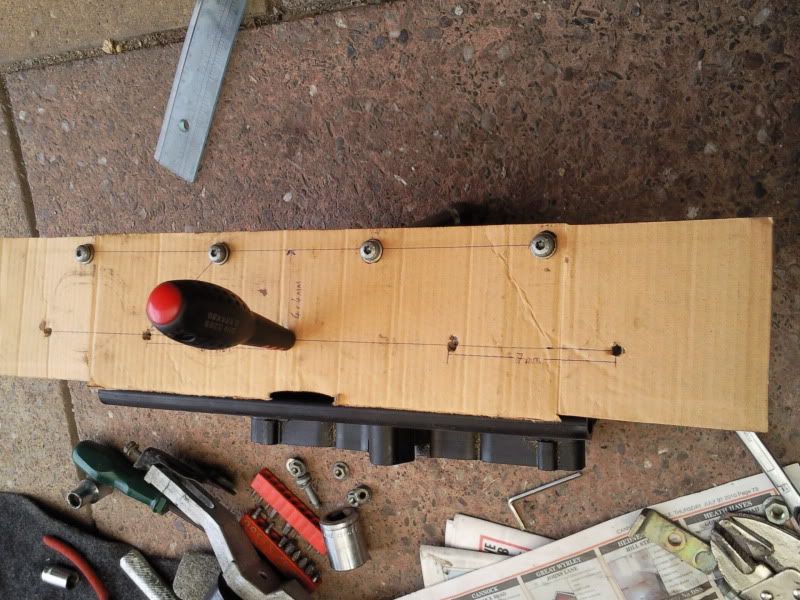 Place you're template back over the studs on the head and secure it with nuts: 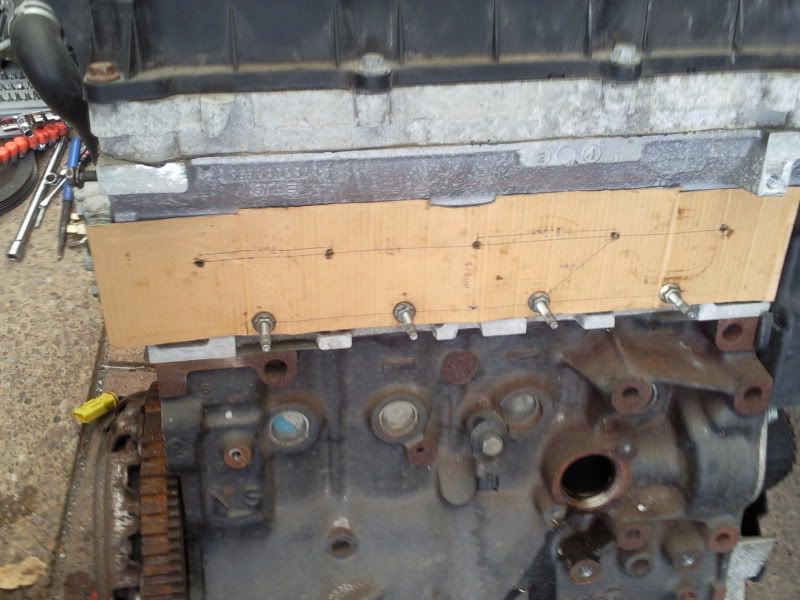 Now using a 5.5mm metal drill bit make a very light indent in the head for each stud: 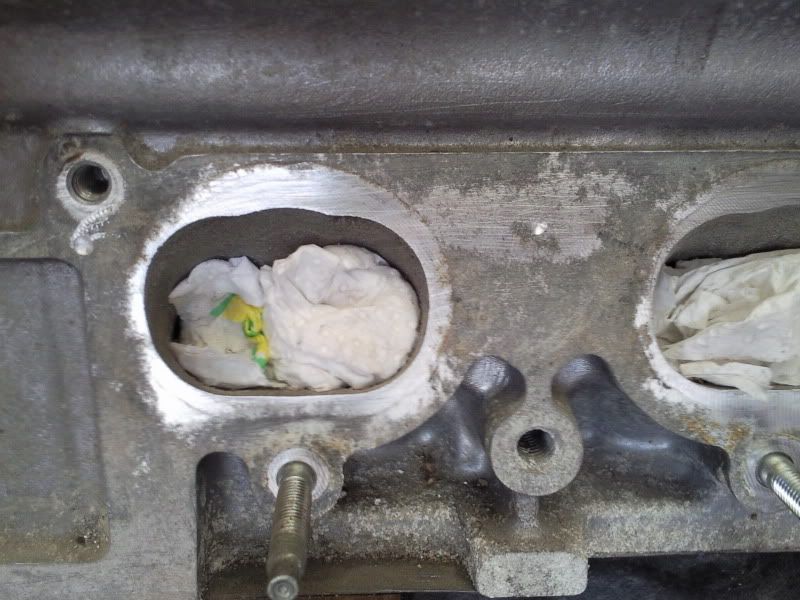 Remove the template and check all your measurements, if you've used card like me its likely your holes will be slightly off. If you need to drill on the edge of an existing indent (quite difficult as the drill will slip back into the dent) use a punch to level the edge off and give you a point to put the drill into: 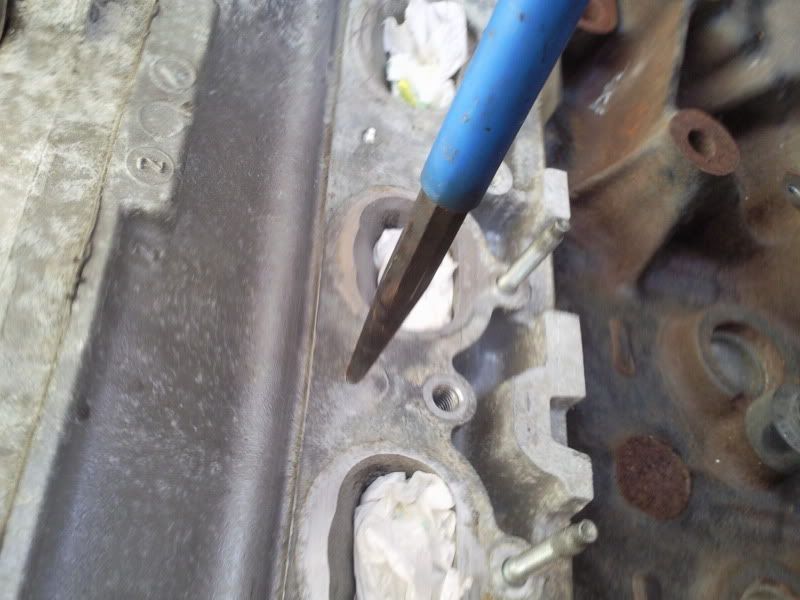 Now you're ready to drill properly. Set your drill to a slowish speed and make sure its not in reverse ;). Get the enigne as level as possible and drill straight as you can (my drill has a spirit level in it which is just the job!). After you get down about 5mm stop and just place a stud in the hole then push you're manifold over to see if its still straight: 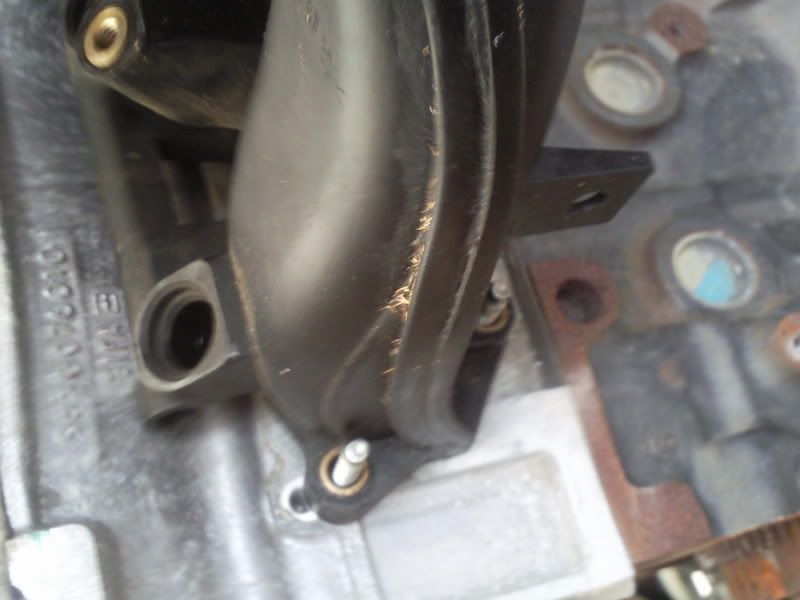 Now you can continue and drill a further 10mm or so (check with the hole you removed the stud from earlier). Blow out the swarf and get a 6mx10 tap screw and thread it into the hole, checking its straight after the first few turns: 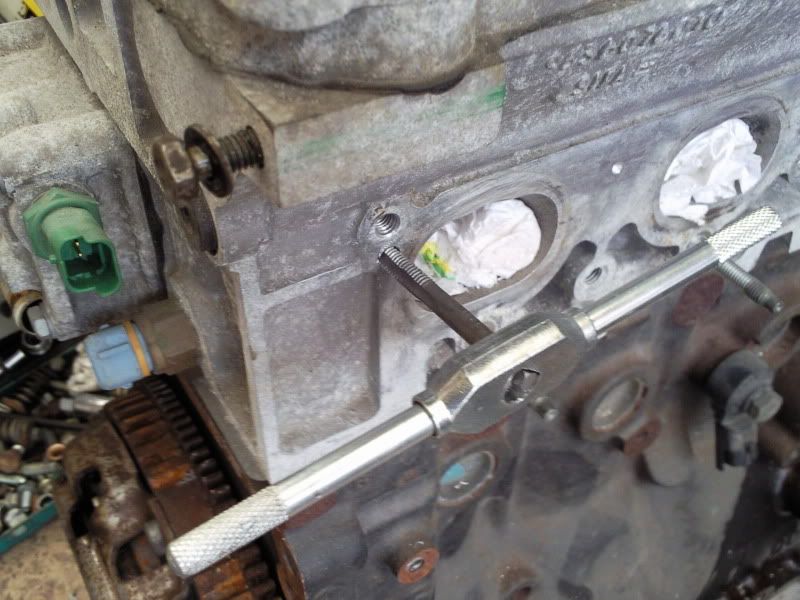 Now screw your stud in: 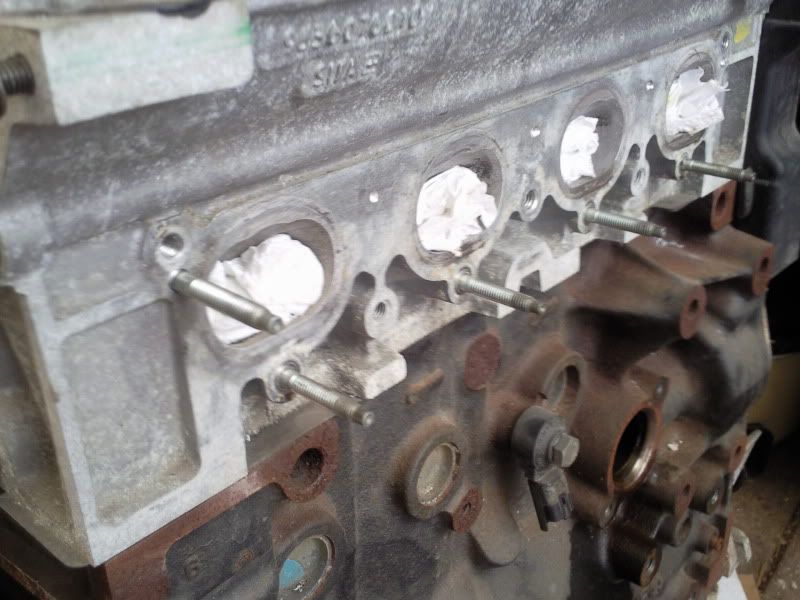 Do the other 5 checking everytime that its all ok and you'll end up with this: 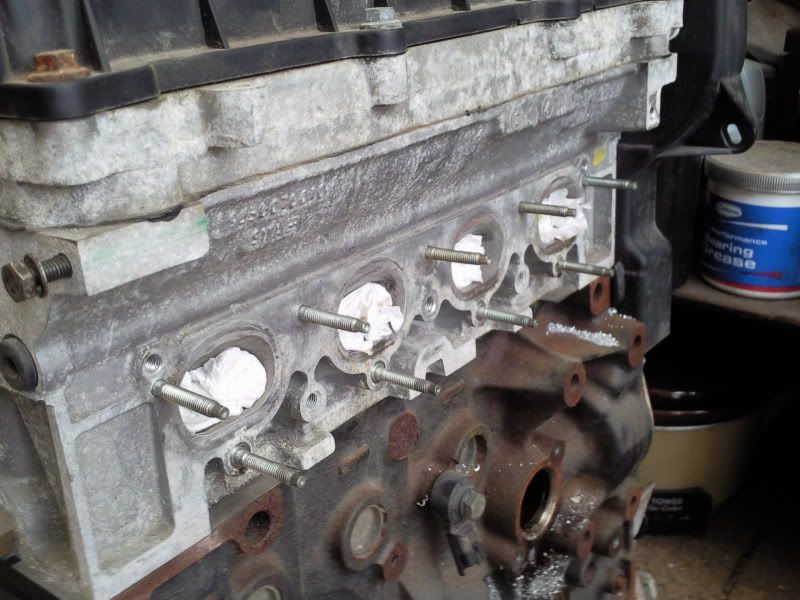 You can also simply cut a notch into the 2 outer holes on the manifold and with the use of a washer tighten it down using the original studs. Thread lock the studs and fit your manifold and airbox! Note: You will have to remove the larger M8 centre stud from the JP4 manifold that uses a small metal plate to hold the manifold in place. If like me you happen to have 2 of thses then there are 2 holes either side of the centre that you can re-use these plates in to give the manifold extra security like so: 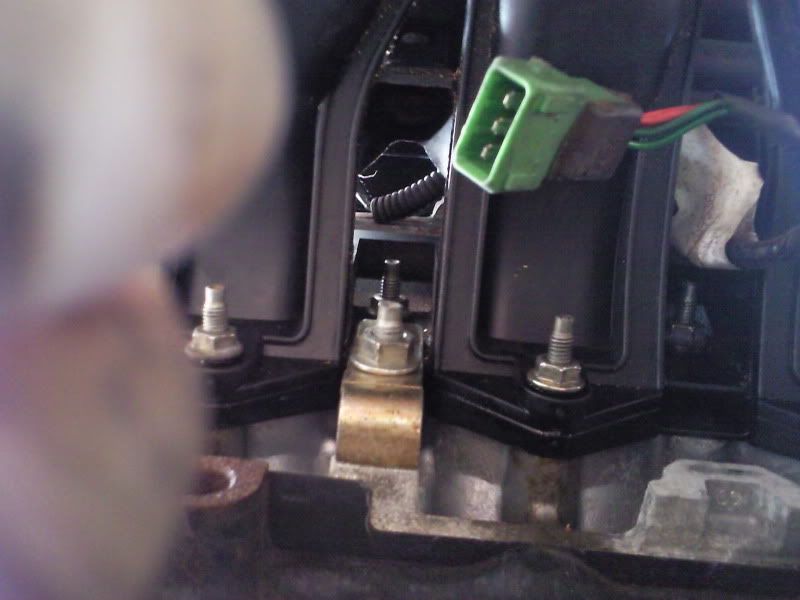 Step 4: Cam belt / covers Remove the drivers engine mount which will look something like this (you'll need a T50 for the bolts: 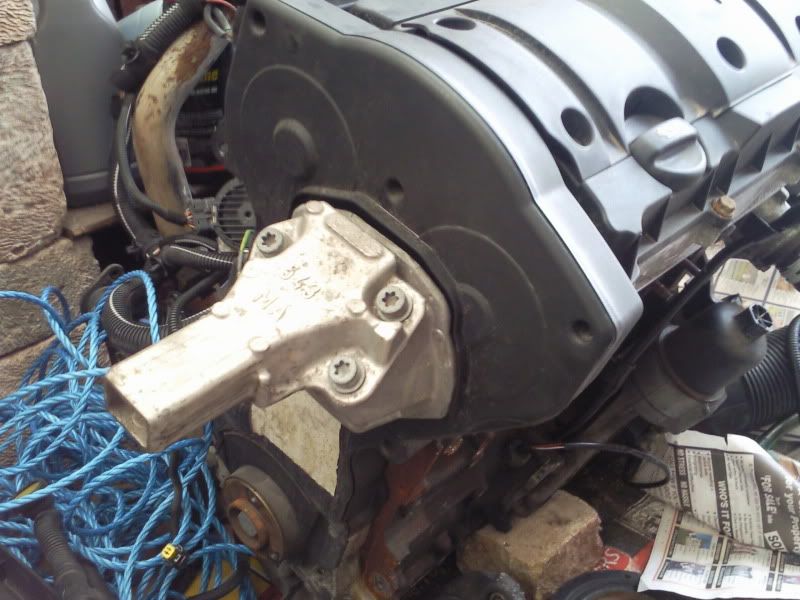 You'll then notice the gaping hole in the covers: 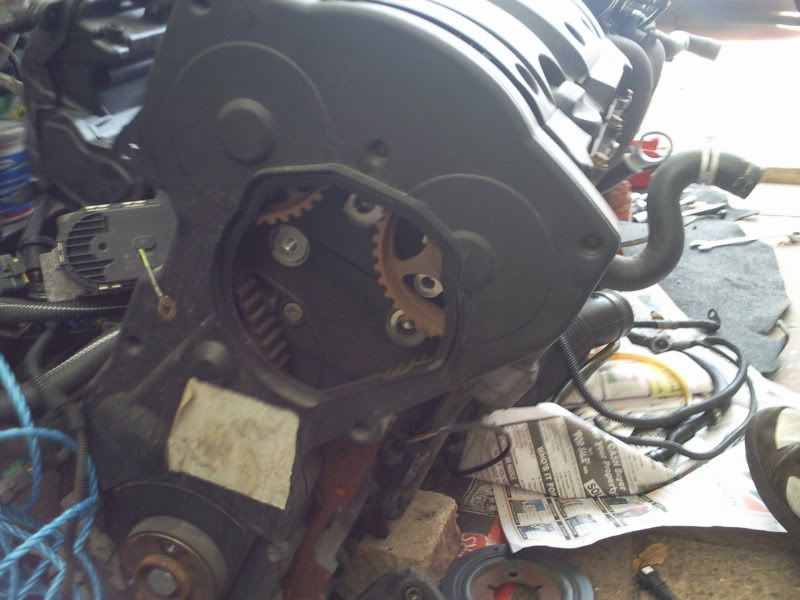 You can use these covers but you should fill the hole in and you will have to trim the back of them to fit the new engine mount in place (see later). I prefer to swap them over so that means swapping the tensioners, this is a handy time to change the belt also. J4 cam belt setup: 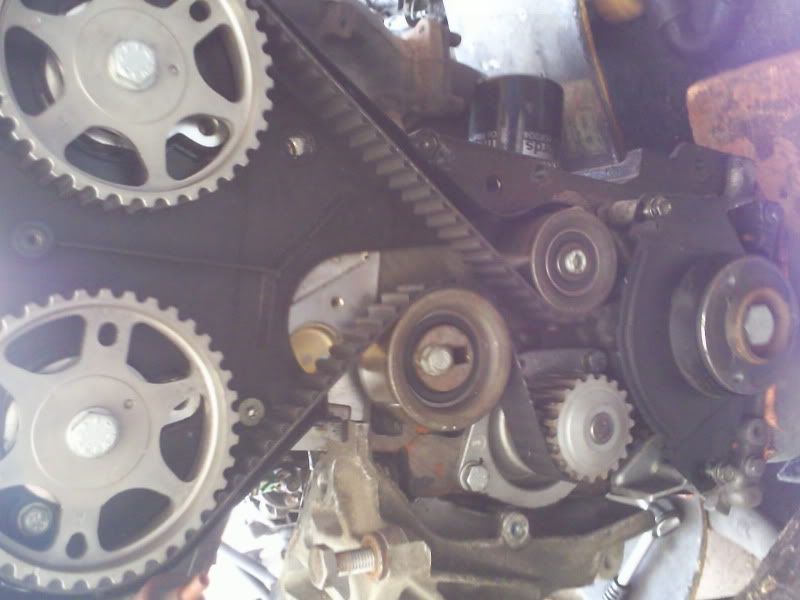 JP4 cam belt setup: 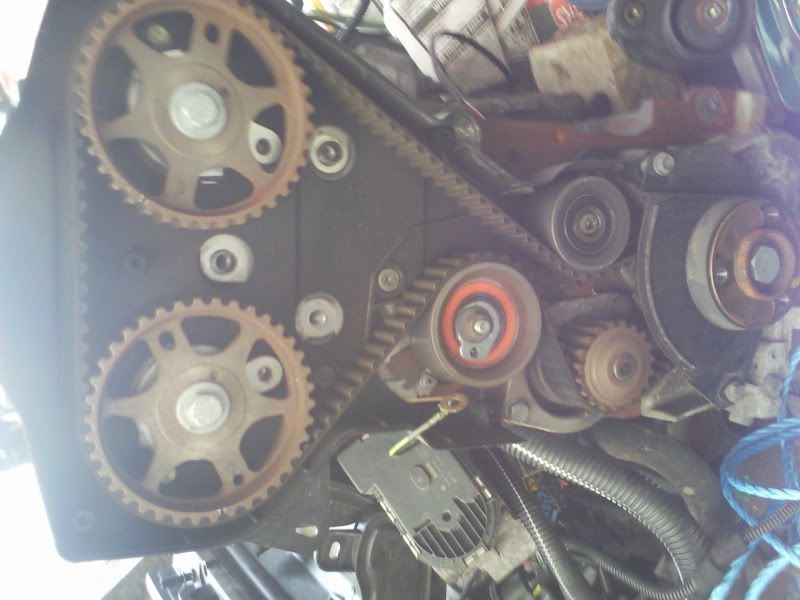 If you look closely you will see there a few differences with the tensiors, the JP4 one sticks out too far to fit the J4 cover over it doh! You wil have to remove the centre pin from the J4 tensioner aswell due to the fact the JP4 just uses a bolt straight through. There is also a small lug behind the tensioner on the JP4 that needs to be removed with a set of grips and discarded. When you come to fit the covers you will need to remove the pulleys (lock them and note which is the inlet and exhaust, they are marked with an A and E) and any locating dowels from the JP4 block. Use any bolt etc. thats a tight fit and line them up with the holes in the head: 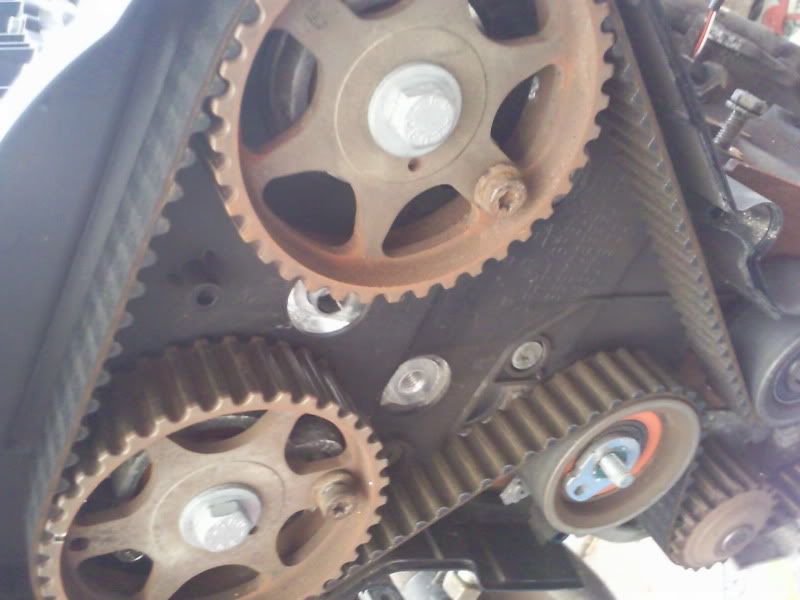 Then lock the flywheel using the hole above the sighting hole the top one of the three in this pic: 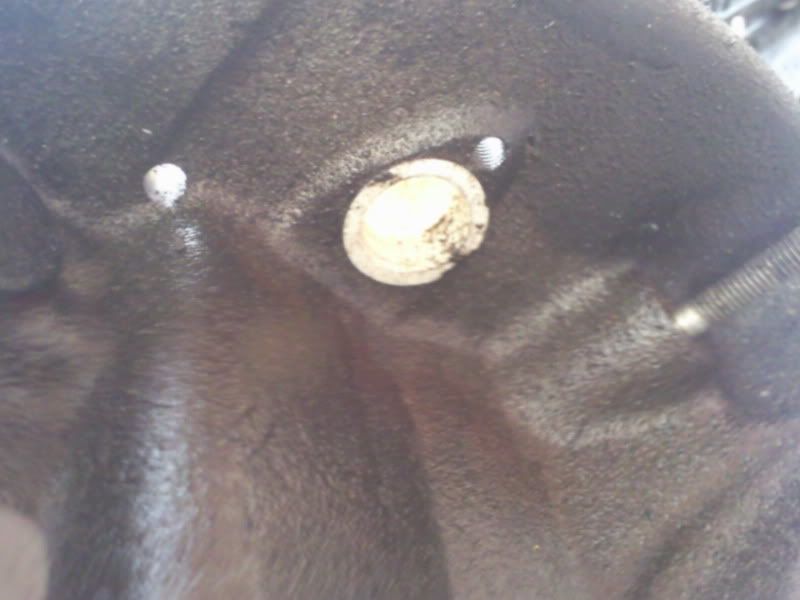 Use a 5mm drill bit for this as it works a charm (ignore the fact this ones bent!): 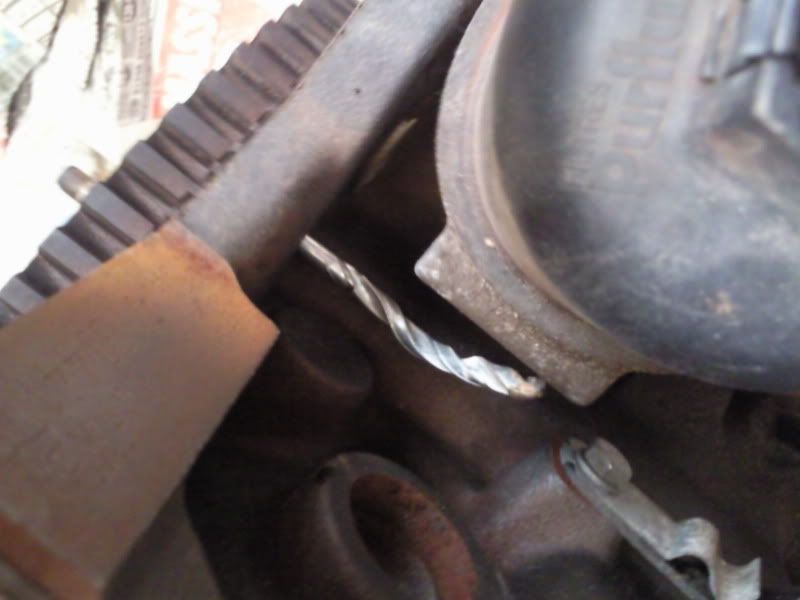 You can now slacken and remove the belt. Swap the covers and tensioner over and fit the new belt making sure the pulleys are locked correctly, tension as normal then fit the outer cover. Jobs a good'un take a drink Step 5: Engine mount To use the saxo engine mount you have to remove the aloy mounting block from the rear of the bottom end over to the JP4 block. To do this simply undo the 3 16mm bolts and 19mm nut, then prise it off. You will need to use a decent pair of grips to remove the stub pin and then transfer it over: 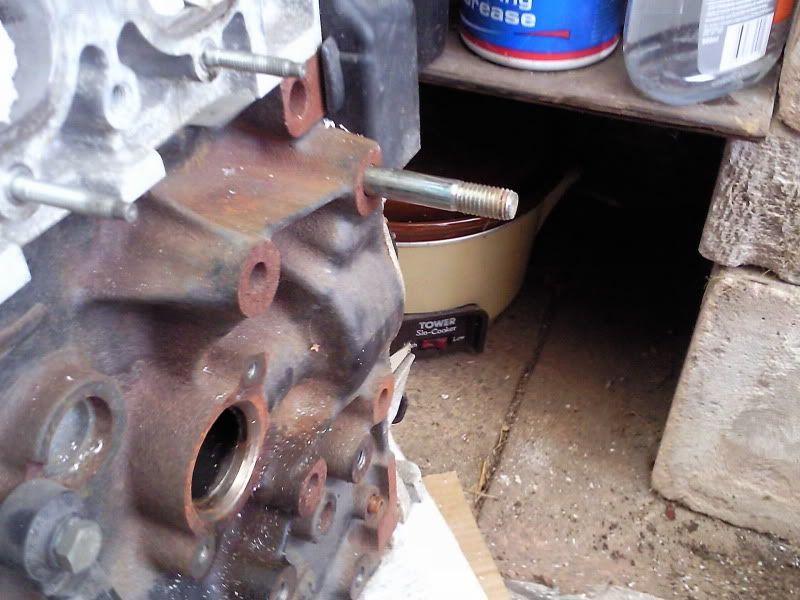 If you're using JP4 cam covers then you will need to trim them slightly as the block won't sit flush: 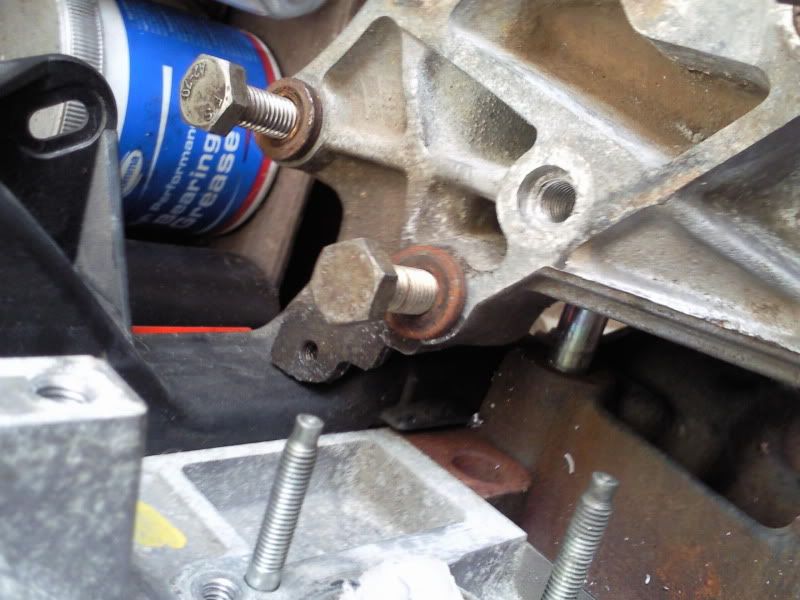 Then simply tighten it all back up again...... simples Step 6: Oil Filter Because we are going to be using the J4 manifold (unless you want to spend £££'s getting a custom exhaust made) we need to get rid of the relocated ECO friendly paper filter thingy. To do this remove the JP4 manifold if you have one with the engine: 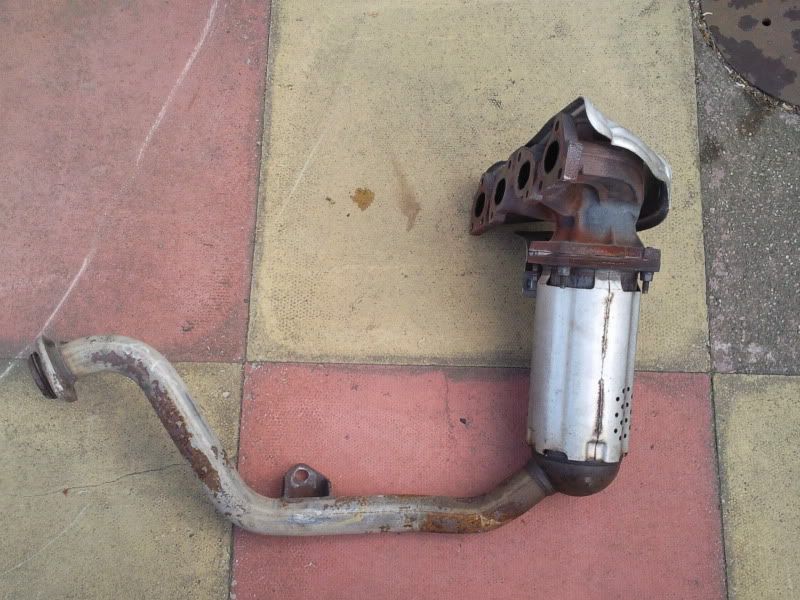 As you can see its extremely restrictive and incorporates the cat much like the later Saxo VTR. Remove the 4 bolts holding the oil filter housing on and take it off being careful not to spill too much oil (put a bucket underneath) and you'll be left with this: 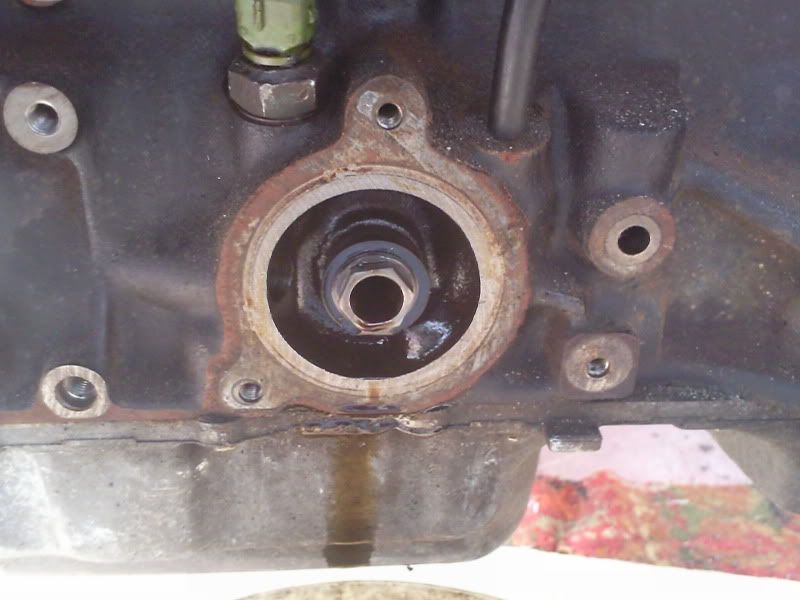 Using a 19mm socket remove the insert from the middle of the housing, you won't need this anymore. As you can see from the above picture there is a hole in the block just to the right of the oil filter housing. This needs to be filled as it of no use anymore and will leak oil. To do this you need to drill it out and tap it with an M10 tap (the hole is actualy M9 but I have never seen an M9 tap): 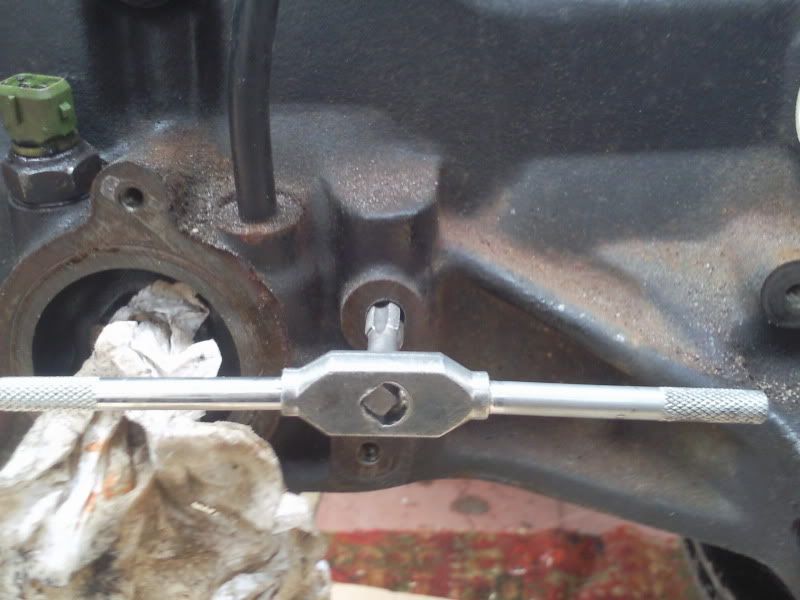 Once you've tapped it put a bit of sealant round a washer and tighten a bolt into it. Do this whilst the sump is off (see step 7 for sump change) and clean all the swarf etc. out from behind the hole afterwards else it will clog up the oil pump. Now you need to transfer the threaded insert from your J4 oil filter housing into the JP4. Sometimes these will unsrew by hand.... bonus... if not you have to very carefully remove it by wrapping a rag round it and getting a tight pair of grips on it, if it slips and you knacker the threads you can buy a new one for about £5 from citroen (part no: 1103 A7): 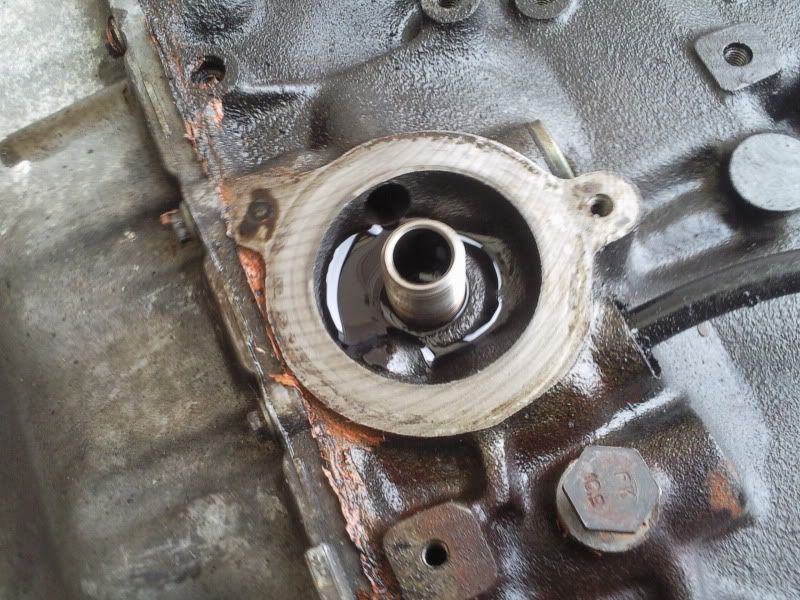 Screwing this in by hand will be enough. Now you just need to fit a new oil filter with a smear of fresh oil. Don't forget to fit your oil pressure and level sensors, To remove the blanking plug use a sump plug and spanner: 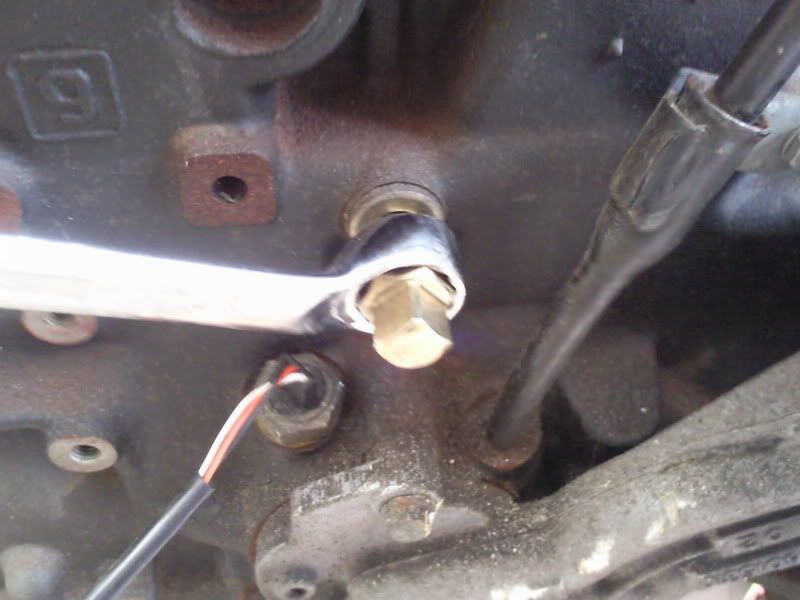 Then simply fit the sensor with a 22mm socket. If you are using the later type engine that does not have a plug, the only way to fit a pressure sensor is to buy a sandwhich plate and attach it there. Step 7: Sumps The reason the sump needs to be swapped is that the JP4 sump has an extra chunk of metal which acts as a flywheel guard: 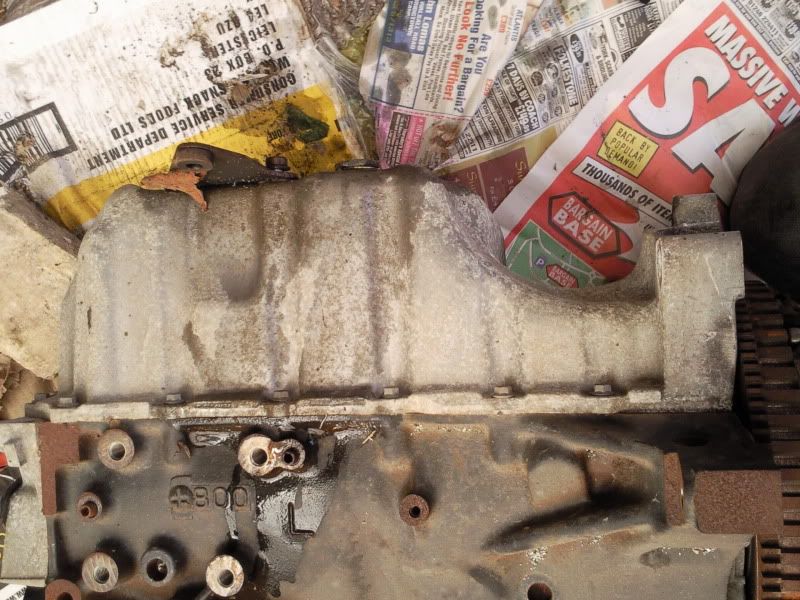 This is irritating as when you try to fit the manifold this hapens: 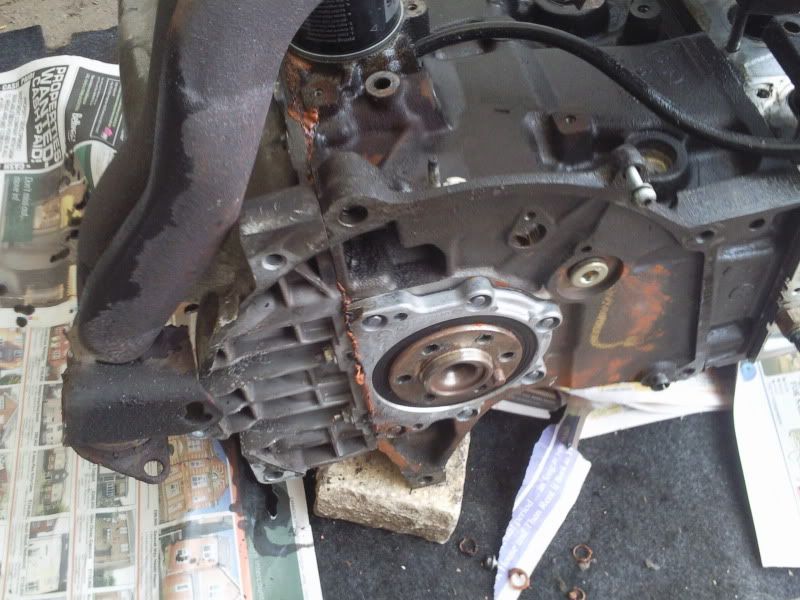 I prefer to bolt the new engine in before removing the sump as usualy theres still oil in it which is difficult to drain unless its on a stand. You need to undo all the 8mm bolts and then the three 10mm nuts and then prise the sump off with a screwdriver or just tap it lightly with a hammer and it will come loose. Do this with your J4 sump also and clean all the old sealant from around the lip and clean any traces of oil from the bottom of the JP4 block mating surface. Apply a bead of suitable sealant around the lip of the J4 sump (or 2 beads I find is more effective and less messy): 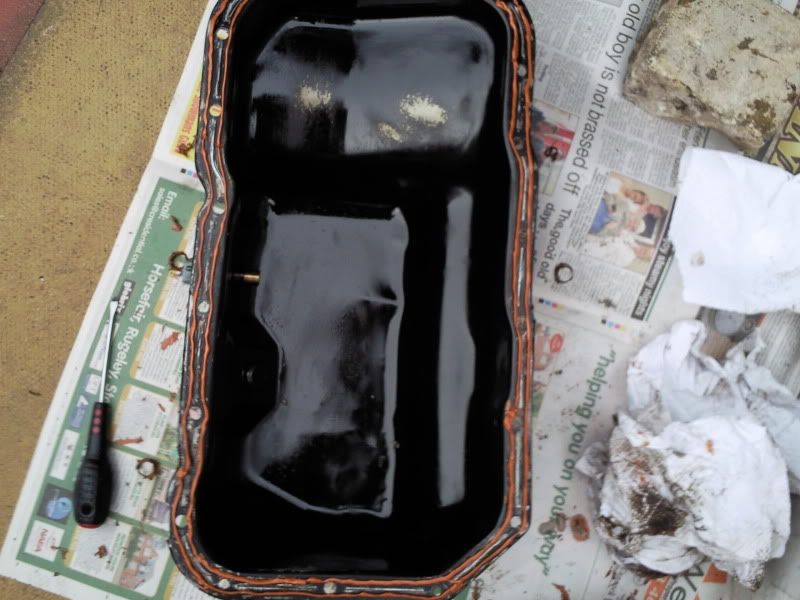 Then simply bolt it into place (10nm of torque for the bolts). I use a jack to hold it in place whilst I do up the bolts Now you can fit your J4 manifold! Step 8: Other things to consider There are several other things that you may need to consider when doing the conversion. One of these is the loom your using. If like me you are using an older single plug loom the connectors for the sensors are different so these need to be swapped over, not realy difficult but very neccesary. You can use the clutch assembly from the JP4 engine you just have to make sure you have the correct release bearing to match the plate. If you are using a J4 bearing you will need to swap the clutch and flywheel over to the new engine Another thing is what dipstick to use. Idealy you want to be using the J4 dipstick as the low level notches are different. The dipstick housing on the J4 is in 2parts but if you have a later JP4 it is likely to be a one piece that is longer, you will not be able to use the J4 stick as it is too short. See the pics below that highlight the differences: 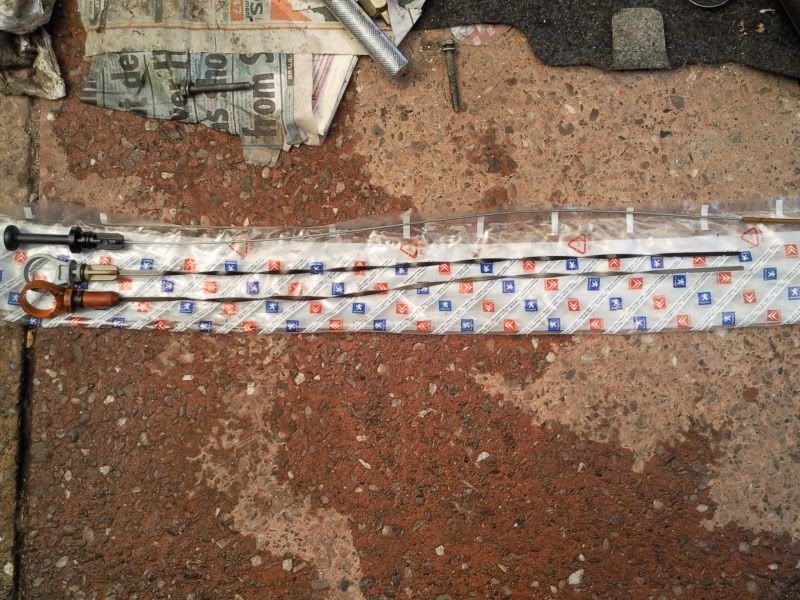 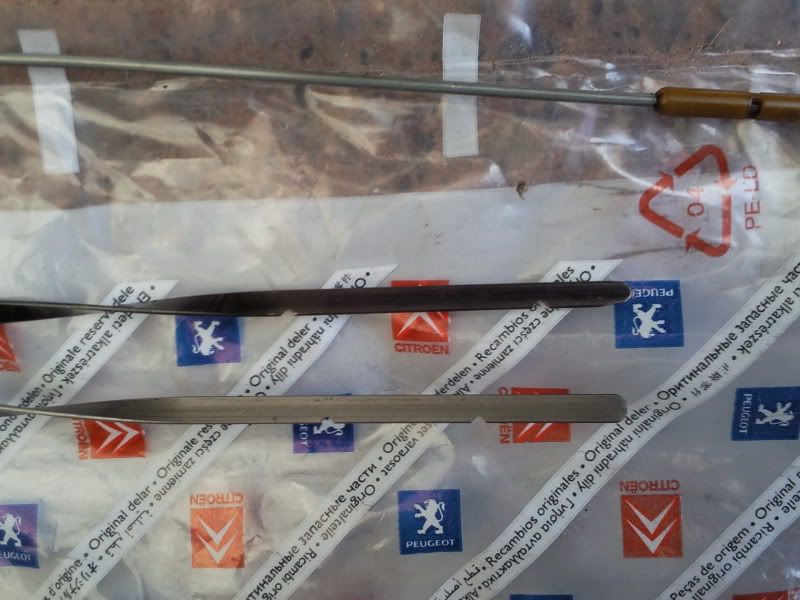 I hope this guide has been of some use to people. If I think of anything else I'll add it here. |
Good Lad!
|
Cracking guide :y:
|
Great guide :)
|
good guide, might be having a 206 in mine so great help :y:
|
rather than drill the block for the outer holes that dont line up, just notch the inlet manifold and use a washer. Quicker and easier, had no problems doing it so far.
|
Quote:
|
thats a good guide there buddy!
|
Right guide is now finished I think, hope it helps
|
dont forget, flywheel if using early type clutch, sensors, thermostate housing and driveshaft centre bearing bracket.
|
Quote:
I'll get pics of the bearing carriers tomorrow and add those |
Its all rather well. You can drop one in my 1.1 when my no claims go missing.
|
well in mate brilliant guide ive got an engine thats already had the conversion done. now i really apreciate the work that went into it.
|
Thank you very much! This is very relevant to my interests!
Sticky this shit! |
add to the "things to consider" list;
find one already bolted to a BE4 box, and fit the whole lot :D |
this guide is great mate :y: very detailed, well done
|
one very small point the hole for locking the flywheel is 6mm --not 5mm
yes i know it seems like 5mm --but its the rust in the hole --clean it out. you can also leave all the std cam belt covers on the jp4 etc and just cut out a bit of the inner cover and vts mtg bracket will fit in anf fill inthe big hole with something . I will qualify this by saying anyone that is going to tune this engine and use high rpms and big lift cams needs to convert to j4 type cambelt tensioner .as well as changing springs +caps self adjusting type is not suitable for high lift cams+ extra rpm overall a very good guide . the easy way to drill the head is if you have an old j4 inlet manifold --cut off the flange ,use the 3 lower holes that line up to bolt it on and then use it as a template for other holes. If you are going to fit our ATP type bodies they have both sets of outer holes already in them so you can forget doing the outer holes,which are a bit nasty cos they are close together |
Great guide! Now i know who that AX i've seen a bit round cannock belongs to.
|
so am i right in thinking that i should just buy a j4 timing belt kit to replace the jp4 when it comes to changing the belt?
|
The only difference i found when fitting my J4 timing kit is that the bolt for the J4 tensioner is bigger than the JP4 one, so i had to replace the stud with J4 one
|
| All times are GMT. The time now is 20:00. |
Powered by vBulletin® Version 3.8.2
Copyright ©2000 - 2024, Jelsoft Enterprises Ltd.