
 |
How-to-guide: Refurbing and spraying your alloy wheels
First things first... refurbing and spraying alloy wheels is a very long task... do not attempt to do these unless you have a serious amount of time on your hands... and will persevere through boring sanding in order to achieve a good result... it takes roughly 1-2hours to sand paper prepare one wheel with very few curb marks.. it takes roughly 4-6hours to sand prepare one wheel with major curb marks...
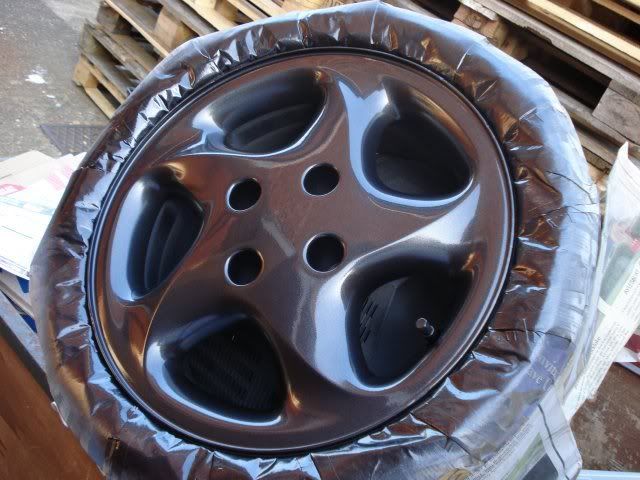
Things you will need: Rough estimate for materials needed: £50 Spare wheel, jack, bolts, filler (depending on how curbed your wheels are), 3/4 large cans of primer, 3/4 cans of chosen colour paint, 1/2 large cans of CLEAR laquer, a pack of 240 grade wet/dry paper, a pack of 1200 grit wet/dry paper and two large roles of masking tape... if you have some serious curbage or would like to save some time SOME of the preperation work can be done using an orbital sander with fine grade pads...   We start of with curbed boring looking alloy wheels:    The guide: The first stage is removing the wheel from the car, make sure you use the car's jack points to avoid damaging the underside of the car... (if you are unsure of how to change your wheel - follow the instruction in your saxo owners handbook) Once the wheel is removed they need to be cleaned front and back... i covered mine in Autoglym tar remover and allowed time for it to soak in before rubbing gently with a wheel brush... this was then rinsed off and dried with kitchen paper.... Once dry, deflate the tyre completely, by unscrewing cap and pushing in valve... once flat... bend the tyre wall down (gently) by standing on it.. and tuck masking tape underneath the lip of the rim.. work your way around slowly... if you have a lot of tyre shine on your tyres the tape may not stick.. so work your way out the tread of the tyres as the masking tape will stick well there... you also need to mask around your tyre valve cap. It should look something like this:  Once masked the sanding can begin (the time consuming bit)... Rub over the entire front face of the wheel... including every single nook and cranny with the 240 grit wet and dry paper. You will notice when and area is 'ready' as the surface will have lost it's clearcoat and will look either like primer grey, or like bare metal (depending on how deap you have to sand to remove marks).. You do not have to sand the wheel all the way back down to metal.. you need to remove the surface clearcoat... and ensure the whole surface is flat and mark free... Work around the wheel systematically with the 240 grit paying particular attention to the lip of the wheel... where there is bubbling or curb marks you will need to work on these areas for some time to make the surface flat... an orbital sander could be used at this stage to save some time.... Filler: This may not be necessary, it depends on the nature of the imperfections on the wheels... my advice would be only use filler were 100% essential... as if used incorrectly can flake off and make the lifespan of your wheel paint job significantly less.... If needed follow the next section: Mix up some filler with hardener (a golf ball size of filler to a pea size of hardener) like shown:  Once thoroughly mixed you will only have around 5 minutes to apply the filler... apply it sparingly as sanding down excess filler can take a long time... Carefully fill any deep surface defects in the wheel:  Once filler is used leave for several hours before resanding the areas flat...the exact duration will vary depending on the filler used... Back to the guide: Now the wheel should be reasonably smooth, and flat... where bubbling used to be, you should now be able to brush your finger over the surface without feeling any resistance... If this is the case proceed with sanding the entire wheel with 1200 grit wet and dry paper... this will make the surface of the wheel entirely smooth... When rubbed down and smooth, it should look something like this:  We are now ready for primer... apply one light coat of primer to the entire wheel... allow 15 minutes for it to become touch dry... At this stage assess the wheel... if there are any visible imperfections go back to the sanding stage and keep working on it... do not carry on priming and painting.... the imperfections visible at this stage will be magnified by painting and laquering... so it is crucial you go back and filler/sand out the imperfections... If after the first coat of primer the wheel has no imperfection apply another coat of primer... i recommend applying 3/4 coats of primer leaving 15-30 minutes between coats for it to dry... then leave the primer for 24hours to fully dry... it should look like this:   Once the primer is dry you are ready to apply paint... shake the can well before applying... apply lots of thin coats... as most wheels have lots of corners it is vital you do thin coats as paint can quickly accumulate leaving run lines... I recommend applying around 4-5 good coats of paint leaving 15-30minutes in between coats to dry...  Then leave the paint for 24hours to harden fully... then you are ready to start laquering... Apply 3-4 good coats of laquer also being careful not to leave run lines... allowing 15-30minutes between coats... once laquered leave the wheel to dry for 24hours.. it is then finished... It should look something like this:   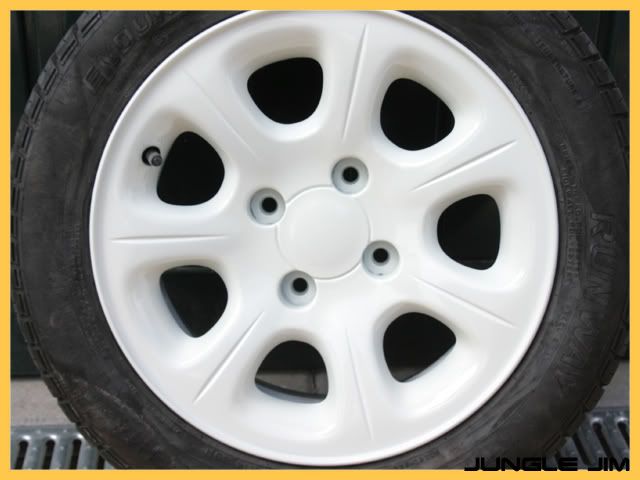 Remove the masking tape from the tyre wall and the valve cap... re-inflate the tyres, then tyre dressing can be applied: Quote:
Now stand back and admire all that hard work: 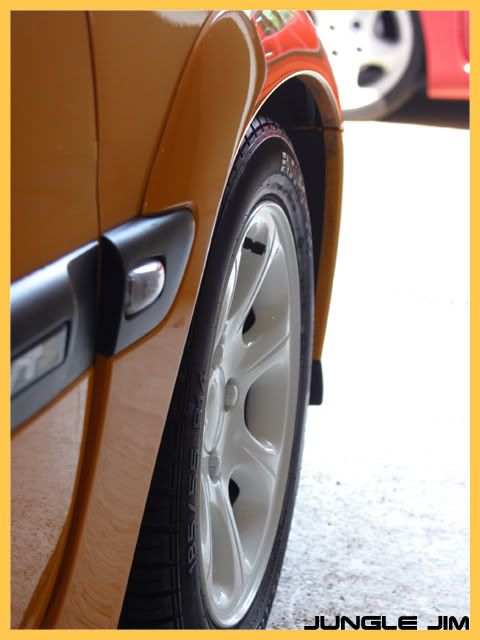 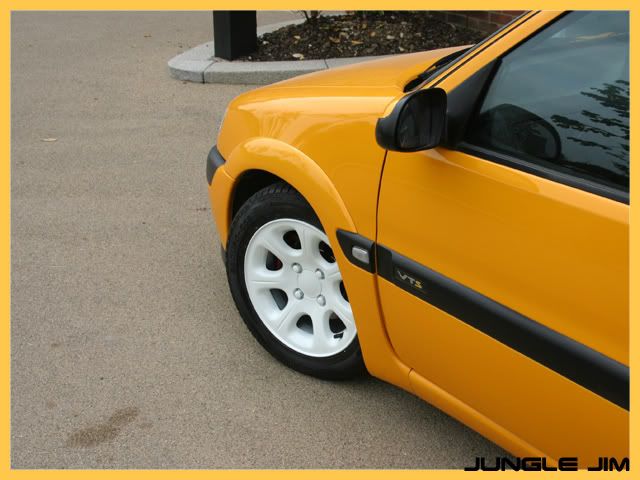 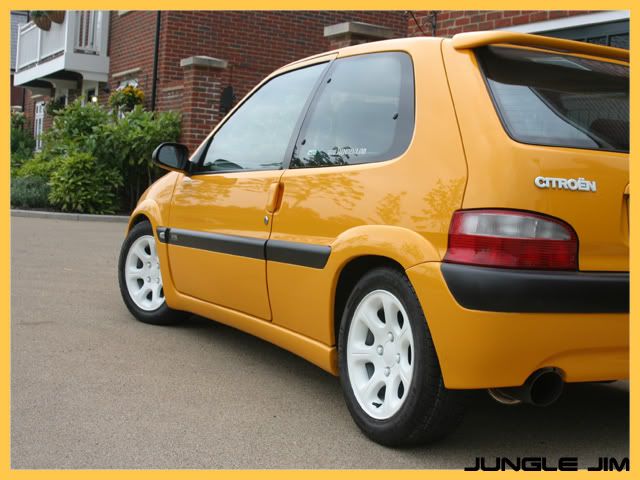 You should notice a massive difference from standard:     Hope that helps a few of you :y: Alex :) |
nice guide mate.
|
Nice guide :y: think i may have to do mine again
|
they look spot on dude, good work!
|
good guide but i would recomend not touchin the laquer for more than a week cause it may leave finger prints and not to drive the car with the wheels on for a few days so the laquer dosnt become damaged
|
Quote:
Laquer after 24hours becomes more than touch dry... they are fine to put back on the car unless you completely scratch the surface... and to be honest they would scratch then regardless of how dry the laquer was... Yes the laquer will continue to harder over a week period... but it is plenty hard enough to get them on the car after 24hours... just fit them carefully.. Alex :) |
good guide :y: but dont need to leave 24 hours between coats, here is some vts wheels i did in a simular darker colour mate
 |
good stuff mate
id leave them a good week before id put them on my car, its about how long it takes to fully harden in my mind |
yet another top notch guide! :y:
|
another really good guide there mate
you got me thinking now!!! |
Great guide matey:y:
|
Good guide mate
|
nice guide alex, can i come back to your a drop my vts wheels back of and pick them up in a week when youve done them :P lol
|
Quote:
|
great guide mate, will be useful when i get hold of another 2 vts rims;)
|
started on mine today :)
|
great guide there mate
|
Awsome guide again mate.They look 10 times better sprayed.I thinking about doing mine soon.
|
nice guide mate love the vtr wheels in white, might get the spray can out now :y:
|
Thats a very good guide going to use this, rep your way mate.
|
| All times are GMT. The time now is 21:58. |
Powered by vBulletin® Version 3.8.2
Copyright ©2000 - 2025, Jelsoft Enterprises Ltd.