This was on a Mk2,
But is near enough the same as a Mk1.
You will need the following tools;
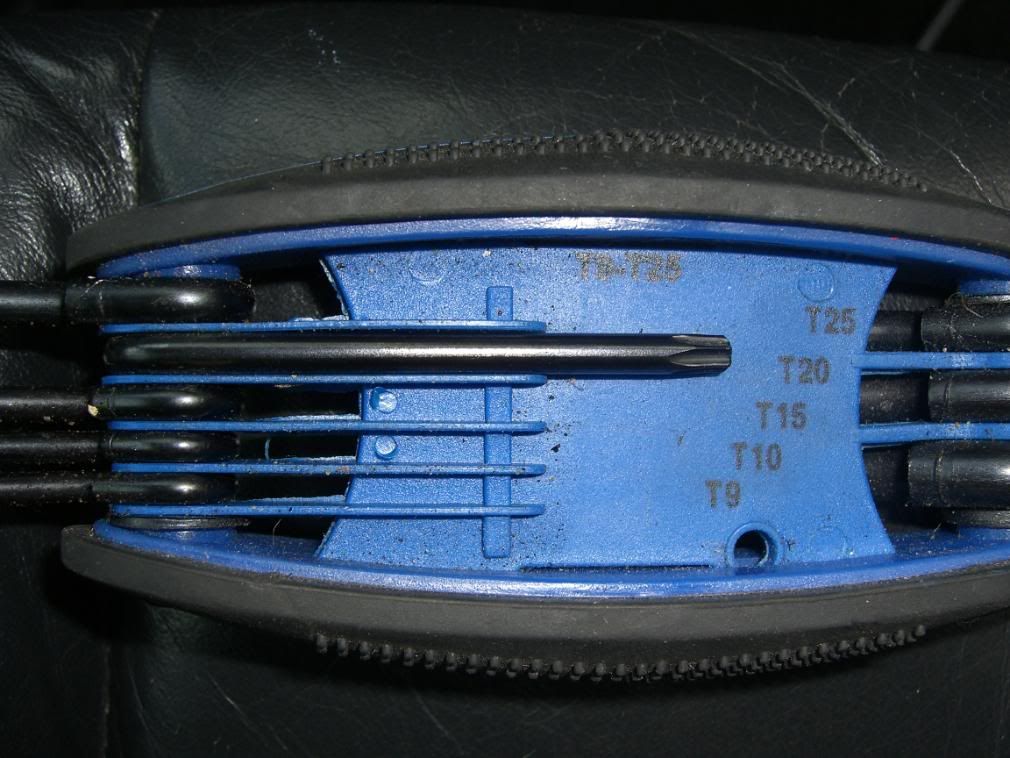
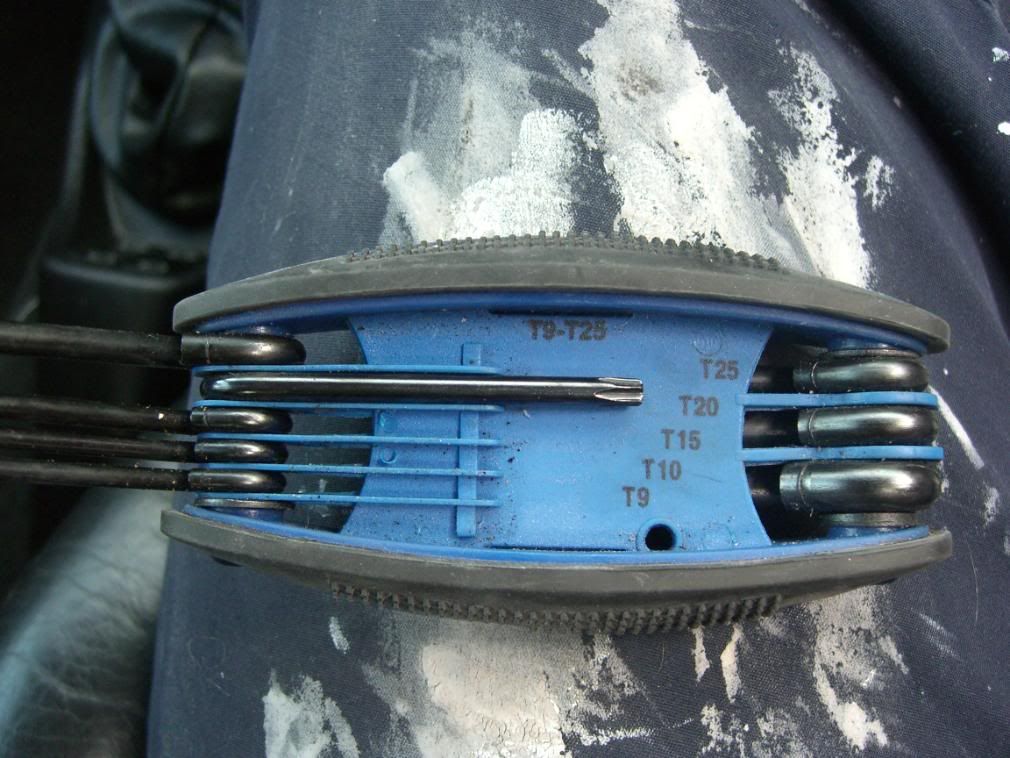
Torx bits - T10,T20,T30,T50
tiny flat headed screwdriver
possibly 8mm spanner
1. first things first, becasue your steering wheel has an airbag in you need to disconnect the battery and leave it for atleast 10 mins for the charge to leave the airbag. i had to use an 8mm spanner to take my negative terminal off the battery. i decided to take both terminals off for some reason but you could just take the positive one off.
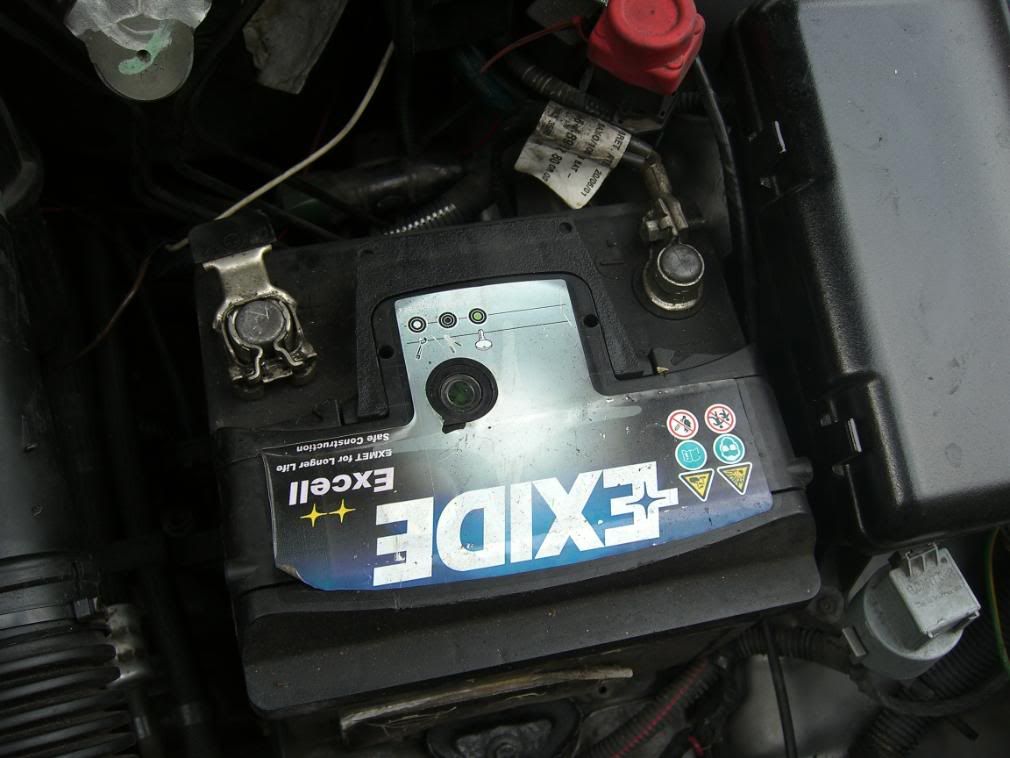
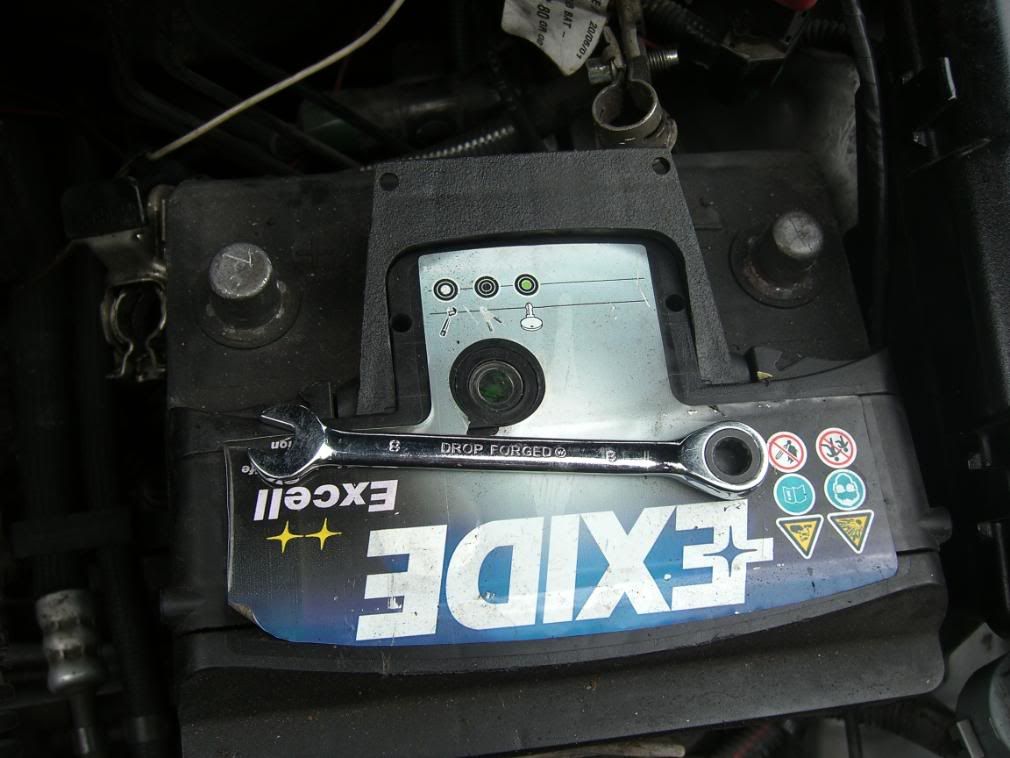
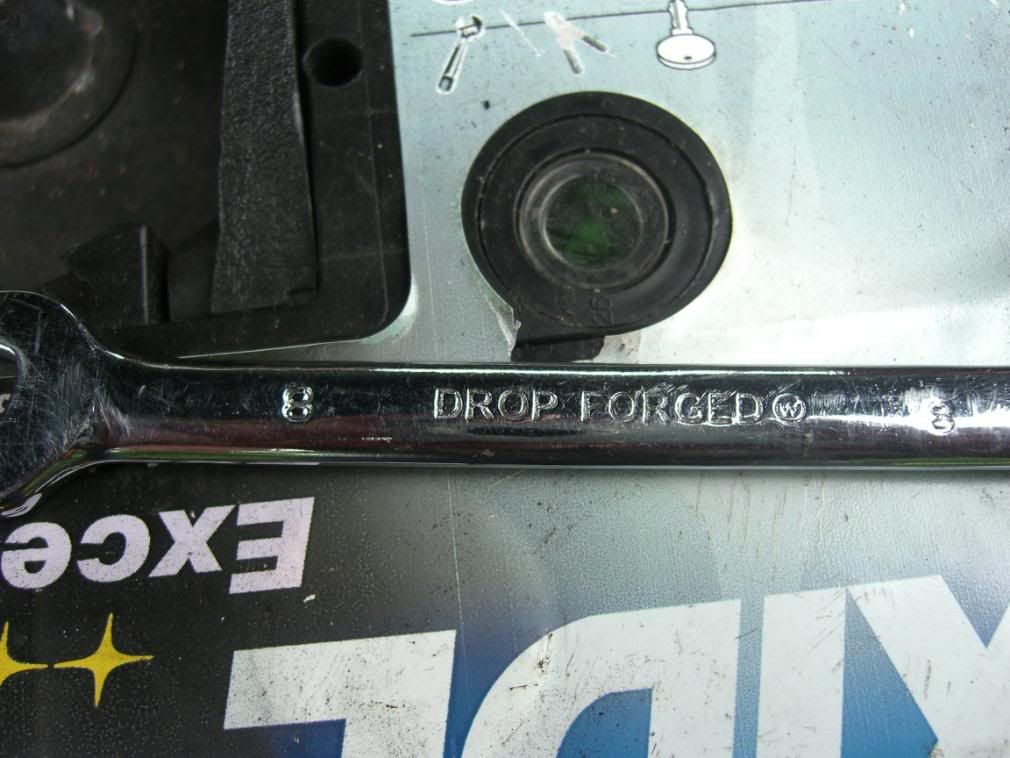
2. you then need to take the plastic pannel off under the steering wheel. you need a T20 torx bit for this. there is a screw each side.
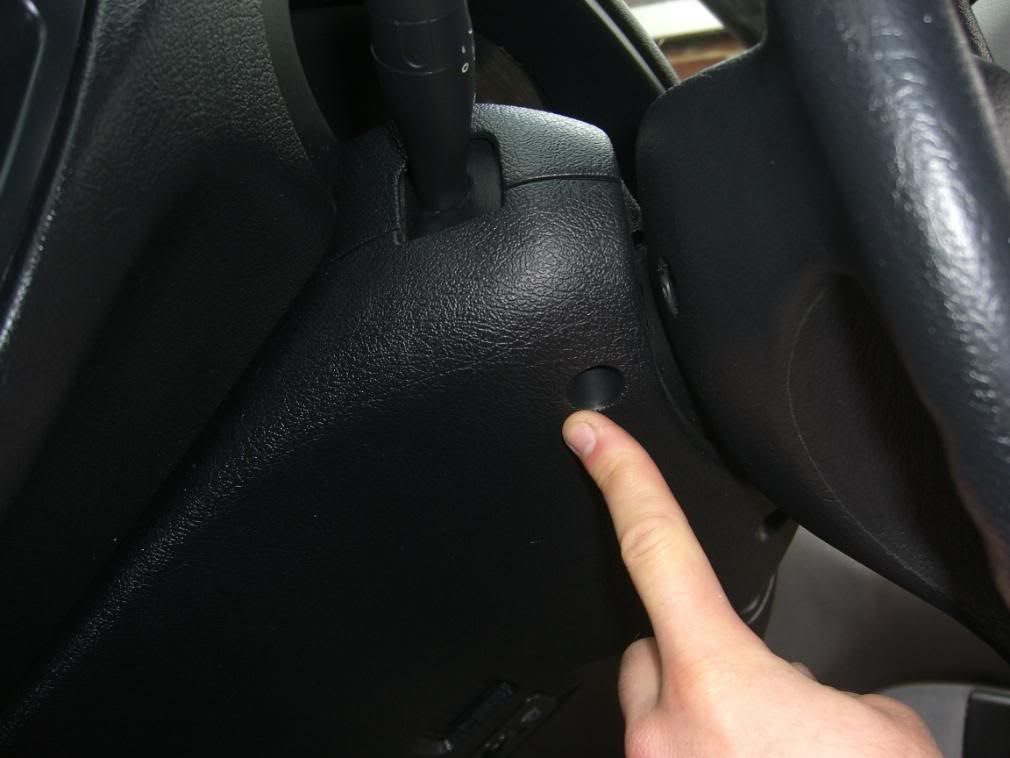
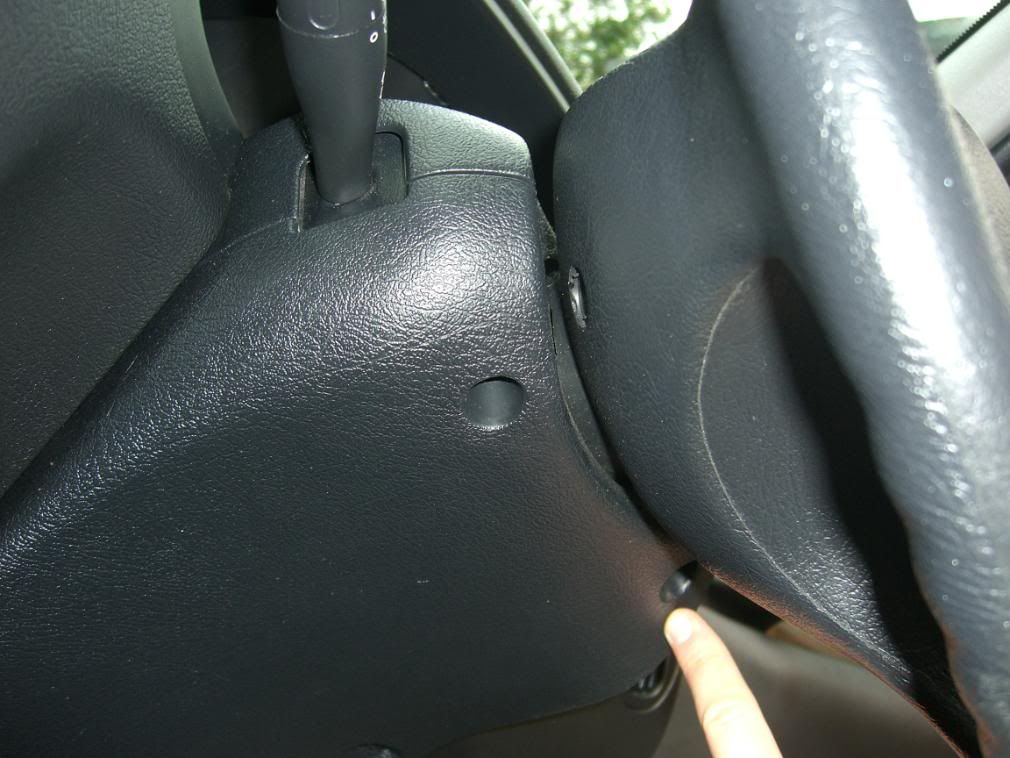
3. this then just pulls down, out and off
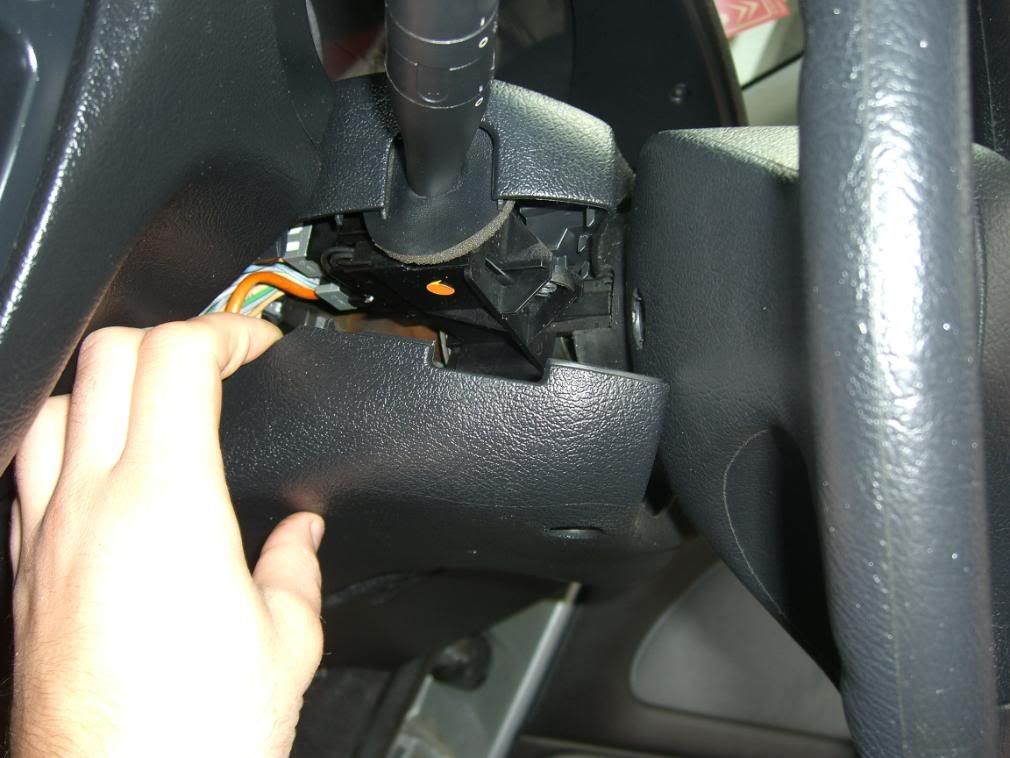
4. pull the top part of the cover off and you should have something that looks like this
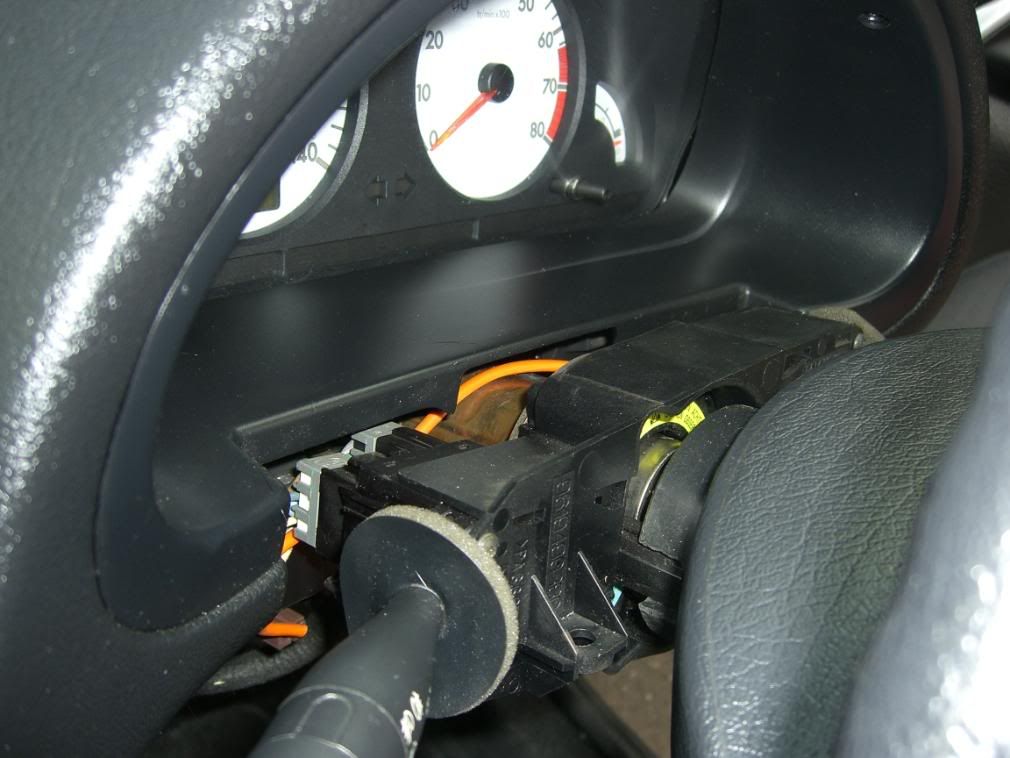
5. by the time you have done this 10 mins should have passed so its time to take the air bag out of the steering wheel.
YOU NEED TO BE VERY CAREFULL WITH THE AIRBAG, IT CAN GO OFF AT ANYTIME IF NOT HANDLED WITH CARE
there are two T30 bolts behind the steering wheel that hold the airbag in, these bolts do not come out once they have been loosed. its just the air bag that comes out
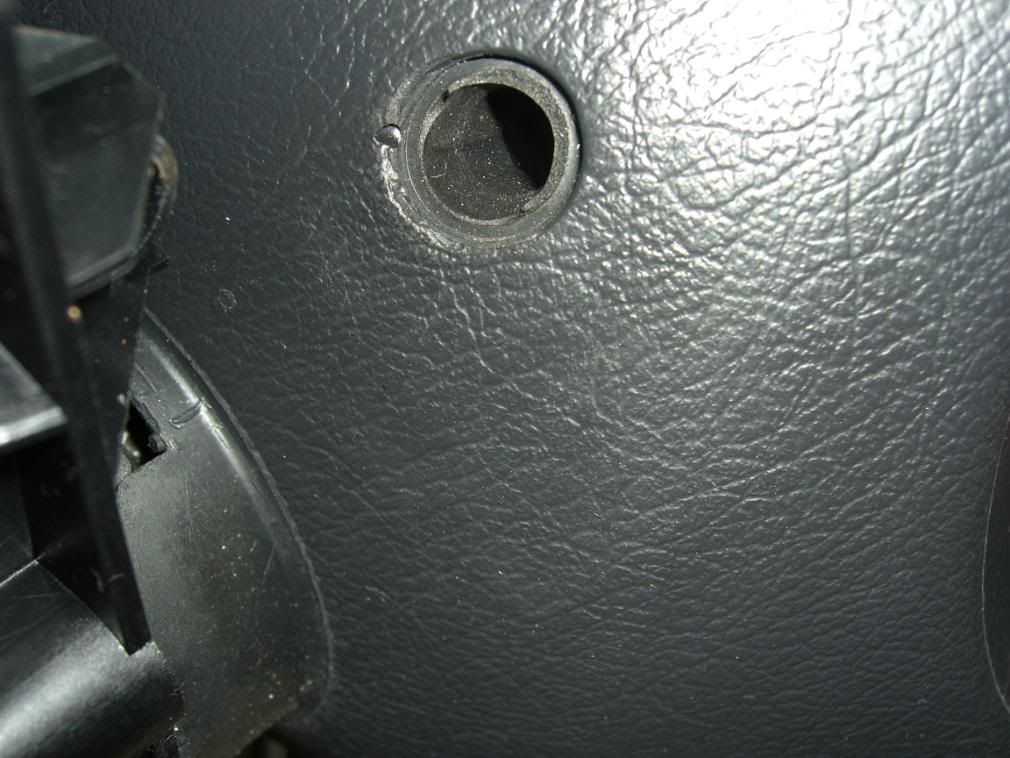
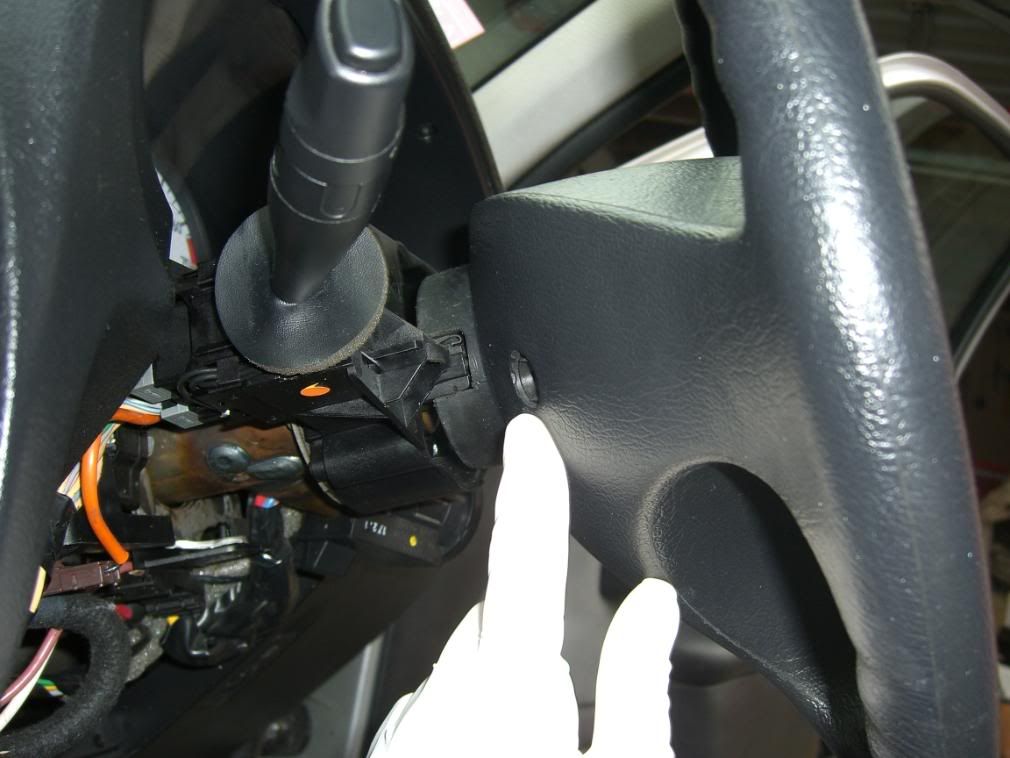
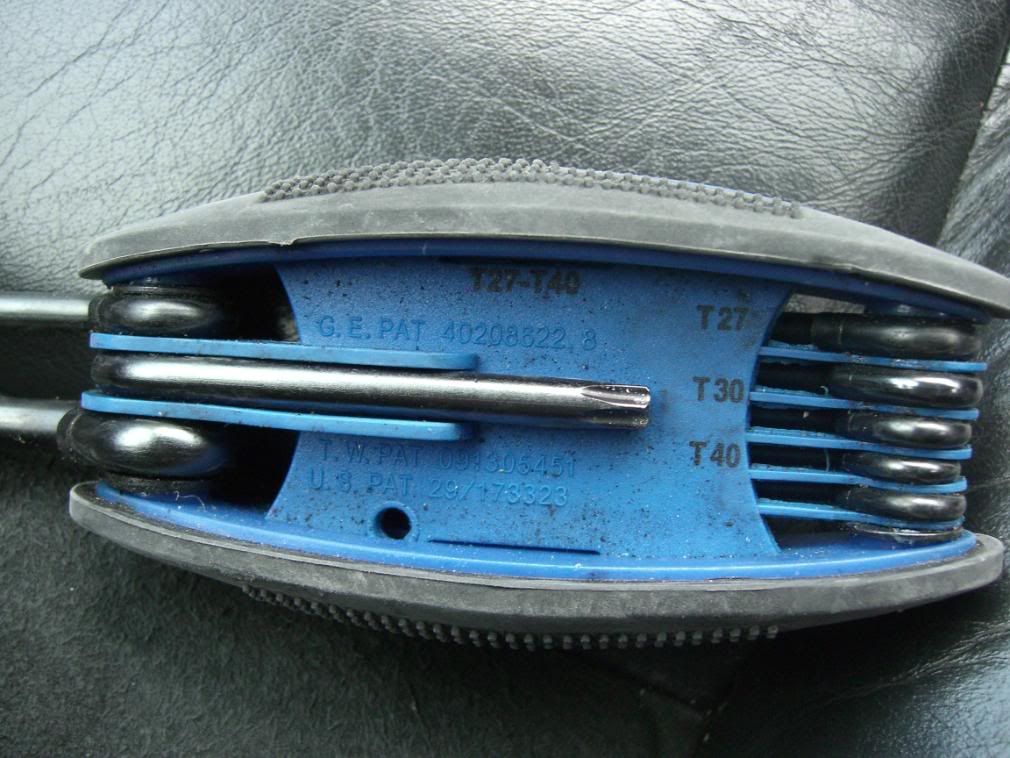
4. the airbag should not be loose and you are able to
gently pull it out,
dont pull it all the way out until you have disconnected it from the airbag loom
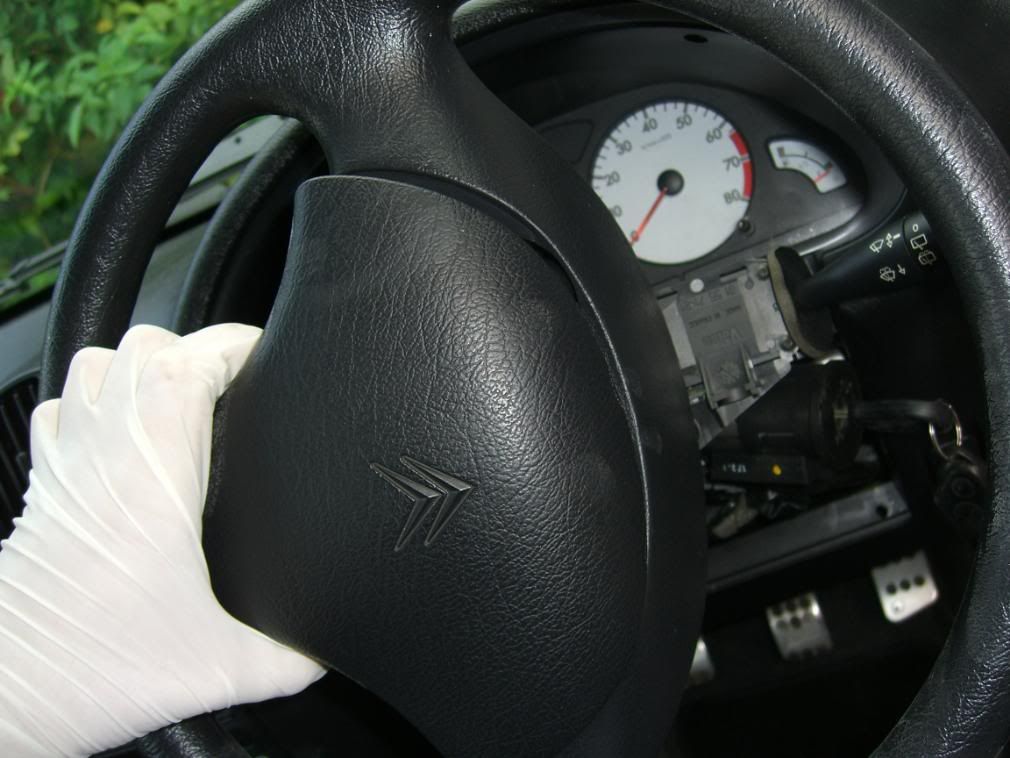
the airbag loom plug just pulls out
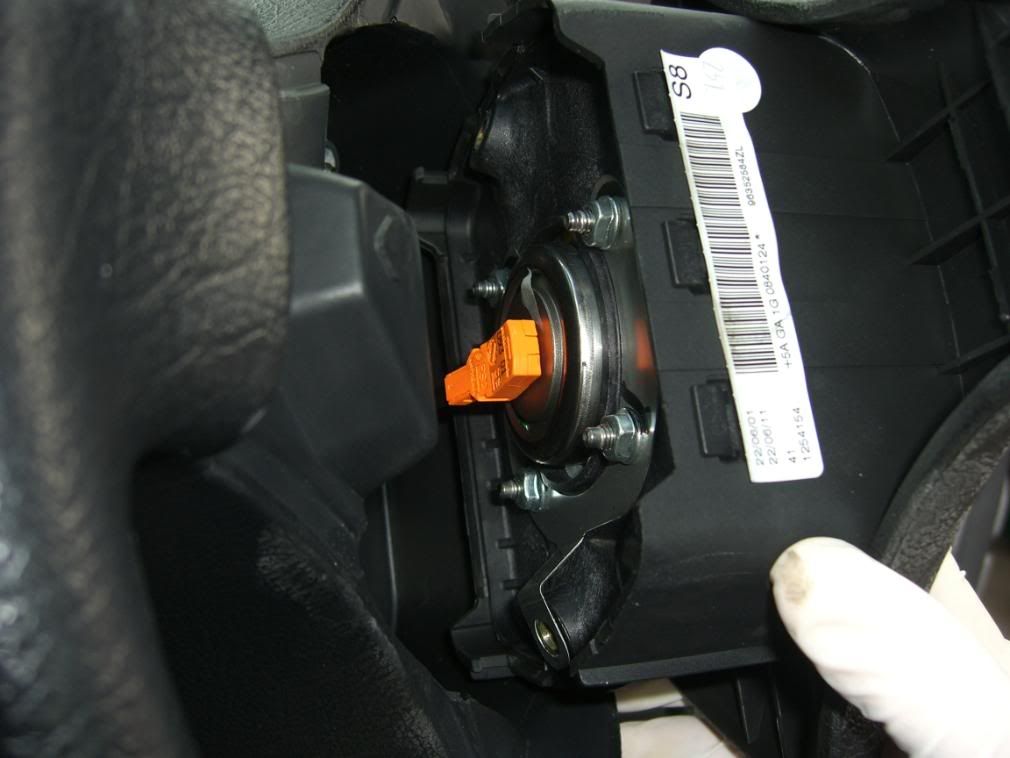
5. it should not look like this
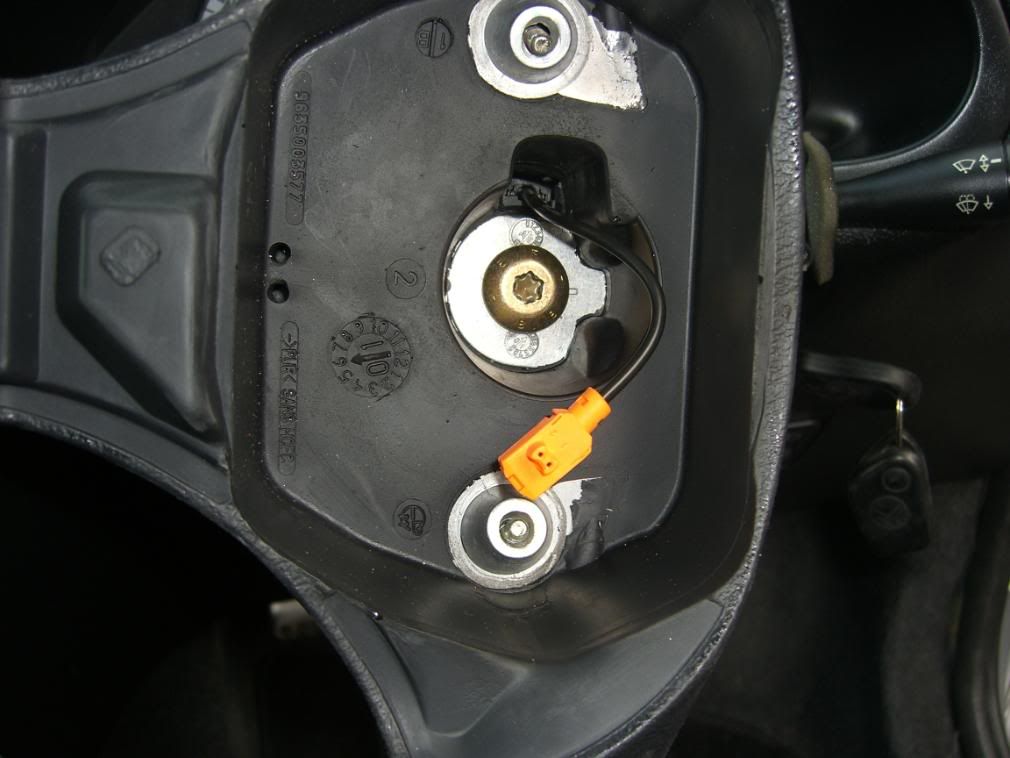
6.
PUT YOUR AIRBAG SOMEWHERE SAFE UNTIL YOU NEED IT AGAIN
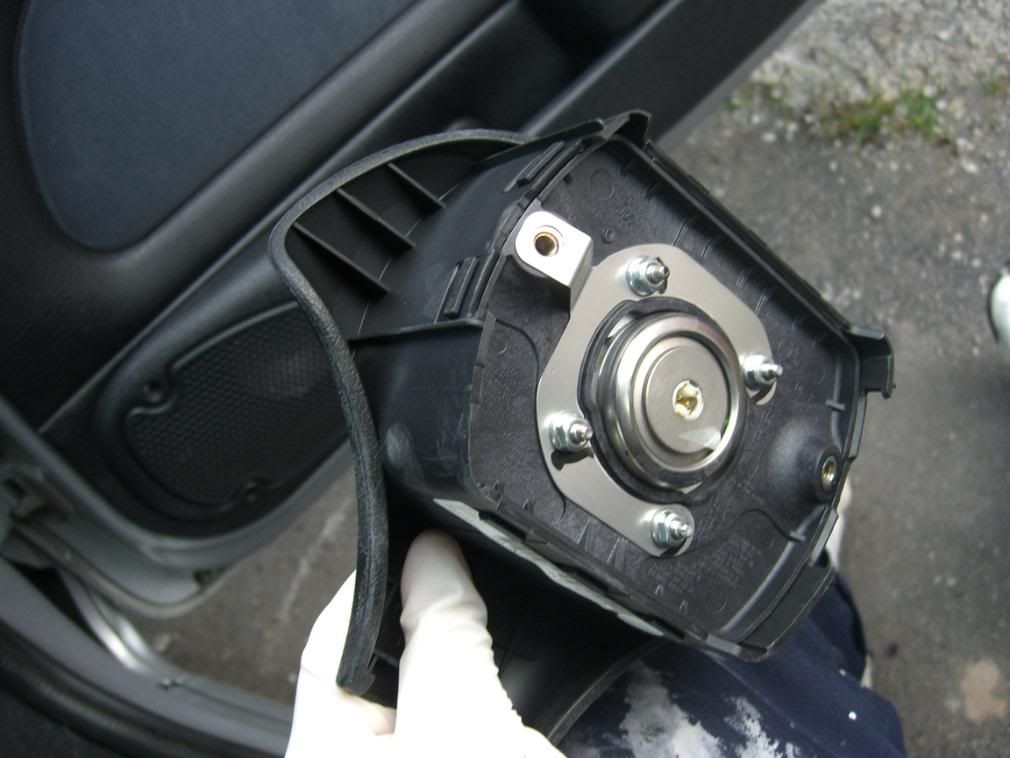
7. you now need to take the bolt out that holds the steering wheel on, the bolts is a T50 head.
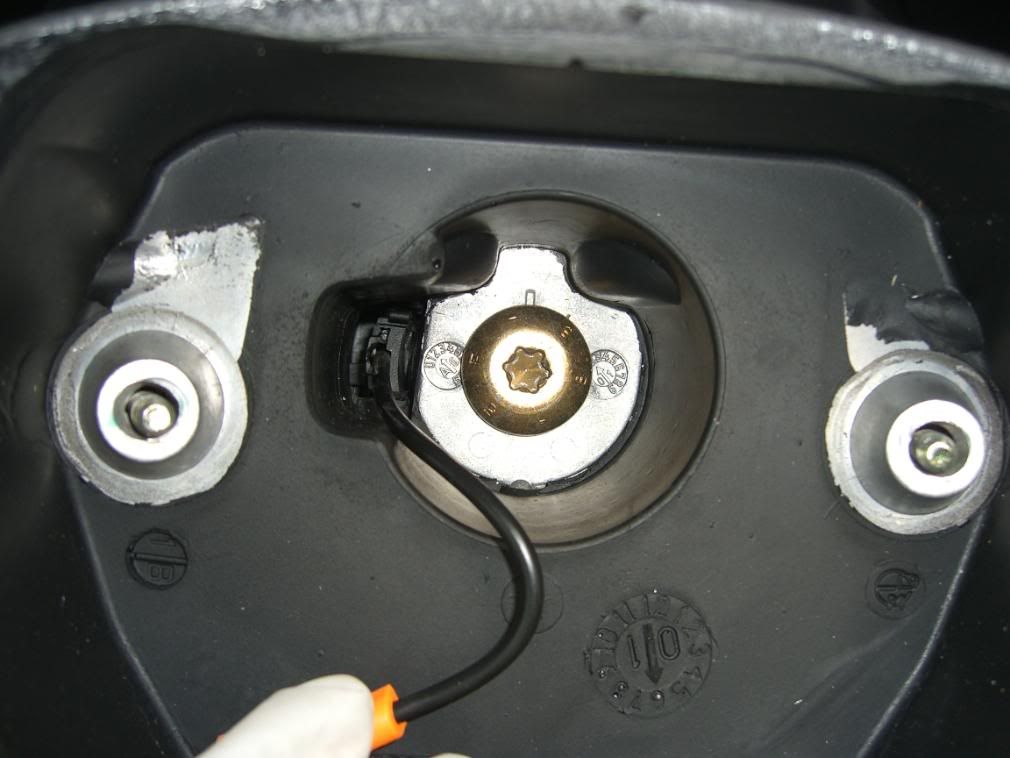
take this out, i found it easyer to put the steering lock on
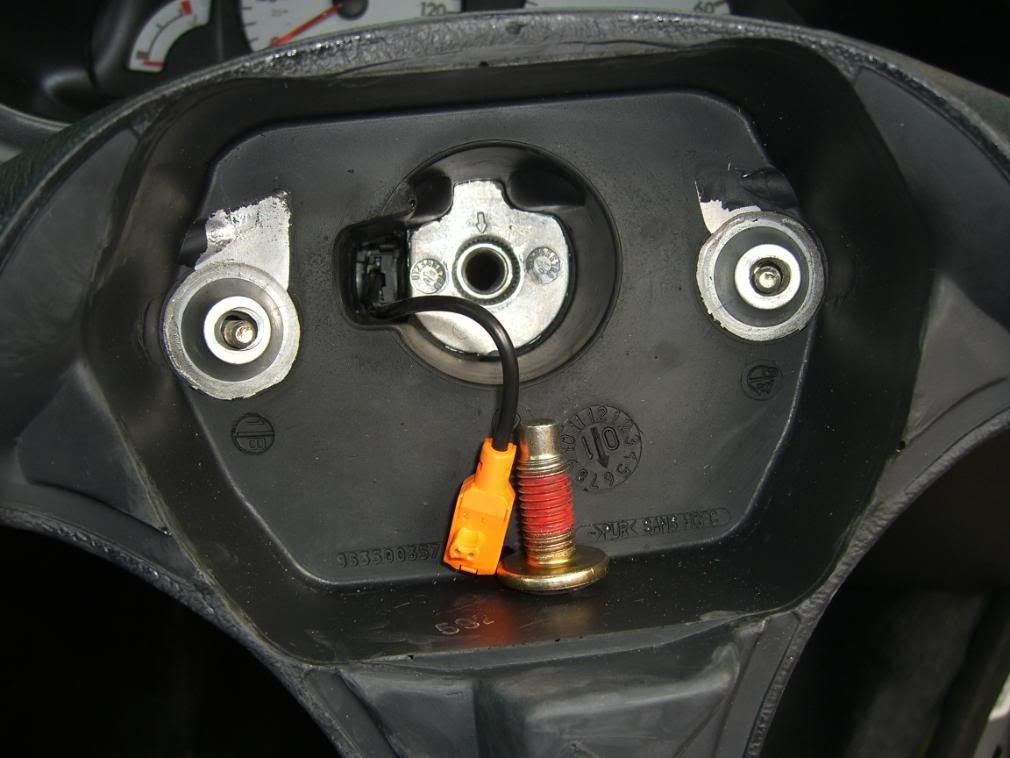
8. you now need to mark a notch on the splines that the steering wheel fits onto
before taking the steering wheel off, this will make it alot easier when putting it back together so the wheel is lined up with the actual car wheels
9. you now need to pull the steering wheel off but be very carefull not to catch the orange plug as you pull it off as it will rip it off the airbag ring
once pulled off it should look like this
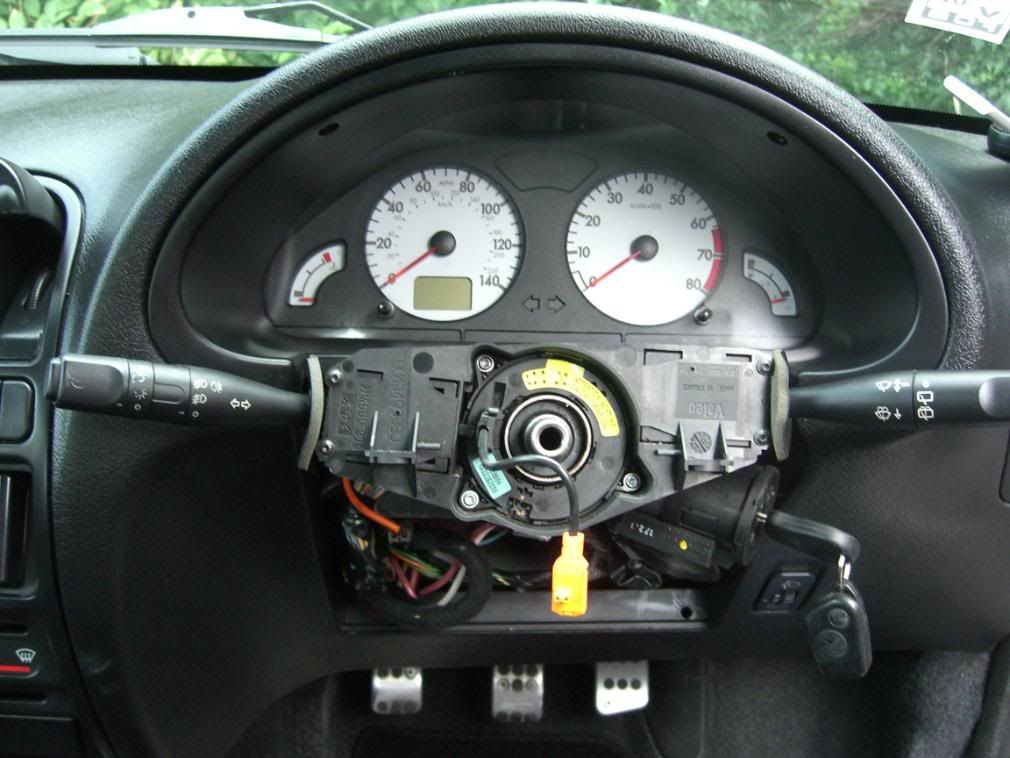
[QUOTE=Mark51;2466439]10. you now need to take the three T20 screws out that hold the airbag ring in
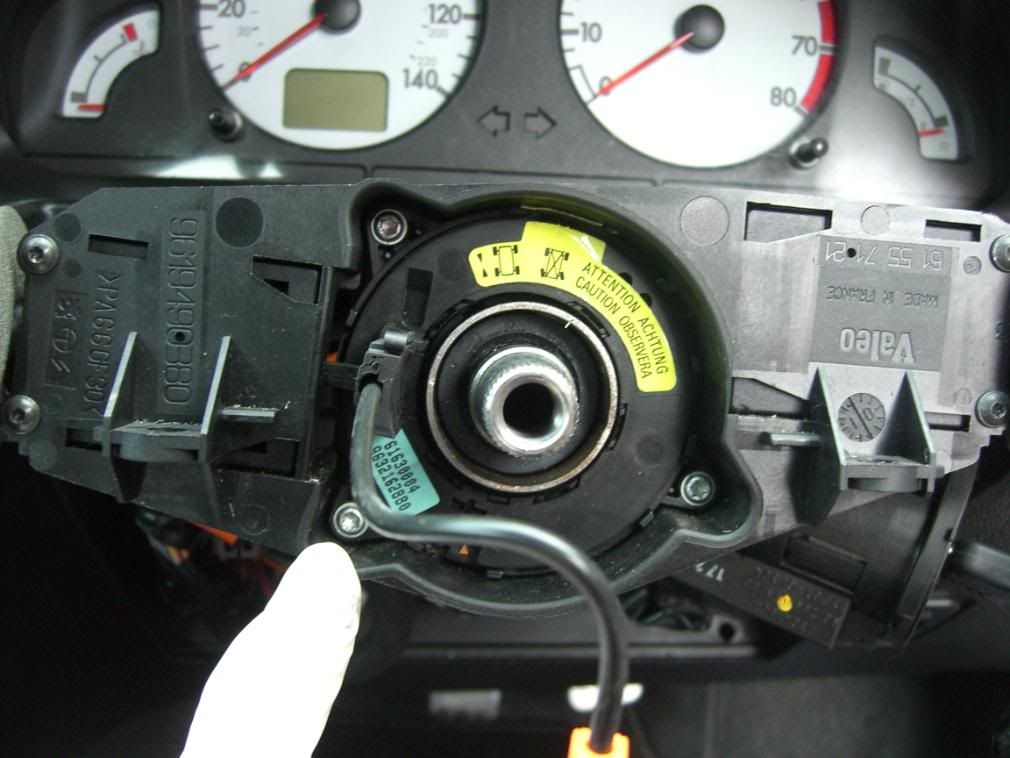
11. once these have been taken out you now need to take the ring out but need to hold the indicator thingy down so it can come out. i used a electrical screwdriver to hold it down until the ring had pasted this but i have used a bit of paper and card in the past
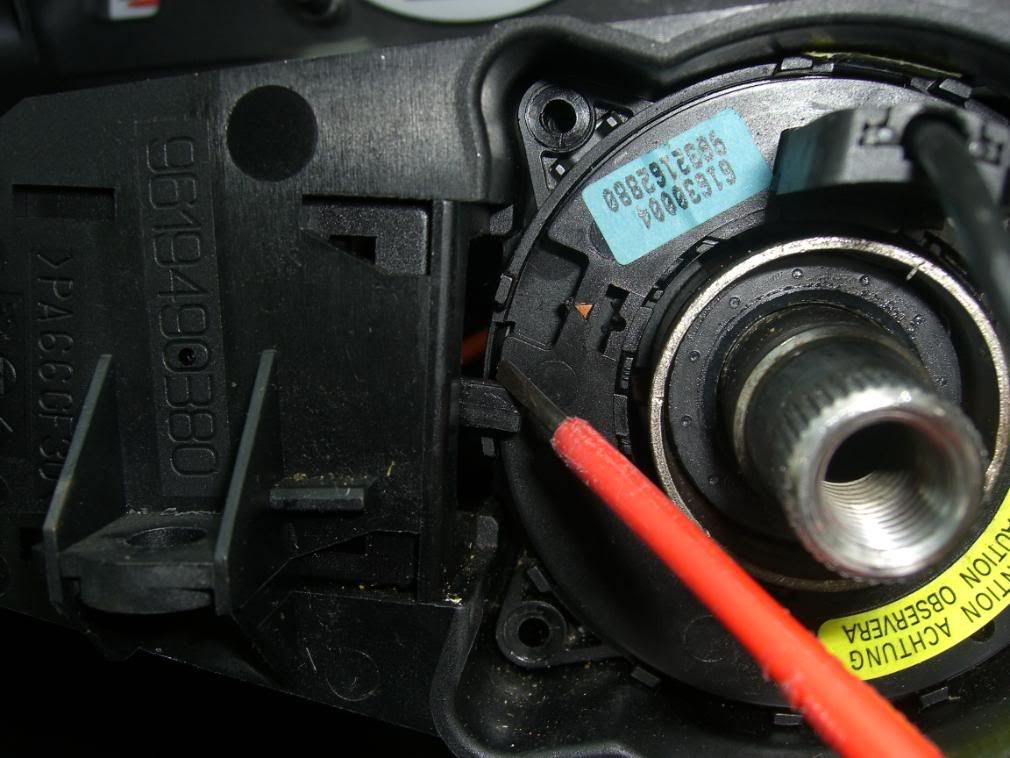
try to keep the ring in the same position when you have taken it off as you need to put it back on in the same position. it only spins something like 3.5 turns both ways until it stops so if you put it back on with one side having less turns than the other it will smash it off when you turn full lock to the side that has less turns that the other.
12. you now need to take the three T30 bolts out that hold the indicator stalks off
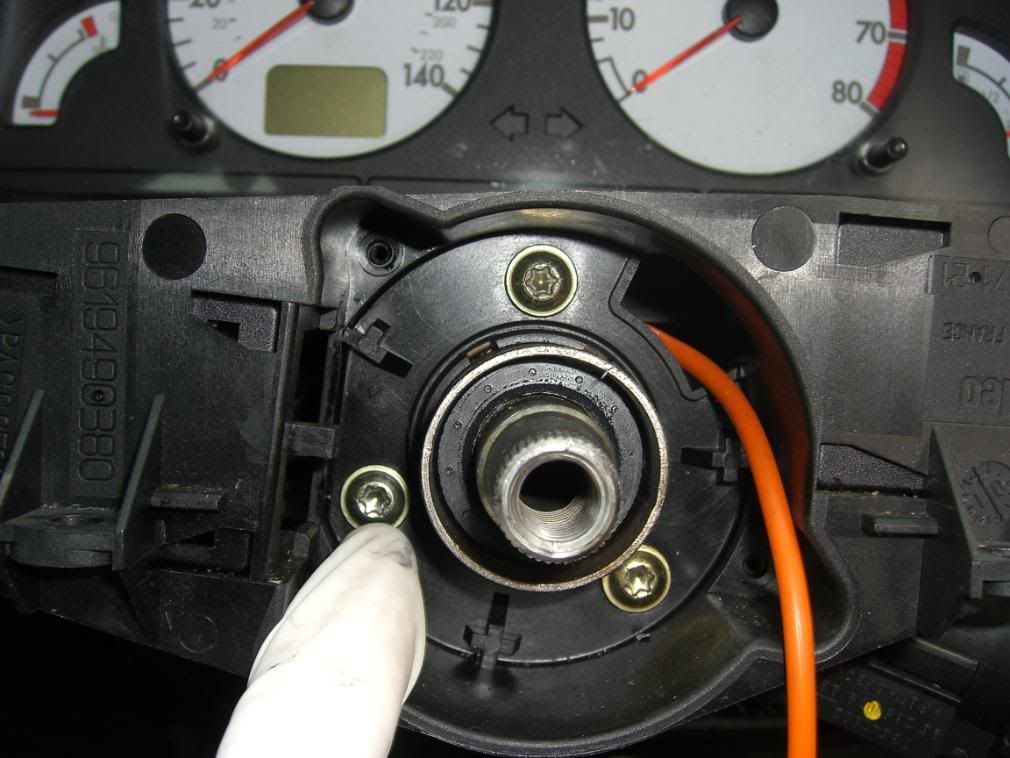
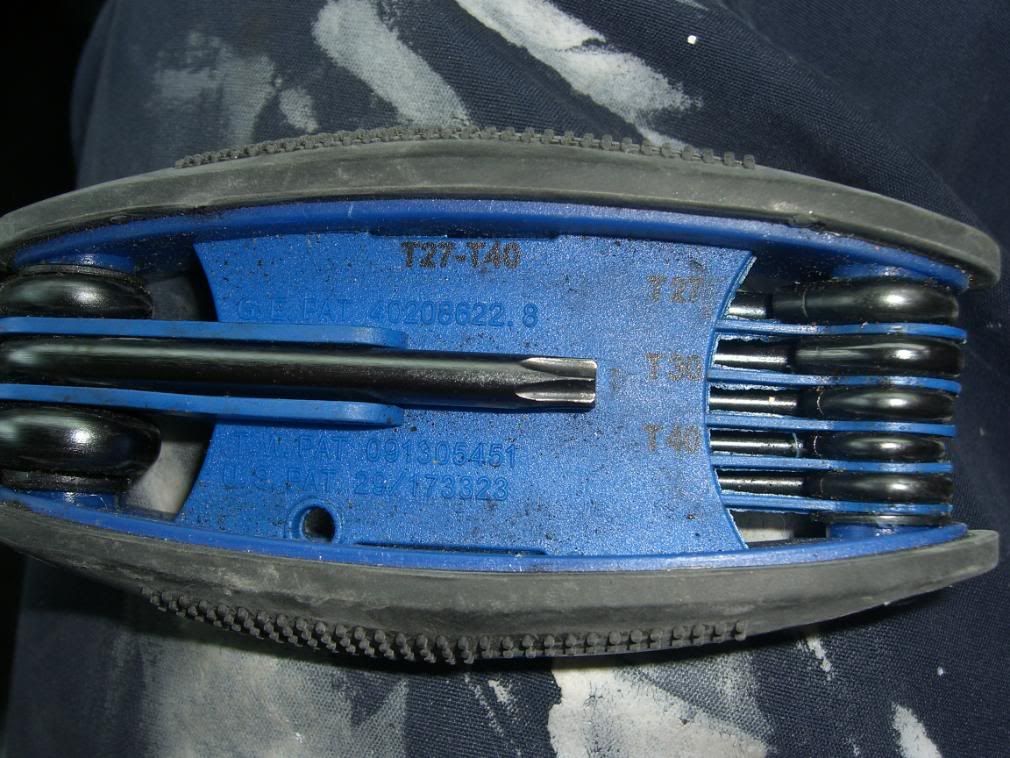
13. you can now pull the off slightly
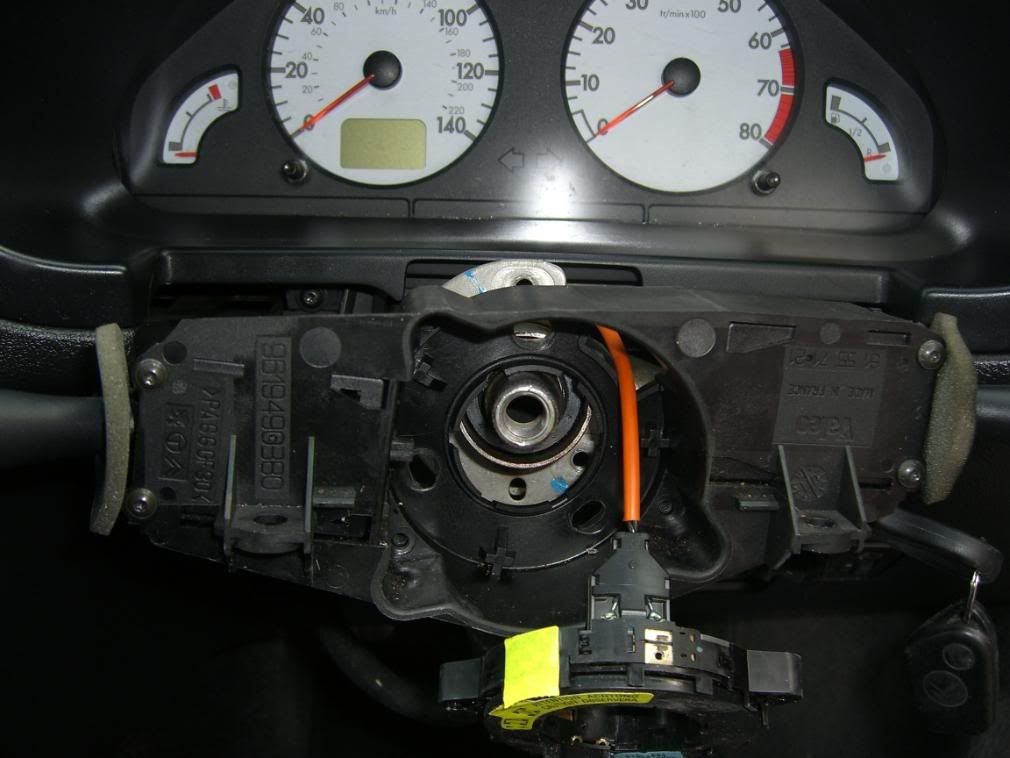
14. this now allows you to access the two screws that hold the dial surround in. there is one on each side
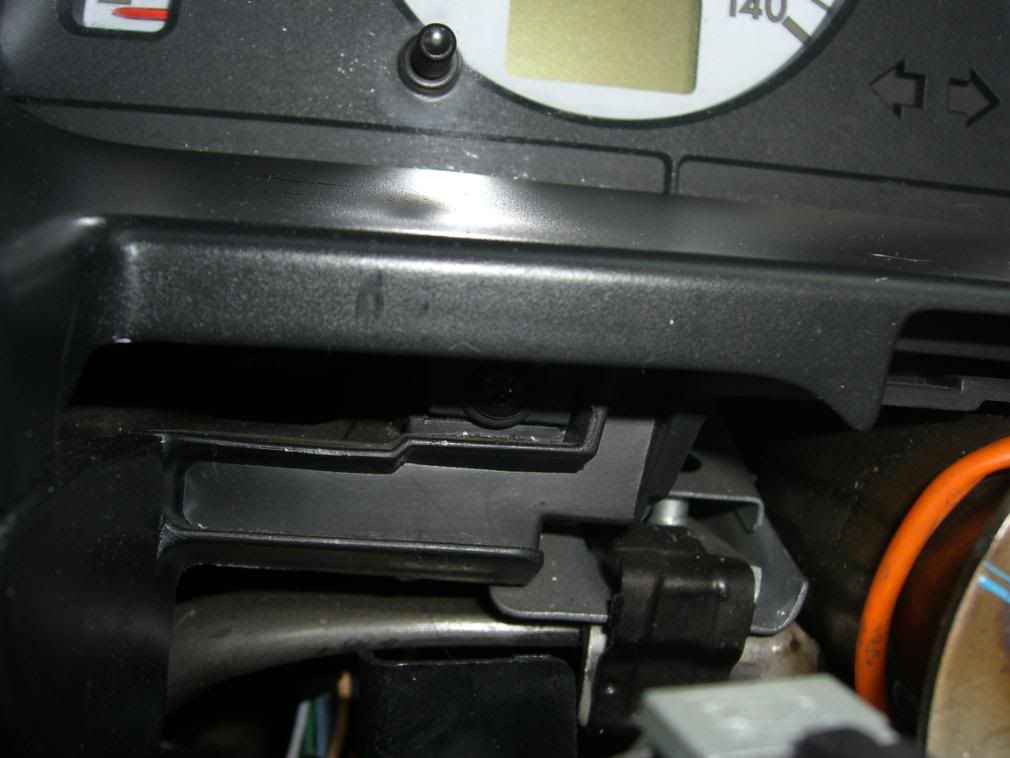
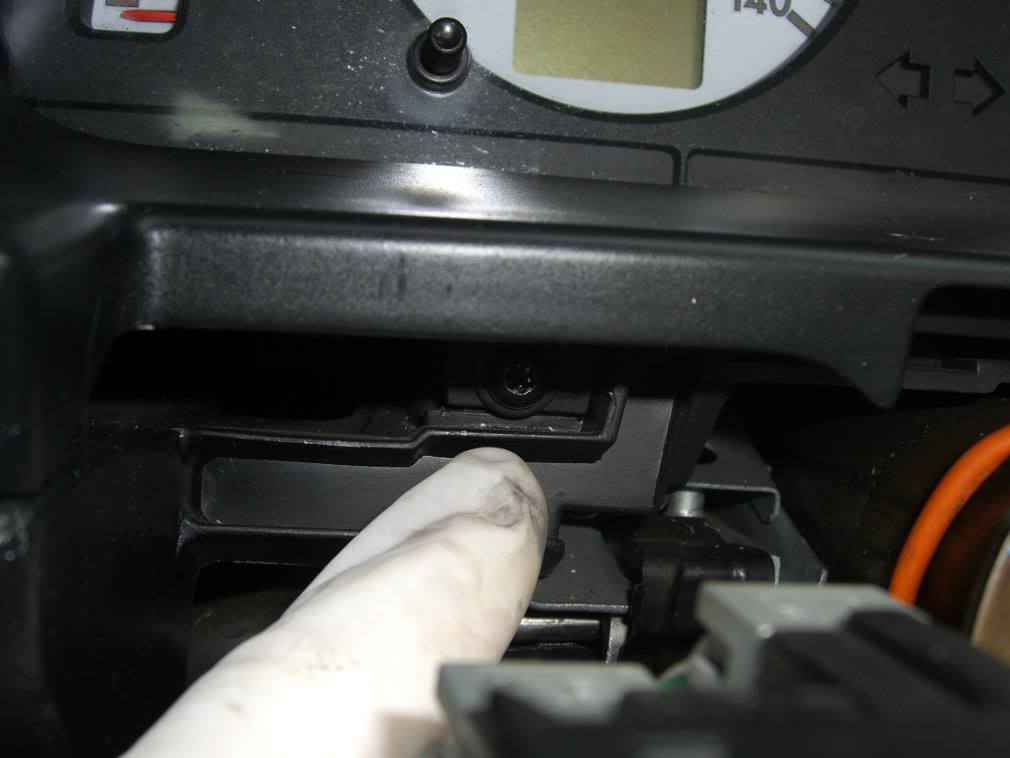
15. you need to take out the final two screws that hold this in, you need a T10 bit to take this out
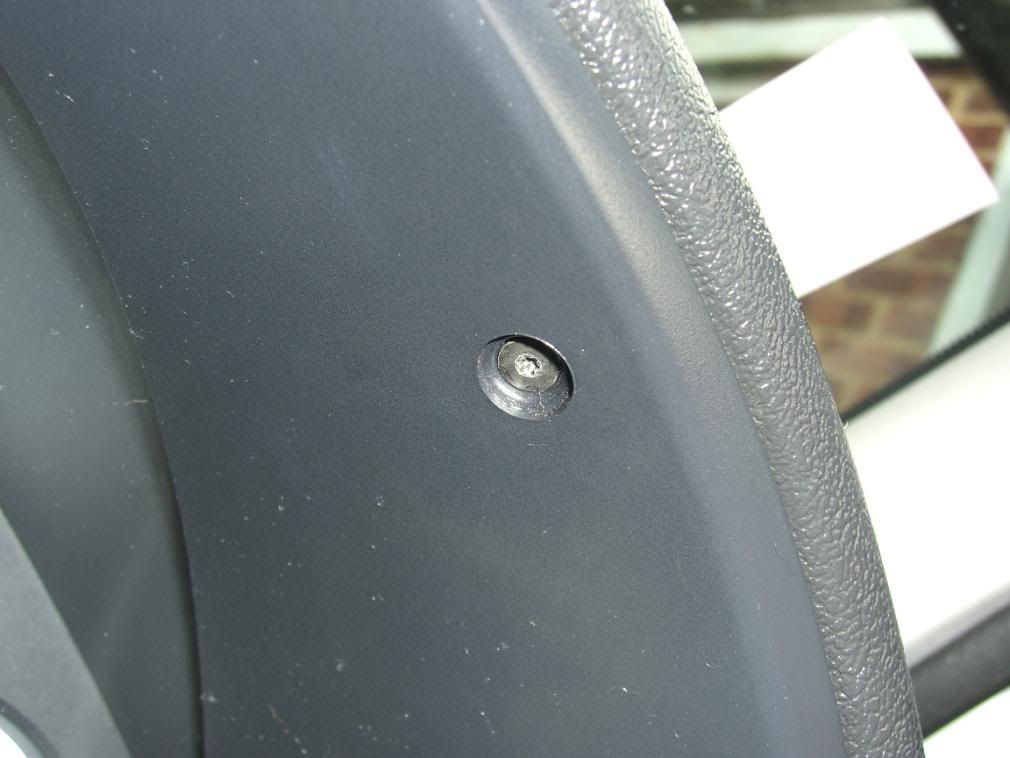
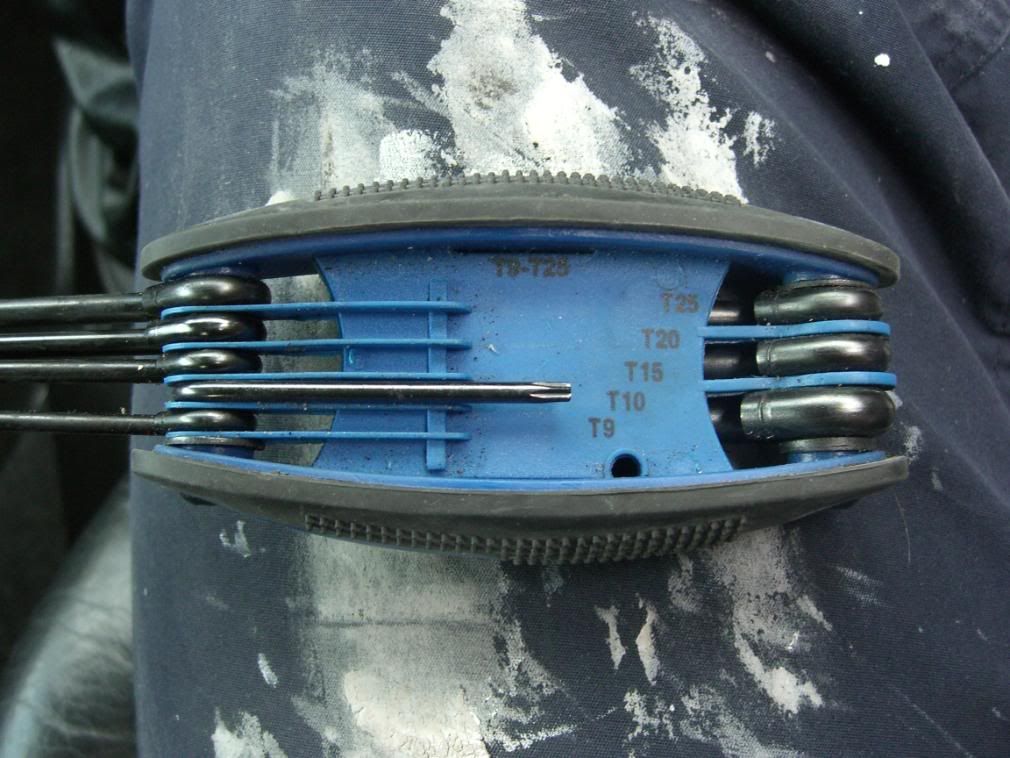
16. this will now just pull out, pull the top out first. it will now look like this
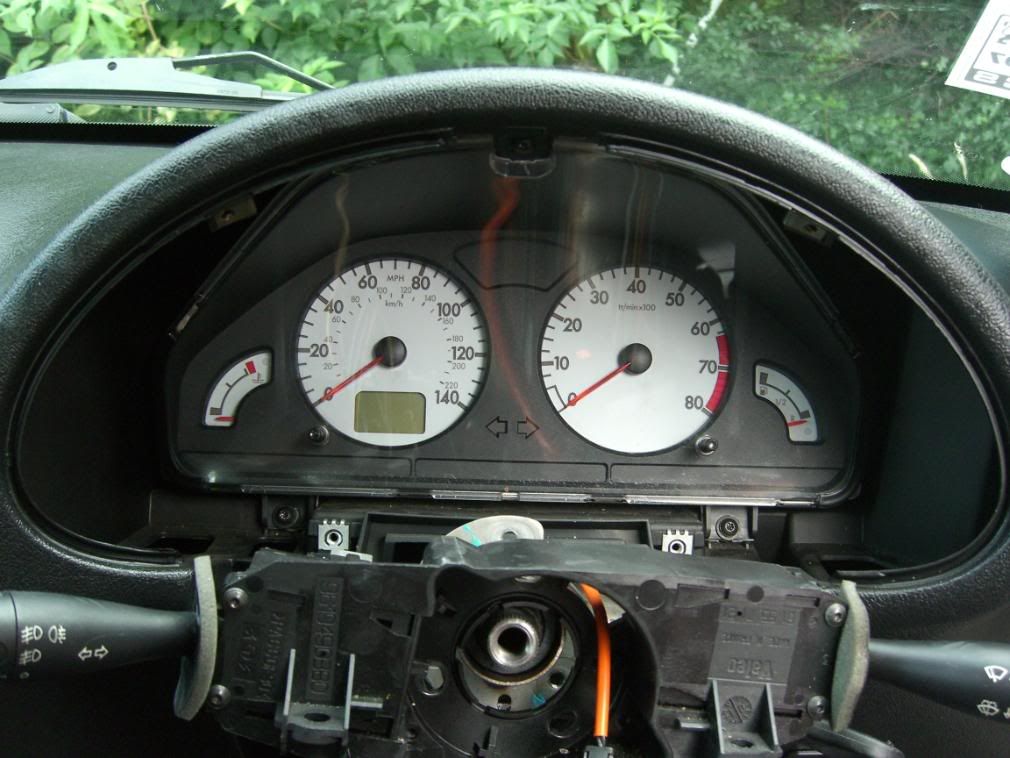
17. there are now another three screws to take out that hold the dials in, these are T20 screws
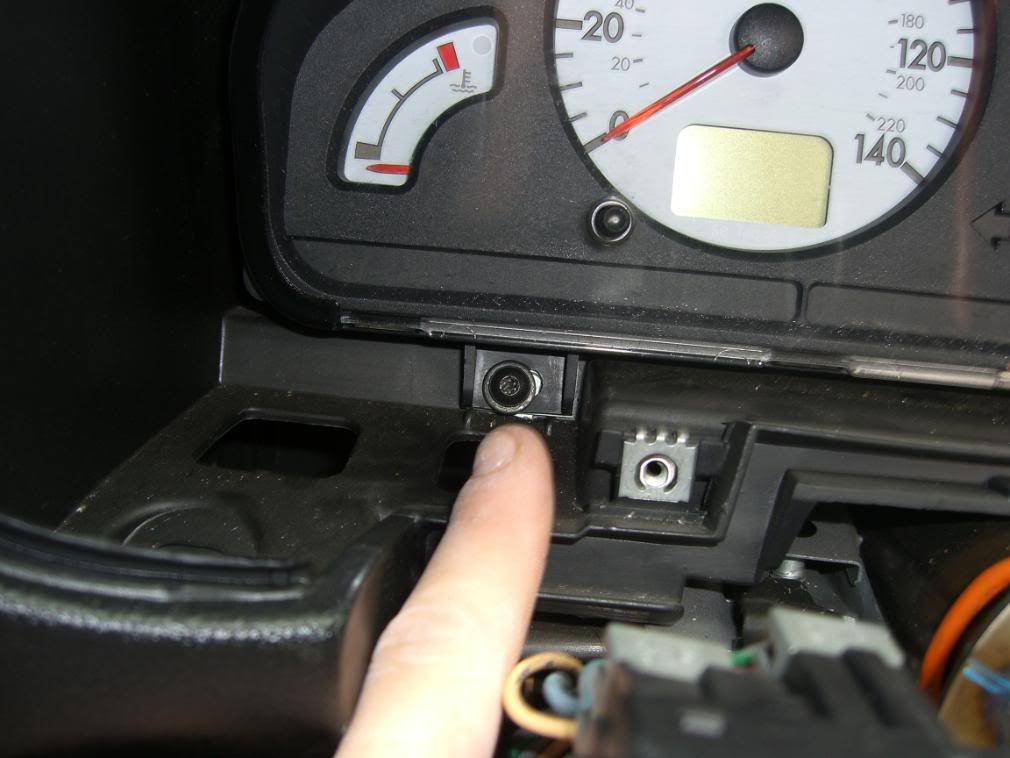
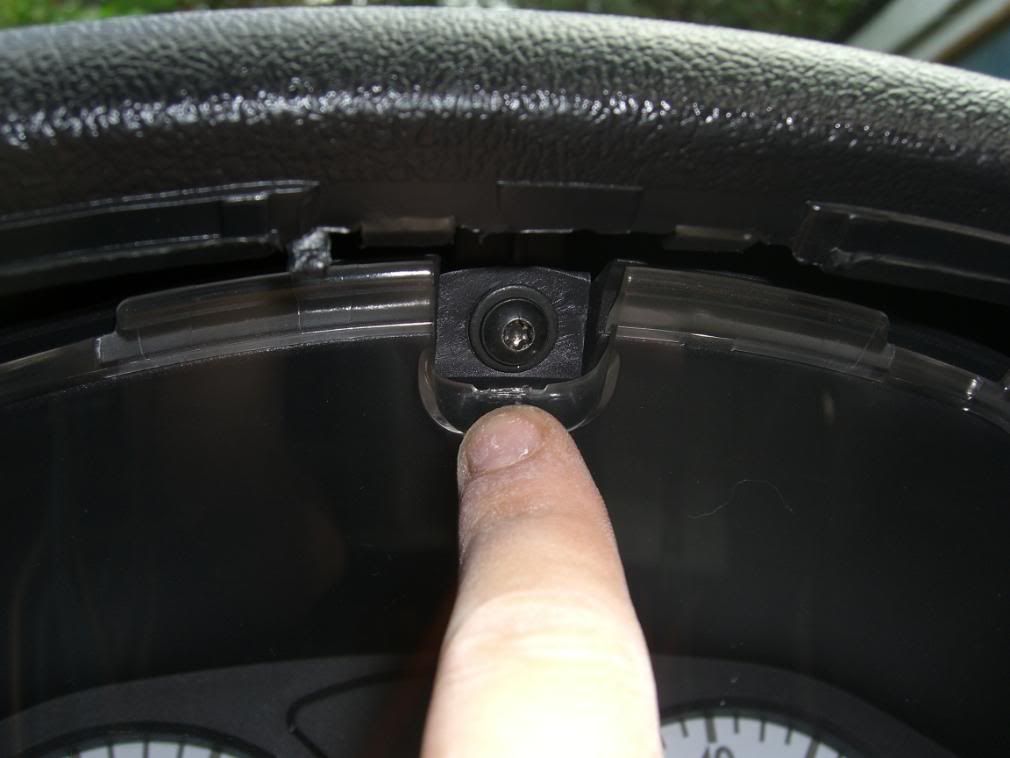
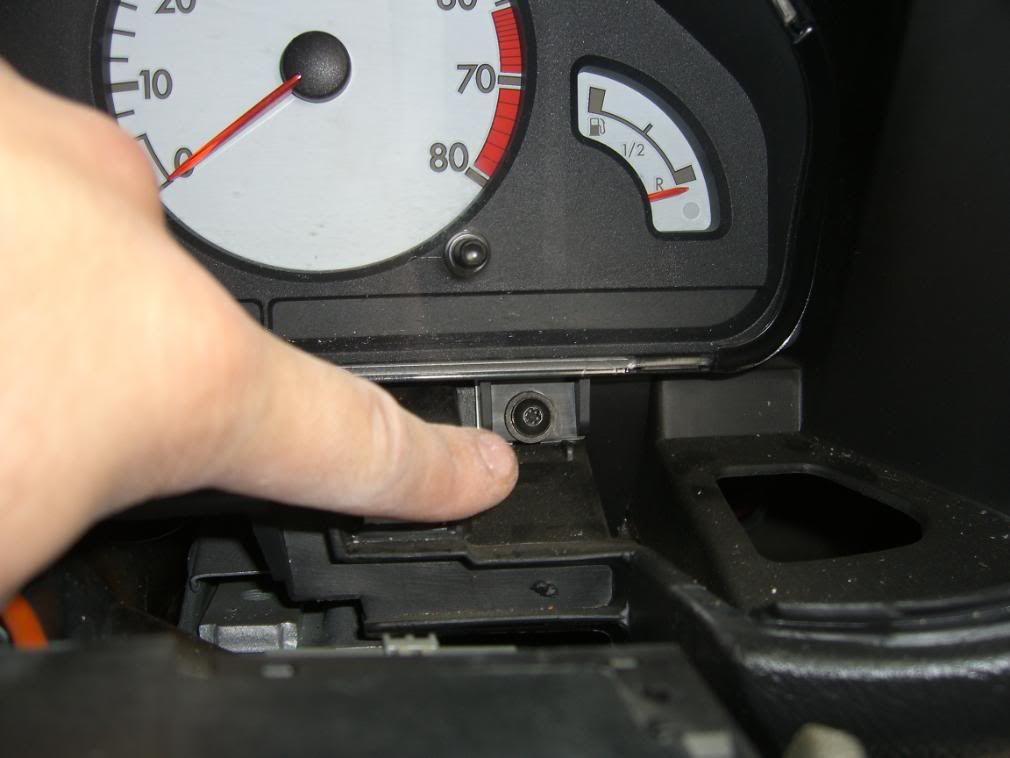
18. there should be two connections behind the dials.
yellow controls the dial lights
black controls the warning lights
you need to push the release catch down on the top of then before the release clip will come off.
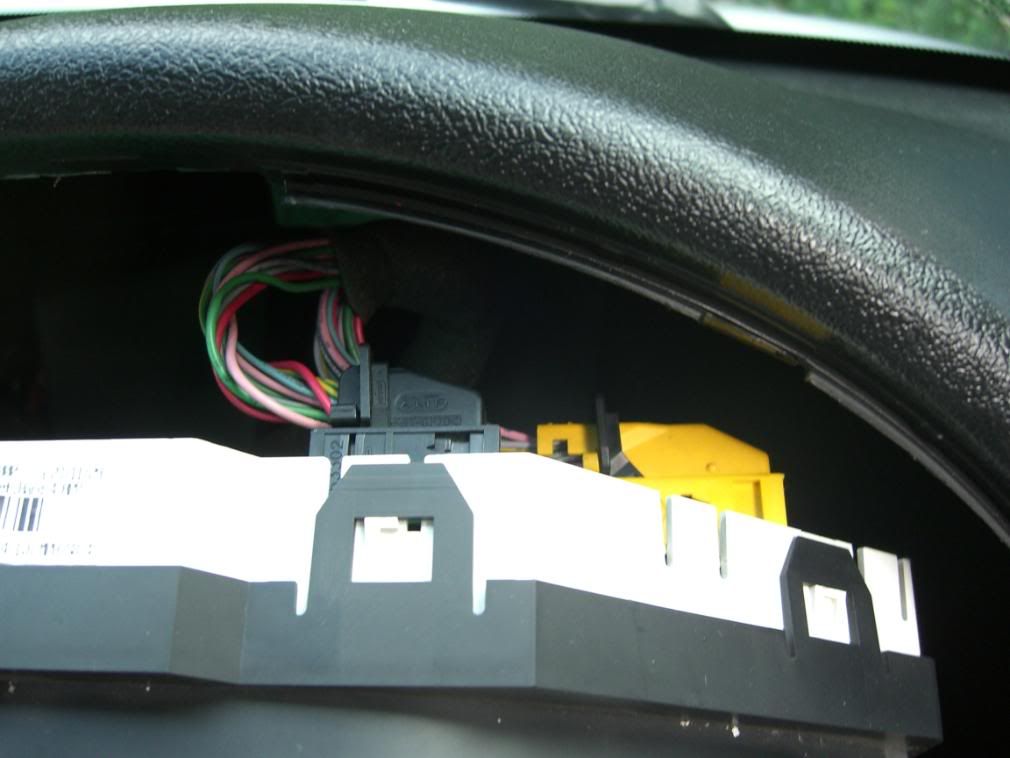
19. gently pull the dials out trying to avoid scratching the front of the dials on anything.
20. it should now look like this
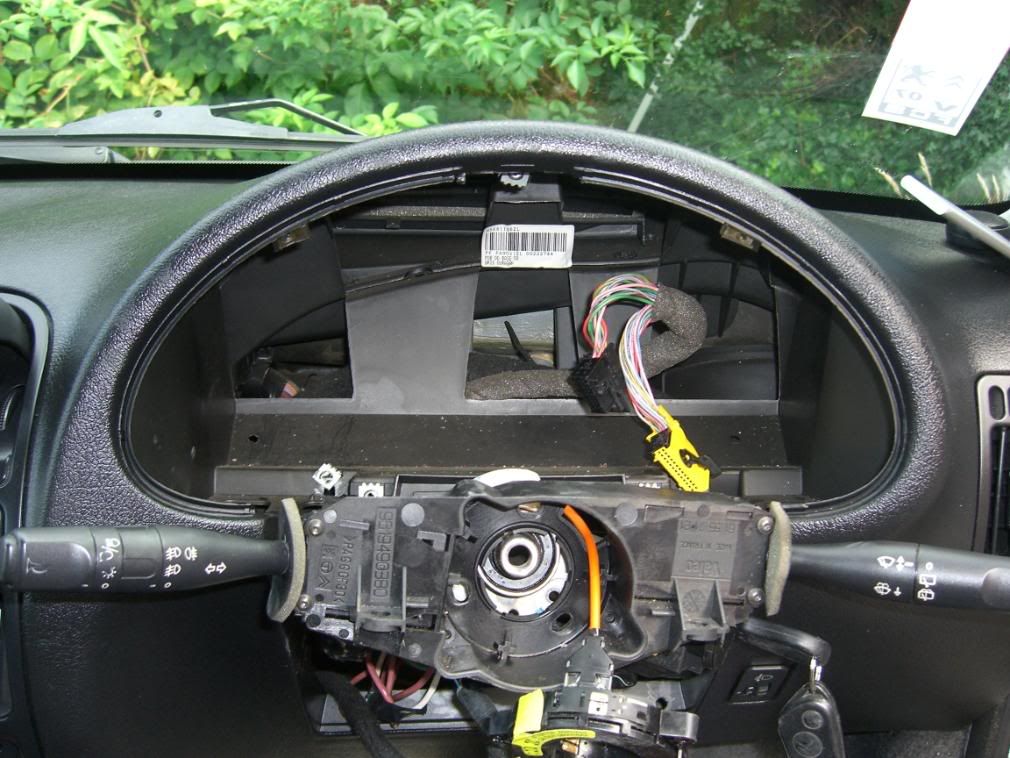
Afterwards in the back of the clocks are little screw in L.E.D's all you need to do is change them (remembering that you need ones that fit.)
to put them back together just follow these steps in reverse remembering not to connect the battery until last.
