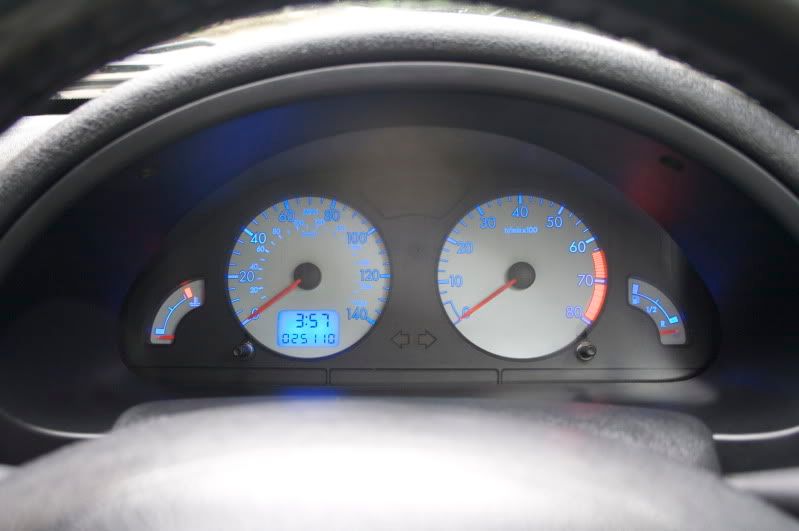
Before I start pretty much all credit goes to
'DeekB' from 106owners where I got the idea from.. but just wanted to clean up his guide a little bit as there were a few inconstancies in it.
1) Start of by getting a set of mark 2 dials and the loom that they plug into with a good few inches of cable. The loom should come with two connector blocks, one black and one yellow. (connector blocks not pictured)
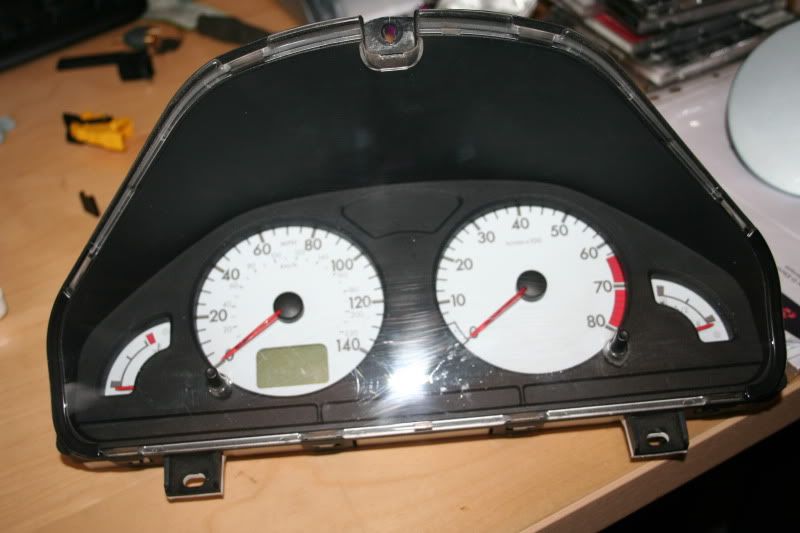
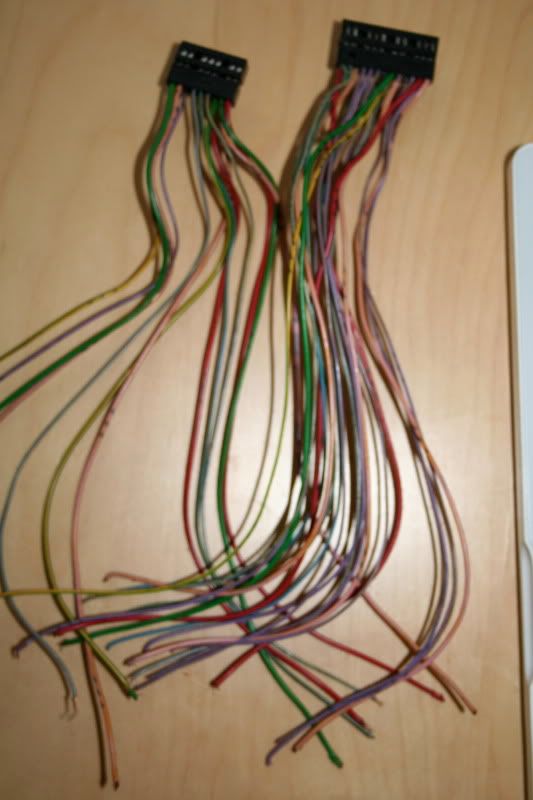 2)
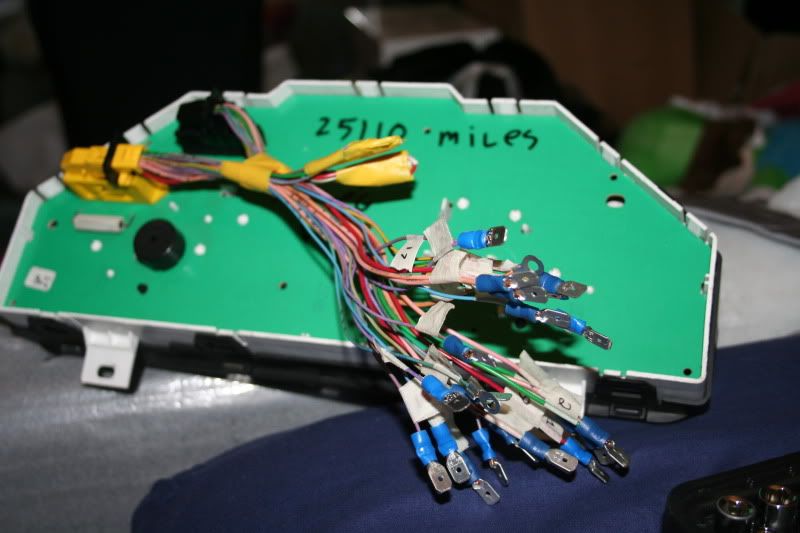
2) Start by removing the connector block, slide them out, and you can see all the wires are numbered. Now you need to use masking tape or something similar and number each wire near the bare end so its easier to connect them to the corresponding pins on the mark 1 loom later on. (sorry no pictures)
3) Next get ahold of some Blade connectors, I used 15amp 6.3 connectors and they fit perfectly, quite tight so I know they are not going to come out.
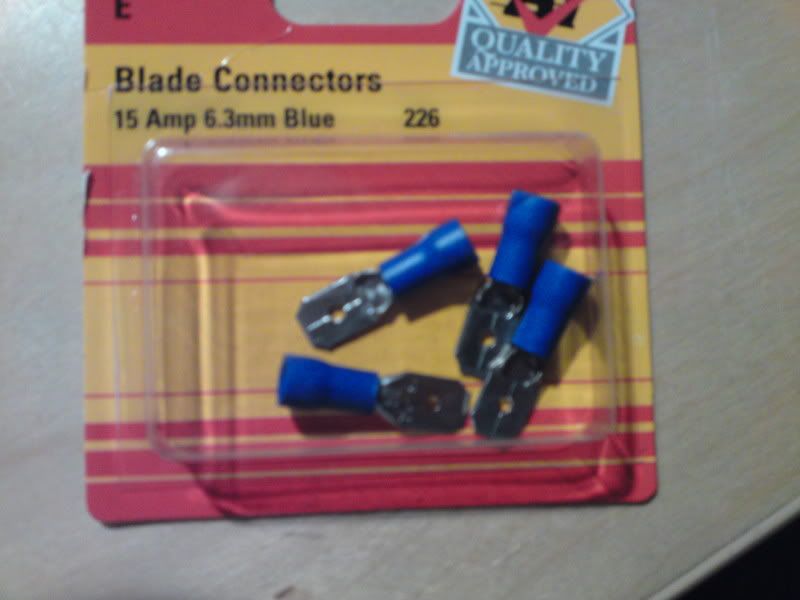
With these crimp one on the end of each wire, you should end up with something that looks like this:
*note. There are two sets of wires that need crimping together, please look at the table below to see which ones need connecting together.
 4)
4) Now you need to remove the old dials.. do this by following this guide by
'Mark51' http://www.saxperience.com/forum/sho...d.php?t=170949
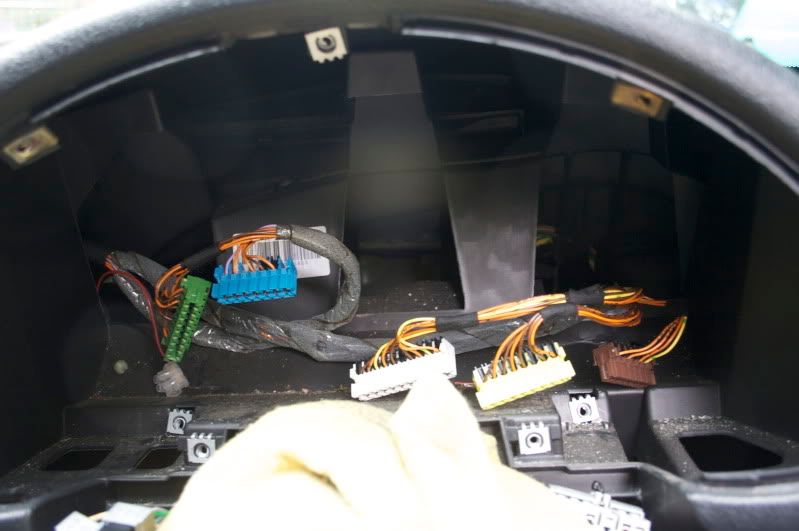
You will end up with 5 conector blocks; Green, Blue, White, Yellow and Brown
 5)
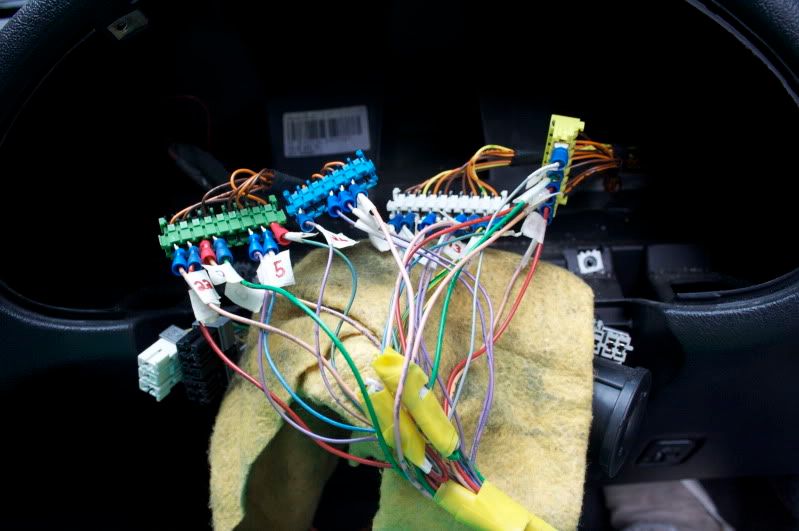
5) Now you will need to connect the wires from the Mark 2 loom to the corresponding wires on the Mark 1 loom, please use the table to show you which wires connect where.

 these wires have multiple connections.
Depending on the model and year this may have to connect to white 8 instead.
*There is also another Earth on one of the Mark 2 plugs that will need to earth by connecting it to White 9, but I cant remember which
wire it is. You can spot it because it will be Yellow and Green in colour.
 6.
6. Now once its all connected up you will notice your fuel gauge will be over reading. There are two options here, one option is to fit a Mark 2 fuel pump or the other is to attach a resistor to the blue 6. I am still working on which size resistor you need but at the moment I took one of the back of my old Mark 1 dials that attaches to the fuel gauge and the level seems to be about right but I will update when I can confirm this.
Once you have connected all this follow the guide by
'Mark51' again but backwards to replace the steering column and then sit back and admire your new mark 2 dials.
