BATTERY
The battery is probablies the most important thing in ICE, a standard citroen one will do the job for a low powered amp say but if your planning on multiple amps and accessories then uprate the battery or get a second one in the boot, id highly recommend a heavy duty one or if you can an optima yellow top, its also best to uprate the earths on the battery alternator and amp
WIRING
Probablies one of the most important things in ICE also, make sure you get qood quality cable, spend some good money on it as it can make or break an install etc
THE BIG 3
Earths are also one of the most important things in a sytem to stop interference and flashing of lights etc (NOTE: Power caps do not work, doing this will prevent these problems)
Use a 0 gauge wire, you can buy grounding kits now too with all the correct length wires and connectors on
Heres the earths you need to upgrade
Alternator to Battery
Battery to Chassis
Chassis to Engine
HEADUNIT
The standard headunit can be awkward to get out, its easy once you know how though

There will be 2 holes either side, these are release holes that release the headunit from its cage, use something to put in the holes, you can buy them from halfords or any good audi shop but i choose to use what ive already got, for exampe coathangers, nails or small screwdrivers, once there pressed in you can pull the headunit out, from the passenger side you can push it out, sometimes its handy to have a extra pair of hands, once out you can take the cage out and store them somewere safe
Aftermarket headunits usually come with cages or you could always use the standard cage for now, there will be lugs on the aftermarket cages for extra security and safety, once the cage is in bend the lugs back
There will also be a rubber bung on the back of some units, if your having trouble putting it in its either that or the wiring in the way, the rubber bung will just unscrew
Now onto the wiring, some aftermarket units require an aerial adaptopr which you can buy from halfords or ebay, there cheap so dont worry, last time i looke it was about 2 pound
The standard wiring is usually something along the lines of
Grey Wires = Lives (one is permanent and one is switched)
Blue = Illumination
Black or Green/Yellow = Earth
The rest are speaker wires
The positive will just be a colour and the negative will be a colour with a black line down the wire
Aftermarket wiring is something like this
Red = Switched Live
Yellow = Permanent Live
Orange = Illumination
Black = Earth
Blue or Blue/White = Remote (for amps)
The rest are speaker wires
The positive will just be a colour and the negative will be a colour with a black line down the wire
If the headunit loses its settings then swap the yellow and red over
FRONT SPEAKERS
The front speakers are a 13cm/5 inch's, there easy to get to
1) Undo the 2 torx screws from the door panel 1 is in the door pull and the other in the top corner below the mirror adjuster
2) Unclip the door card by pulling it off, if you snap any clips they dont cost much from the dealer about 12p each or you can get some from Nissan which have a felt pad on them to stop vibrations (i replaced all my clips with these) ask for some door clips for a 2003 primera and also get the black ones as there stronger
3) Once off undo the 4 torx screws or rivets holding the speaker in place, for rivets use a drill in the middle of the rivet and drill them out, if they start turning rotate the drill back and forth so it bites onto the rivet
4) Once off unplug and replace speaker or if using components lay some wires down to the door
Id highly recommend components amped up front over coaxials or 6x9s any day
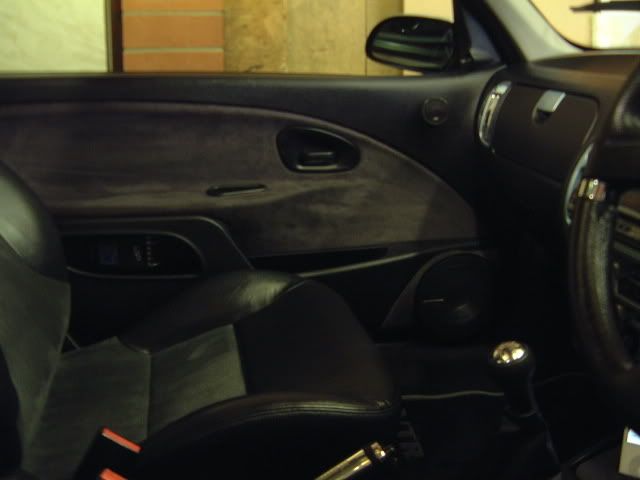
If your wanting to do door pods then theres a guide for
premium members
http://www.saxperience.com/mods/show....php?artid=100
or you could look at my progress thread for ideas
http://www.saxperience.com/forum/showthread.php?t=53744
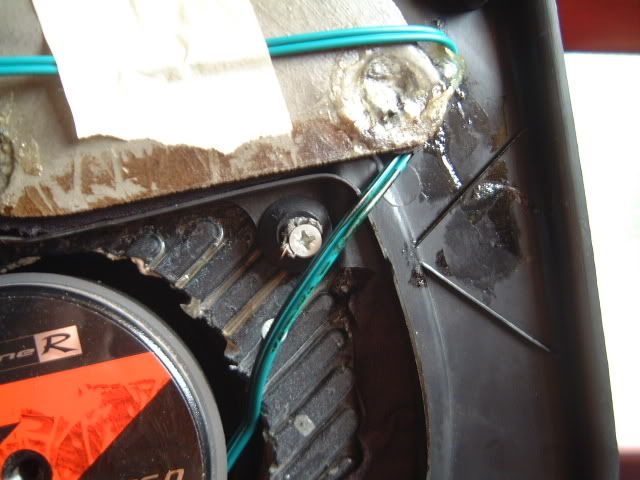
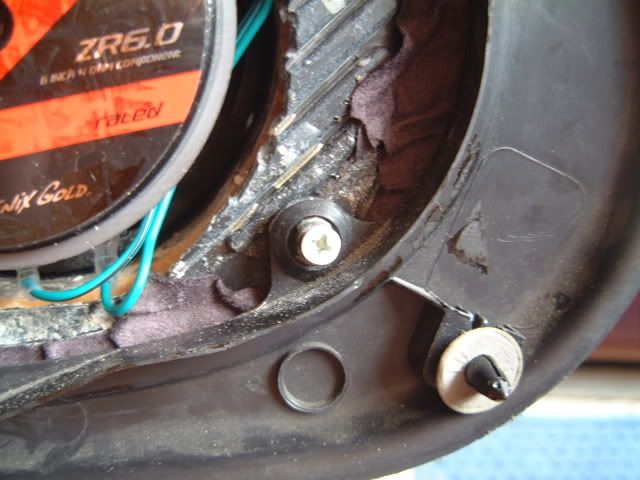
There quite easy to do if you have worked with fiberglass before
And how the are attached to the doorcard, just a screw driven into the middle of the clip so it stays clipped in place

PM me if you have any questions though
REAR SPEAKERS
The rear speakers are 10cm/4 inch's
There a bit harder to get to but to be honest its not worth upgrading them as front components will fill the car with sound being a small car
1) Take the back seats out, bottom cushions flip up and lift off at a certain angle and the back rest come off by undoing the 2 bolts on either side so 4 in all
2) Open rear quarter window and lift the seal off, you only need the bottom of the seal off
3) The panel should unclip off by pulling it
Sometimes it is necessary to remove the parcel shelf brackets
6X9s
Just dont buy them, simple as that as im not going into them, there crap and dont work, components amped up front will sound much better
POWER CAPS
Dont buy these either, they do nothing, see the battery part at the top
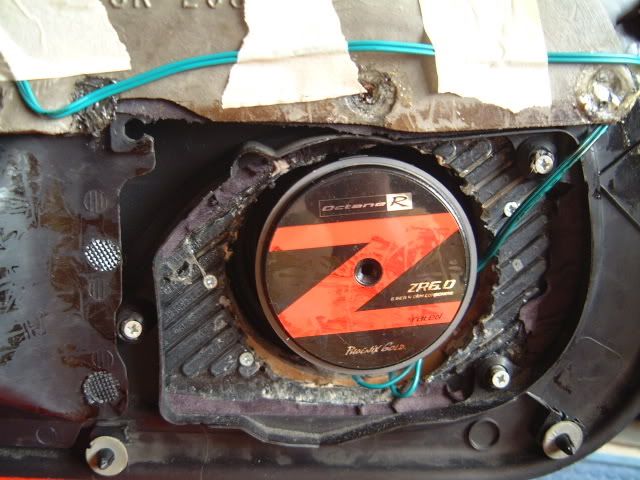
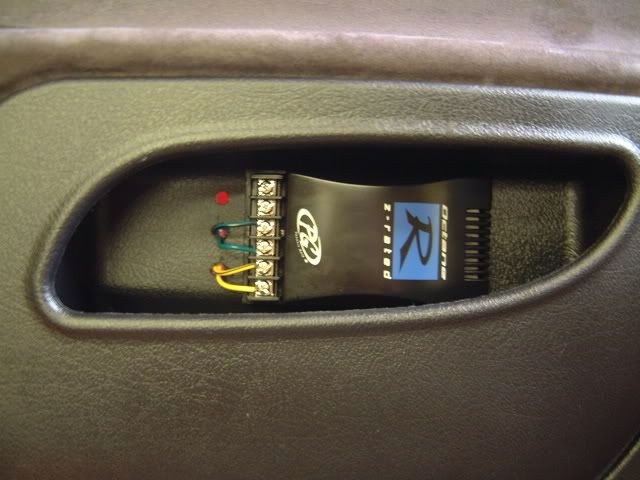
WIRING UP COMPONENTS
You need to run speaker wires from the amp to the doors then to the crossovers, so run the wires under the carpet and then to the doors, it is a bit awkward doing this but drilling a hole in the door is the best way to do it, there is a grommet in the car and the wires will come out in the door shuts somewere then put it through the door, make sure the edges aren't sharp on the hole as it will cut through the wire
Heres a basic diagram of how you would wire them up, the wires are all speaker wires

Heres my components and where i have mounted the tweeter and crossover, the best way to find the best location for the tweeter is to wire it all up and use some blu tack on the back and its all trial and error, once you fiind the right place then mount it there
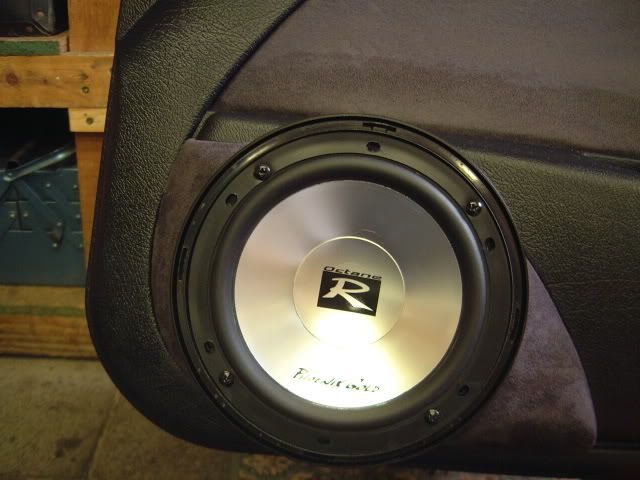 SUBWOOFER
This is up to you to decide on what size you want, i tend to say 10 and 12s are the best size anything more and less are useless in my opinion
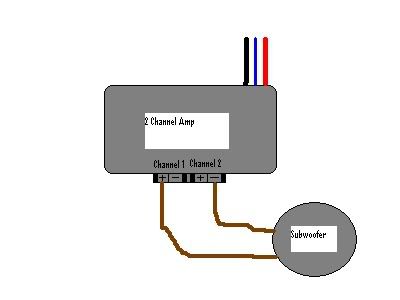
Its also all about getting the right amp to power it too, i find it best to have a 2 channel amp for the components and then a mono amp for the sub, you only really need one sub but for two id buy a 4 channel amp and bridge the channels to power the subs
For example this diagram shows a 2 channel amp bridged for a sub, so if it was a 4 channel amp you would bridge channels 1 and 2 for one sub and 3 and 4 for the other
Heres a few of my install and how i have hidden the amps and wiring, also its worth wiring in some PC fans to keep things cool under a false floor, just make sure you have somewere heat can escape or else the fans will be just blowing hot air about and dont forget to leave a cutout for the spare wheel
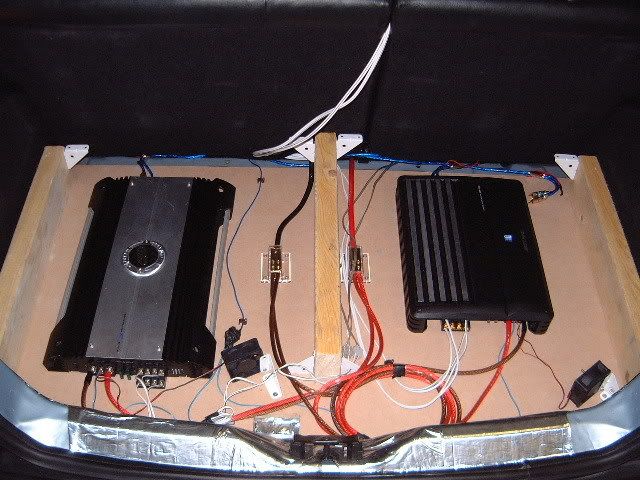


Cutout for spare wheel in this pic

Also check out furioals install/guide, its simple but so effective and quite easy to do
http://www.saxperience.com/forum/showthread.php?t=78450
SOUND DEADINING
It is also recommended you sound proof the doors and bootlid and boot to provide better sound, less road noise and also the annoying rattles
There are a lot of deals on ebay for sound proofing/deadining, i used ivanhoe and it does the job, dynamat and brown bread are the best i believe
Use some loft/wall insulation to stuff the bootlid first and also behind the rear door cards if you want, obviously not the front doors
Then use the sound proofing on clean painted surface, i had to use heat on mine as it was a cold day, all i did was use a heat gun to heat the back of it up and then apply to the metal make sure you press it into all the nooks and cranny's use a roller if needs be
In the boot i used it on the boot floor, boot wall and bootlid, it stopped rattles so im happy
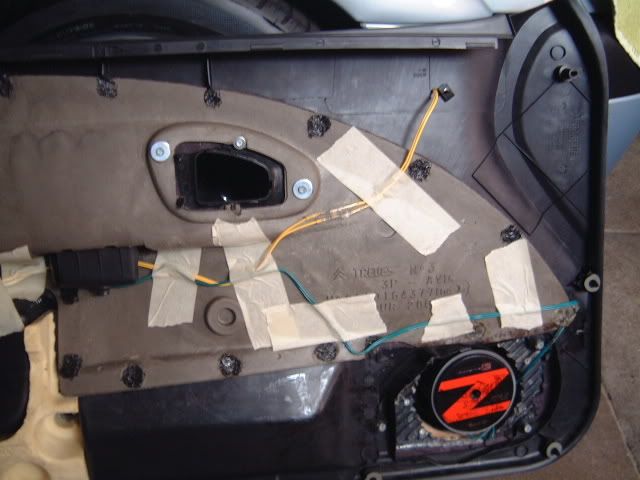
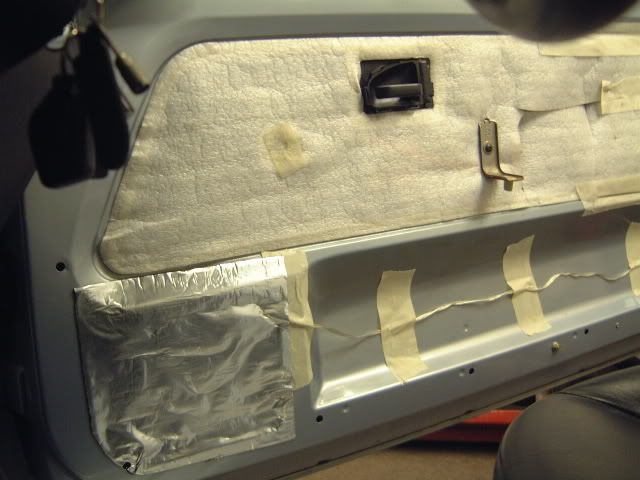
for the doors i just covered the speaker hole up as i have door pods but if you dont sound proof as much of the door as you can and if you can do the two panels ie outer and inner of the door
Heres A few of mine

And on the door (remember i have doorpods)
 RATTLES
As above sound deadening is one of the best ways to stop this, but if all else fails then it could be down to one of these:-
Rear Wiper - DeWiper it
3rd Brake Light - Apply foam tape around the edges
Bottlid Trim - Apply foam tape around edges and buy some primera clips (get the black ones from a 2002 plate primera, they are the strongest and have a foam pad on them to stop rattles further, about 20p a clip but worth it) THIS ALSO GOES FOR THE DOORCARDS
 Numberplate
 - Use sticky pads instead of screws ( what ive done is use some filler on the screw holes on the boot lid and used a touch up kit to protect it from the elements)
Spoiler -Could just need tightening up
USEFUL LINKS
ICE Forum
http://www.talkaudio.co.uk/vbb/
Sub Wiring
http://www.rockfordfosgate.com/rftech/woofer_wizard.asp
Sub Box
http://www.rockfordfosgate.com/rftech/box_wizard.asp
http://www.hertzaudiovideo.com/default_en.htm
Car Audio Shops
http://www.caraudiocentre.co.uk
http://www.caraudiodirect.co.uk
http://www.caraudiosecurity.com
http://www.lowcostcaraudio.co.uk
http://www.dynamicsounds.co.uk
http://www.audioassault.co.uk
And also
www.ebay.co.uk for some bargains


 give good info on specs of things


 Linear Mode

