Right,
So i was browsing through my pictures just now and saw the difference between my engine bay when i got the car and now, i am abit anal in that sense and as soon as i get a car i detail it and make sure i clean up the engine bay always.
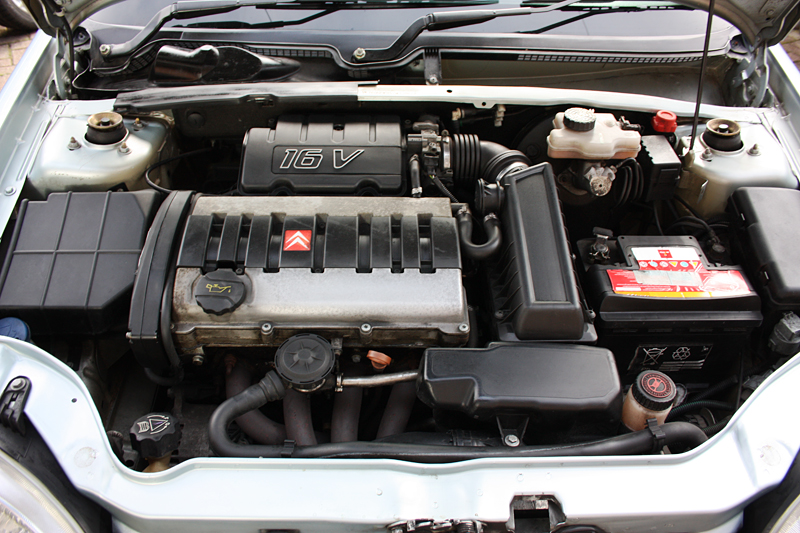
Firstly, i started with this, a daunting task an absolute mess.
Most people do not care about their engine bays which is a shame as i think having a clean bay helps in three ways.
1. To spot oddities as dirt hides these, for instance rust
2. When working you dont get as dirty
3. A clean engine is nicer to look at, and can be helpful at resale as it looks like you have cared for the car by maintaining it a little more than the average Joe.
Picture 1, the beggining

As you may or may not agree this has the potential to put off a small margin of buyers, luckily not me

I began with, Taking off removable covers and placing them in my sink with hot water and snow foam with some all purpose cleaner.
I then set about agitating areas of the bay with lots of muck with
Meguairs all purpose cleaner and a little snow foam then wiping the muck from everything.
After leaving covers to soak and washing them down i place them to one side to dry, So thats all platics looking clean(ish) then refitted.
Now the bit the guide is aimed at really.
That rocker cover was quite a state, i firsty got a brilo pad to it with
Autosol on and kept rubbing for hrs which brings me to this stage.
You can clearly see this is working but its a long way from done, it took a good 4hrs to get to this stage;
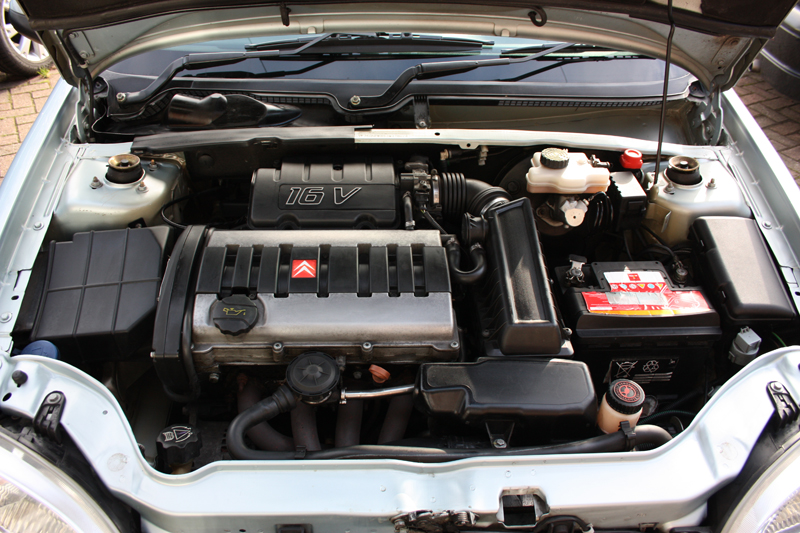
Still not too great but a big improvement from the original state, at this point im unable to get anymore rubbish off as the muck is gone what isnt is the metal corrosion. For this i used
1200 grit Sand paper firstly by dry sanding, and then finally
600 grit wet and dry to gain a smooth finish to the covers.
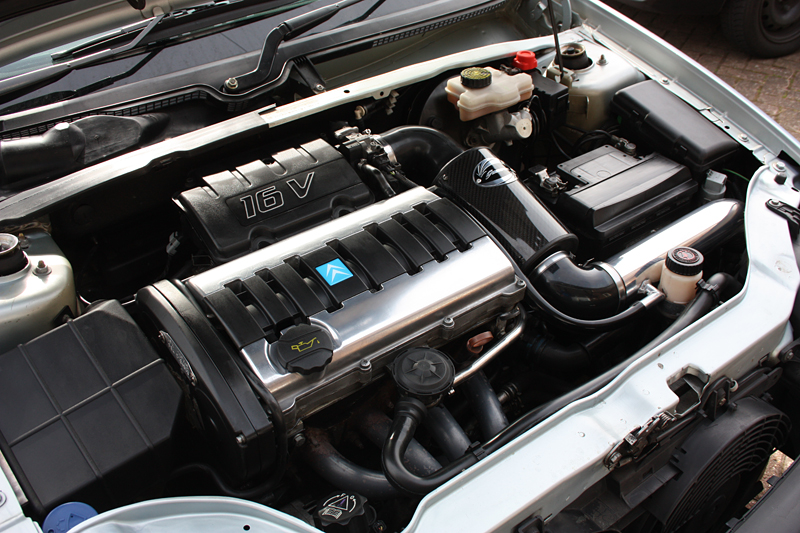
This brought me to this point, not the same day and with an addition in the form of a CAIS.
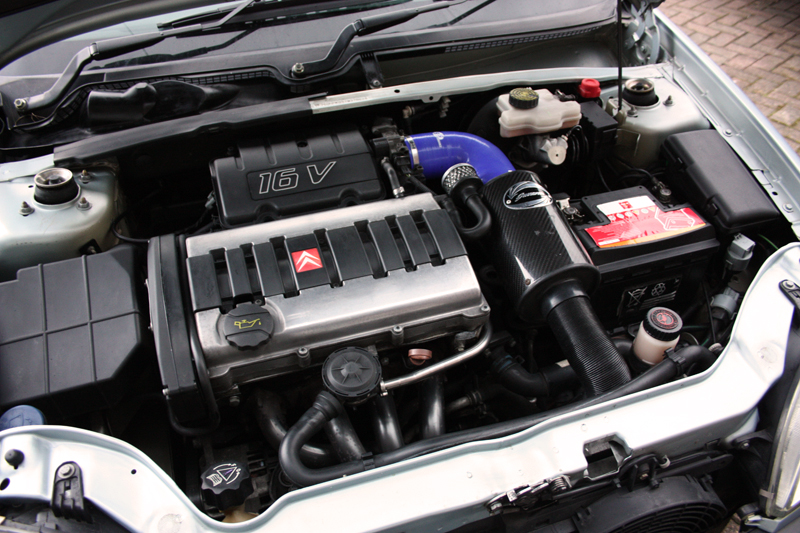
Much better, im sure you will agree. Sanding gives a very smooth finish but not that mirror finish i was hoping for. It was then time for the wire buff on a bench grinder, you can achieve a good finish without the use of this but it will take alot longer.
I would just like to say it is paramount to sand the covers down as the metal has a bumpy texture to it.
Again another change in the Air flow.
Now to complete the rocker covers and the bay, i bought a
3.5" backing plate and
Lake Country CCS Orange
Light Cutting Pad 4" for my
Meguairs G220 polishing machineand applied at speed 6 lots of Autosol in which i got this result. You if you do not have a machine polisher fear not its still achievable just takes alot longer by hand, a mircrofibre (box of) and lots and lots of autosol.
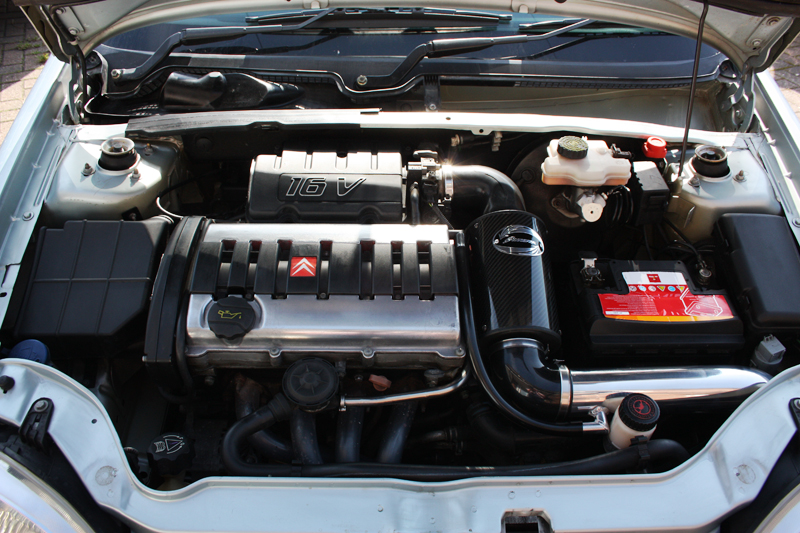
You are now left with this;
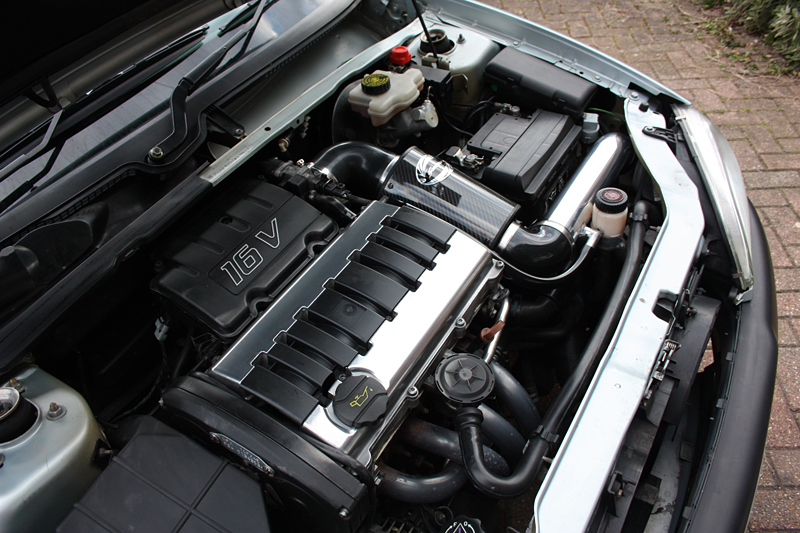
To complete the bay, dust everywhere as the sanding ruins everything, i use Meguairs high gloss gel on all black plastics.
Finally new
custom coilpack sticker on and
FIN
The more you prep it, sand it down and check the finish the better it will turn out. So as always the more you put in to it the better the result.


 Threaded Mode