Guide to Photo shopping bumpers
This time we are going to transfer a front bumper from one car to another.
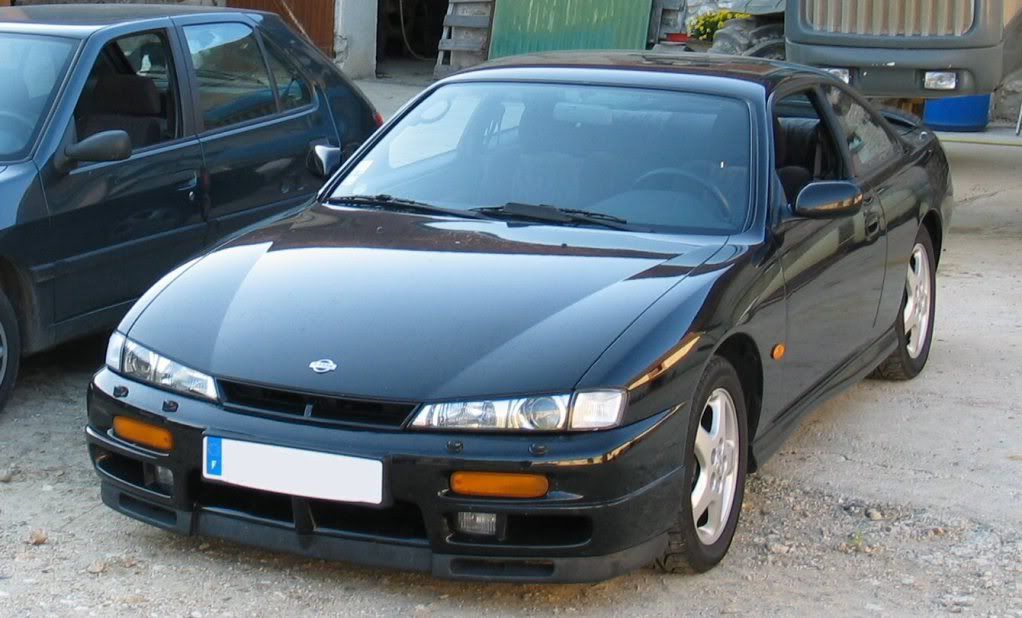
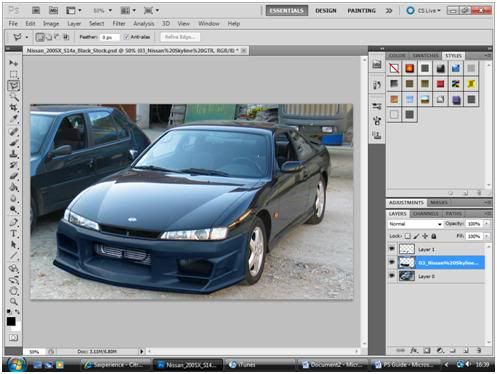
Firstly I have a large image of a Nissan 200sx from Google images which will be our base layer.
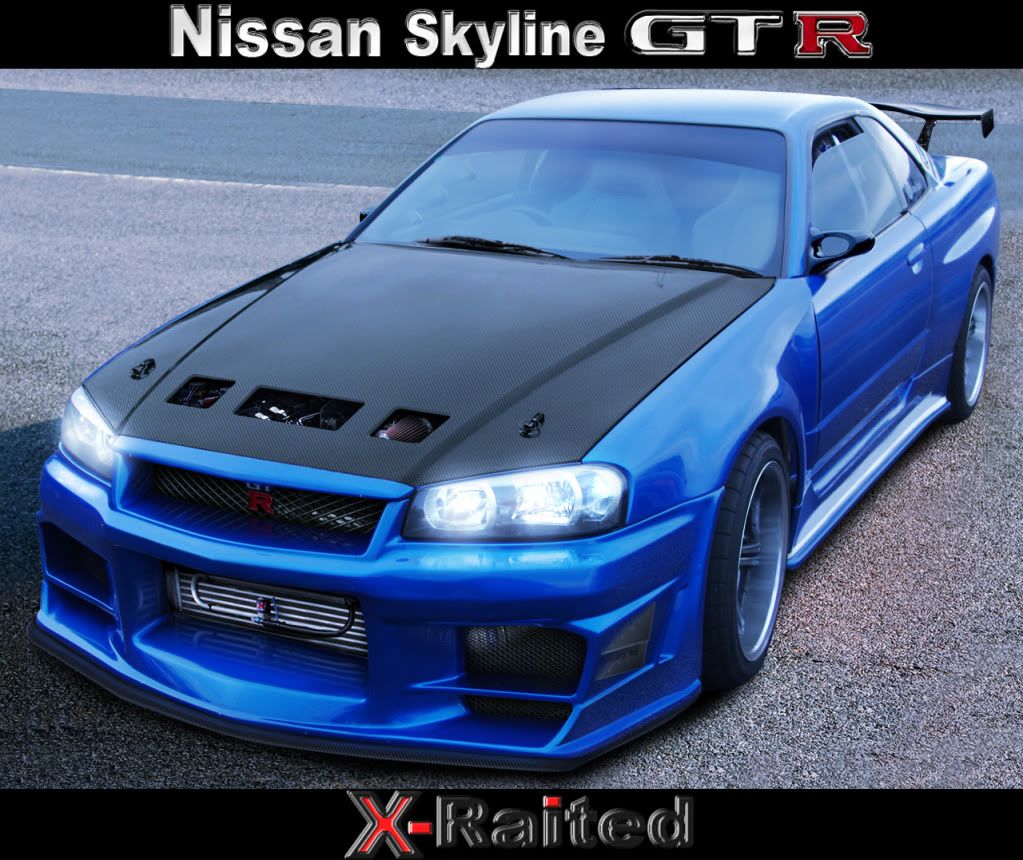
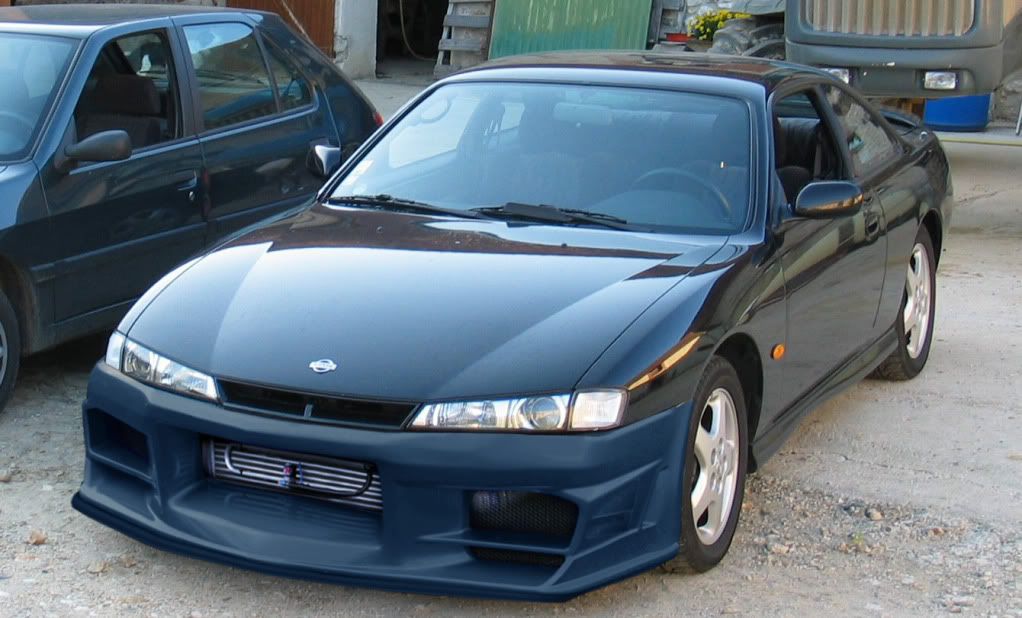
We will be using this Nissan Skyline as out donor car, drop both into Photoshop. Again try get images from generally the same angle to reduce work later on.
Rasterize the Skyline image only if necessary by right clicking on the layer in the layers panel, then Rasterize layer.
Now draw around the Bumper using the
Polygonal lasso tool, then right click > select inverse > delete on keyboard, so we have something like this:
As you can see it is nowhere near the same as the 200sx, not only is the bumper made for a different car but the size is incorrect. We will use the
Distort,
Free transform, Warp and
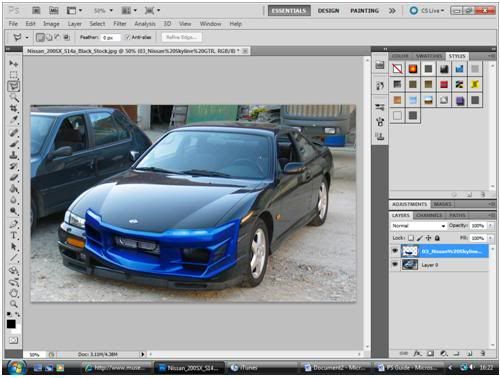
Stamp tools now to get the bumper to line up. First line up the bumper near enough to the 200sx. Then manipulate the bumper with the free transform to match it up. You will have something like this:
Now using the
Polygonal lasso tool cut away the areas that dont match up like the areas where the Skyline headlights would have been. Then using the
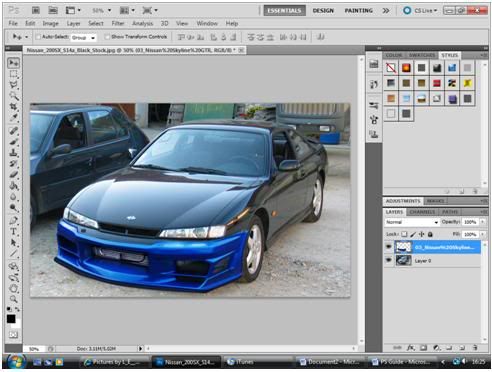
Warp tool you can make the bumper fit the 200sx. Be sure to use the
Stamp tool if you cant get the Warp tool to reach everywhere.

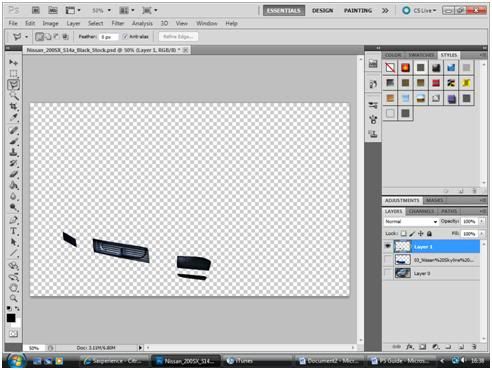
Before moving onto colour, your image may have areas like the intercooler on my bumper that dont need painting. So we must first draw around all these areas with the
Polygonal lasso tool, then go to Layer > New > Layer Via copy - the new layer shown below for demonstration purposes.
Now we can then return to the original bumper layer. Go to Image > Adjustments > Desaturate. Then Image > Adjustments > Colour balance. Now play around with the colours to get a general match of colour as we can change the hue next.
Now using Image > Adjustments > Hue/Saturation and Image > Adjustments > Brightness/Contrast you can match up the colour. You may have to use the Stamp tool to hide the obvious joins.
And finally of course you can add a shadow by selecting the Brush tool, set the hardness to 0%, then the size to about 190px, opacity' to about 20%, and flow to about 20%. Now select the 200sx layer from the layers menu. Now put some paint under the side skirt slowly building up the paint. Be sparing and stop when the shadow looks realistic.
It needs more work but you get the idea
Thanks for reading my guide
Lewis
Property of Lewis Bunn


 Linear Mode

