we all have the problem, take a nice pic, or a landscape etc and the sky is all pale and looking crap.
its not hard to fix at all with photoshop, so here is my guide to the methods used.
NOTE : some editing may ocur in this thread, as im making it all up as i go along.
1.firstly id ad some contrast marking, click
HERE and follow instructions, dont forget to adjust the "opacity" and dont over cook it, we are doing more, so dont try to get a final result from this first step.
2.ok, now we need to do an auto curves layer, you can create your own, but i jsut go for auto, as its alot simpler, and 9/10 it gets it bang on.
right click the new adjustment layer and select "curves"
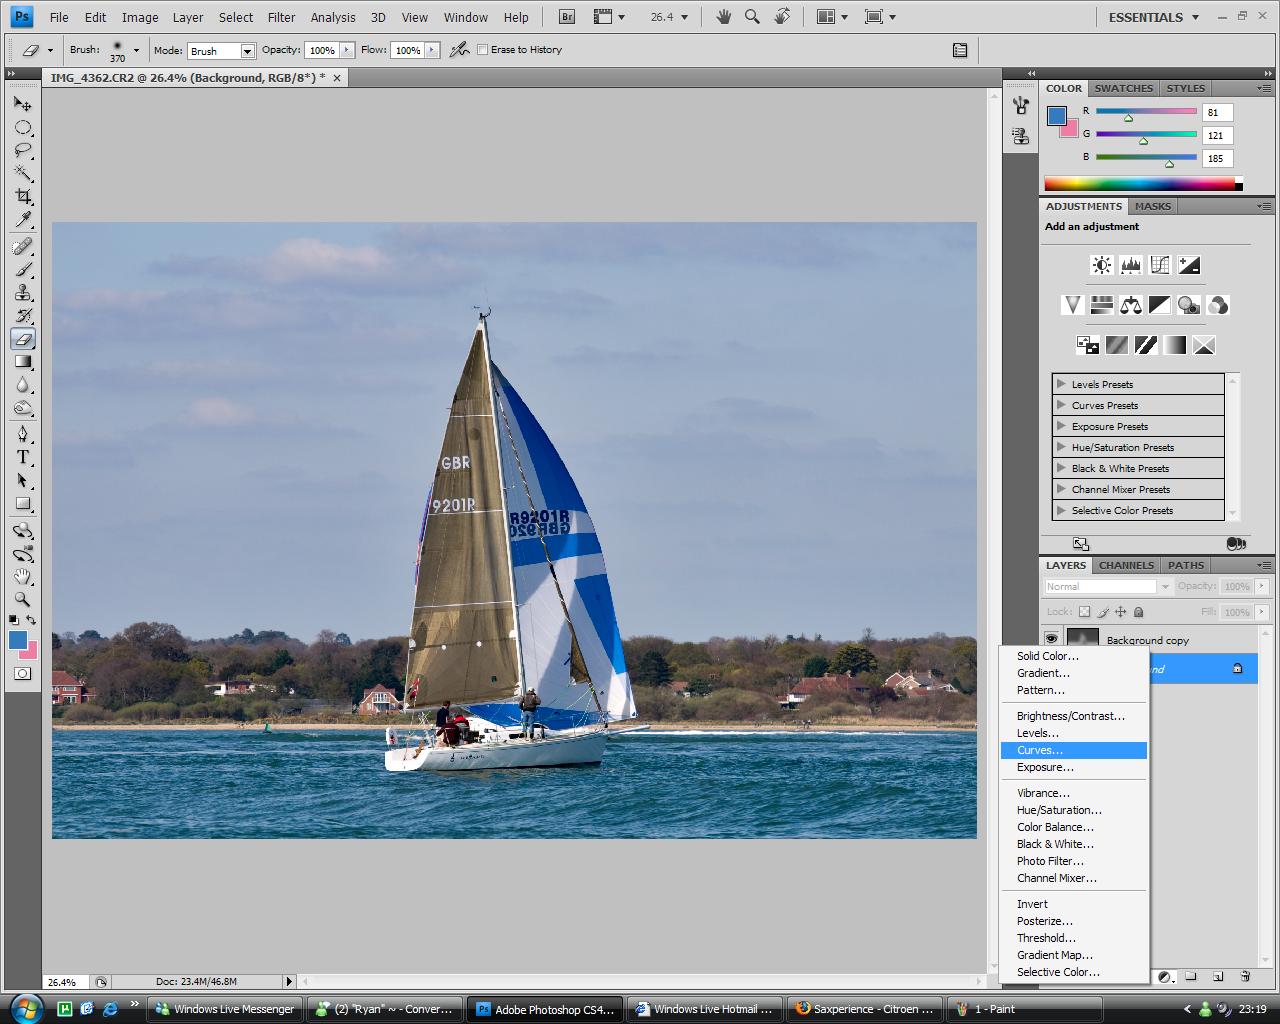
then press auto
3. now thats the colours sorted, we are going to fix the sky

click the "new adjustments layer" button again and select vibrance
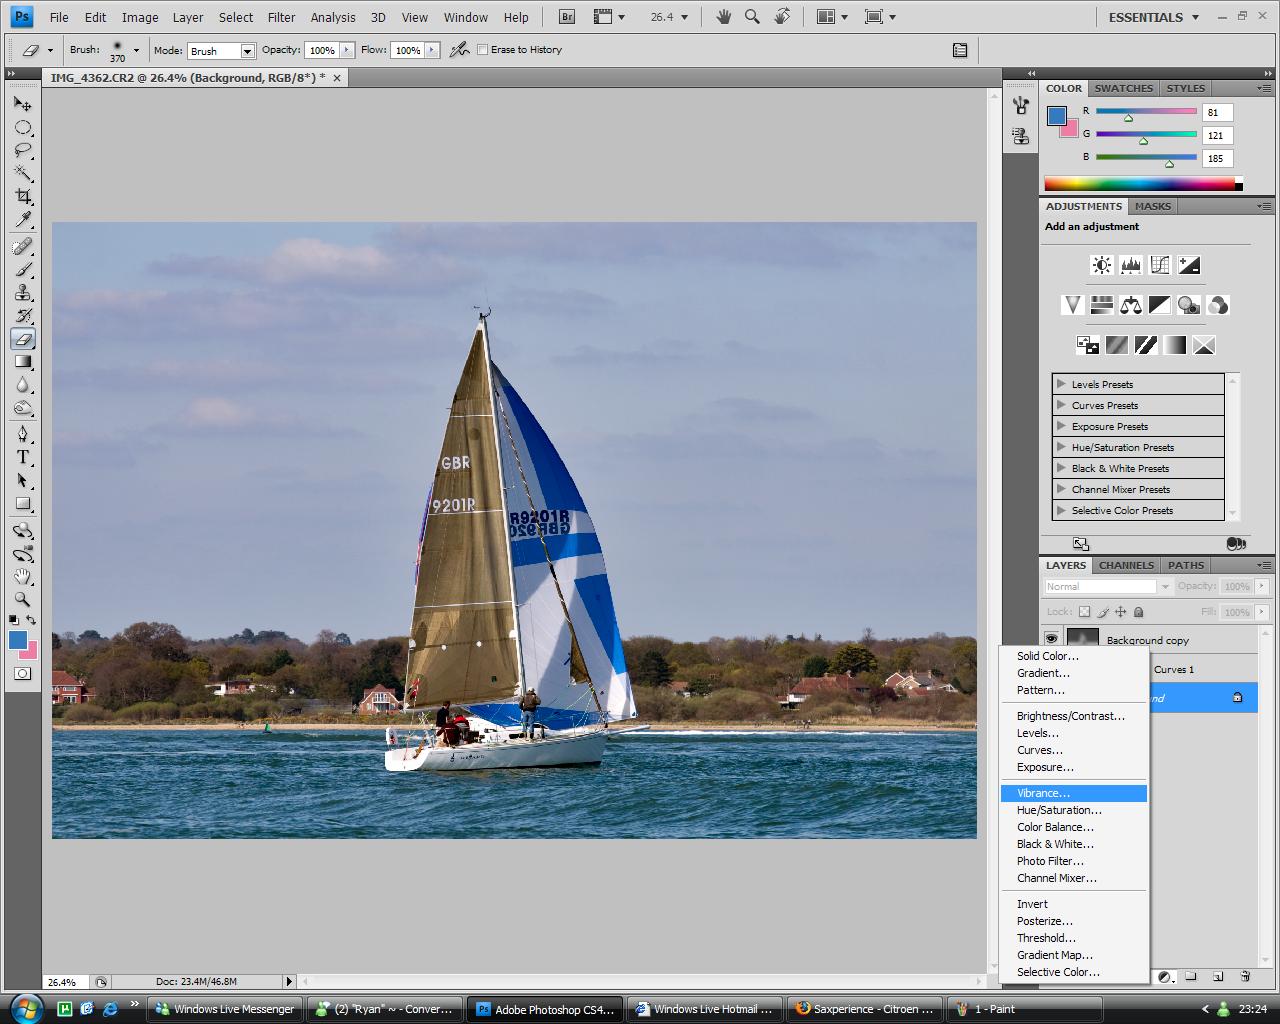
now play about with the "vibrancy" and "saturation" sliders, till you think you have a good looking sky, ignore the fact the rest of the image has all gone to shit.
4. Now get the eraser tool, the one in the top of this list.
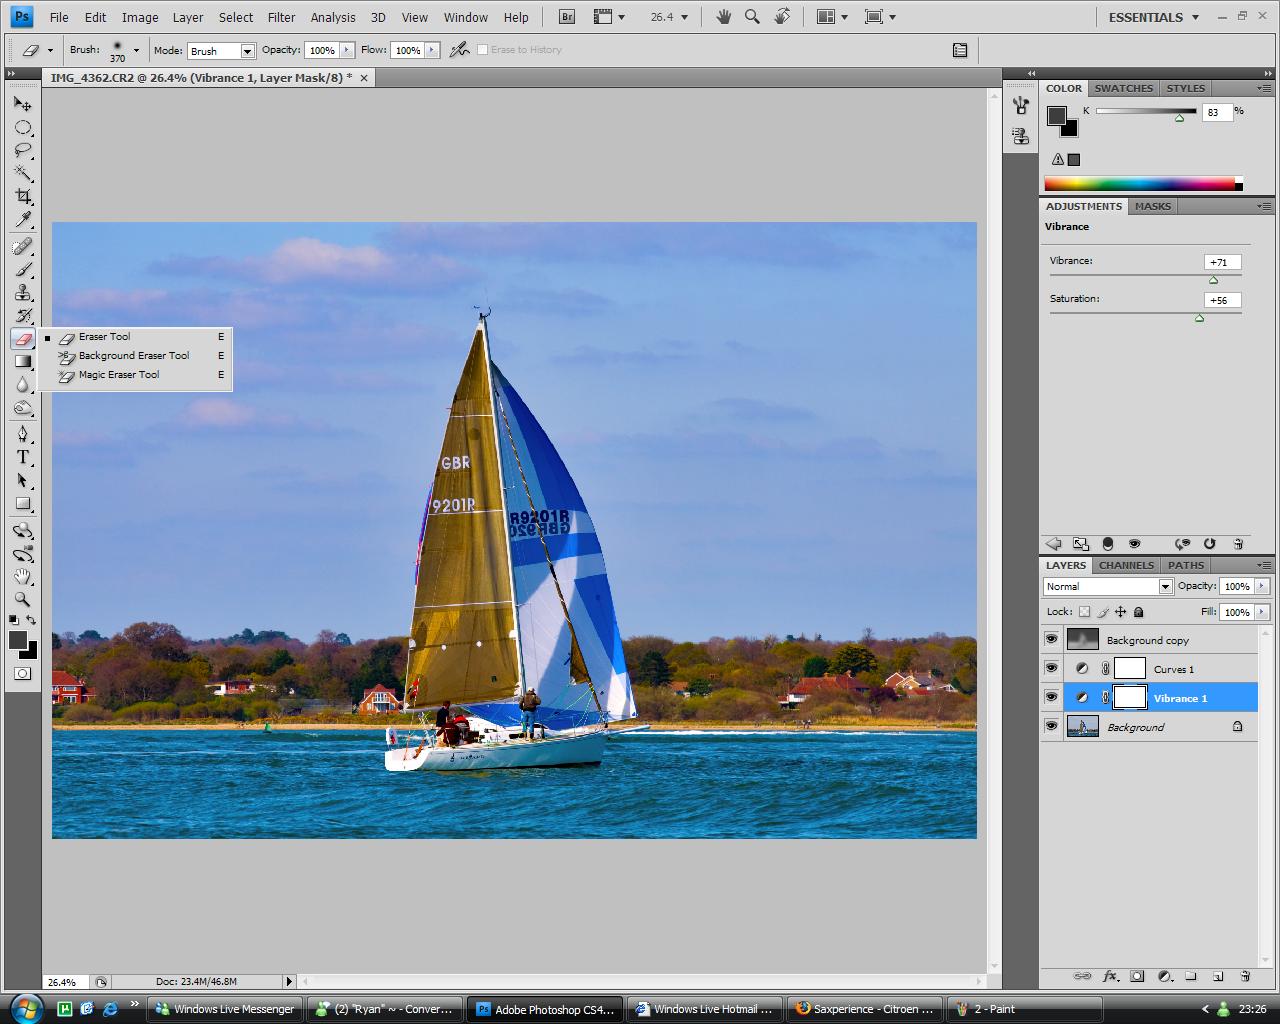
and carefully erase around everything but the sky, so you are removing the parts of the saturation layer that you dont want.
right click the mouse while using eraser and make sure hardness is down to 0% when you are doing the horizon, to get a nice blend and save you being to accurate, but when you get to anything sharp, such as my mast and sail, make it a little harder so you can be more accurate.
 5.
5. sharpening next, so lets click the magnifier on the tools pallet and right click the screen, when the menu appears click "actual pixels" this will zoom in to 100%, make sharpening more accurate.
next check you are selected on the background layer, in the layers pallet on the right, it must be on the original image you started with.
now select, filter, sharpen, unsharp mask.
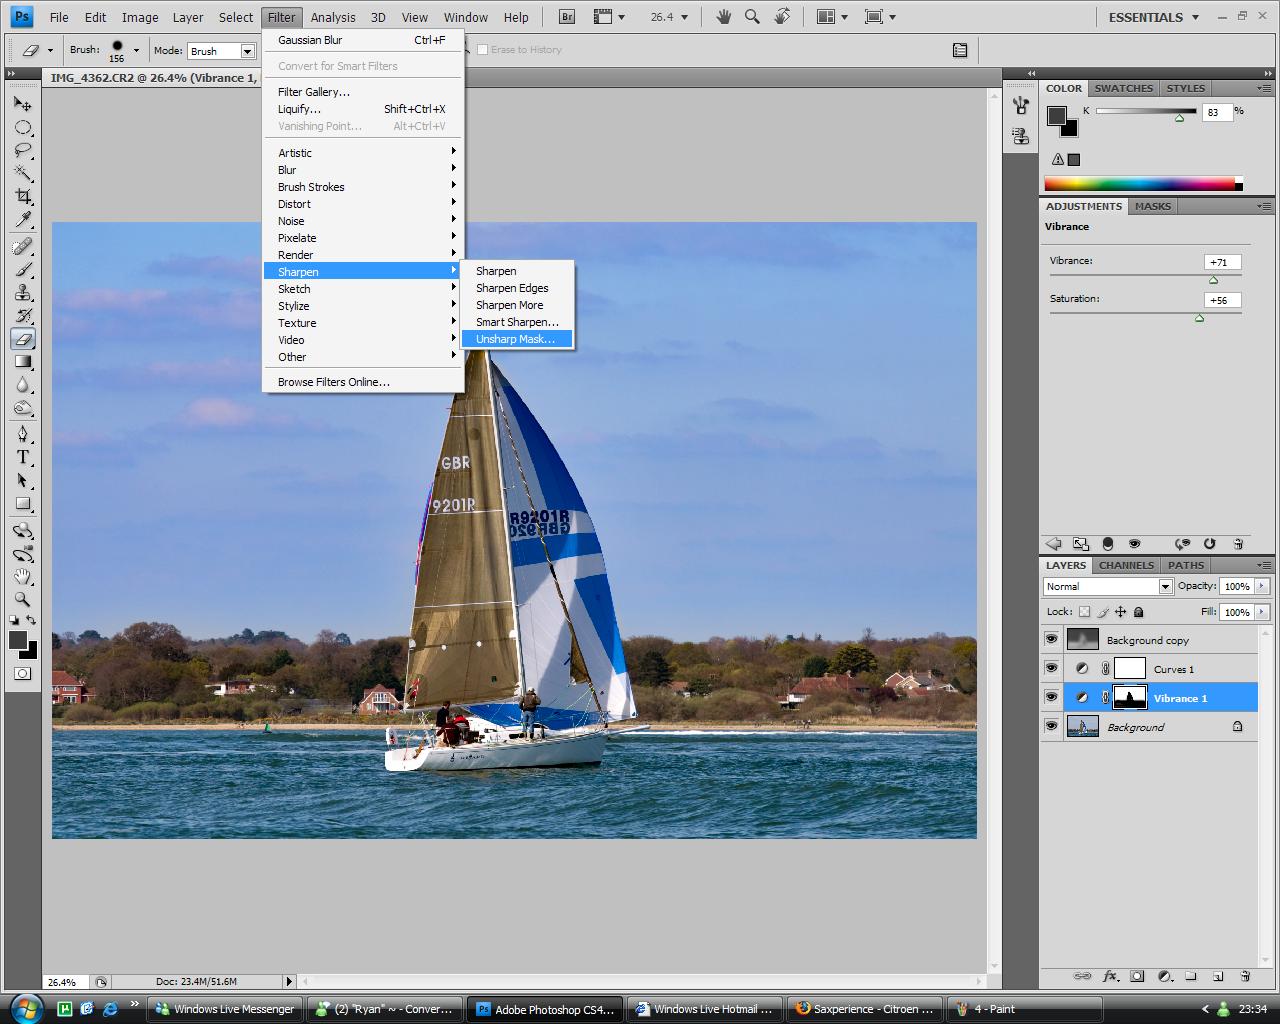
play about with the sliders, id recommend something like
amount 50
radius 1.6
threshold 0
im not so hot with sharpening, so maybe another member could add to this info ?
6.Final adjustments. on the right in "layers pallet" you will see an eye to the left of each layer, clikcing this on and off will let you see the layer, it turns it on and off, so you can check your work as your going.
i always turn each on off and on, in different combo's as its easy to get carried away and end up with a worse image than you started.
if you feel one of the layers is a little strong, and you cant decide if it looks better with or without it, right click the layer and select blending options.
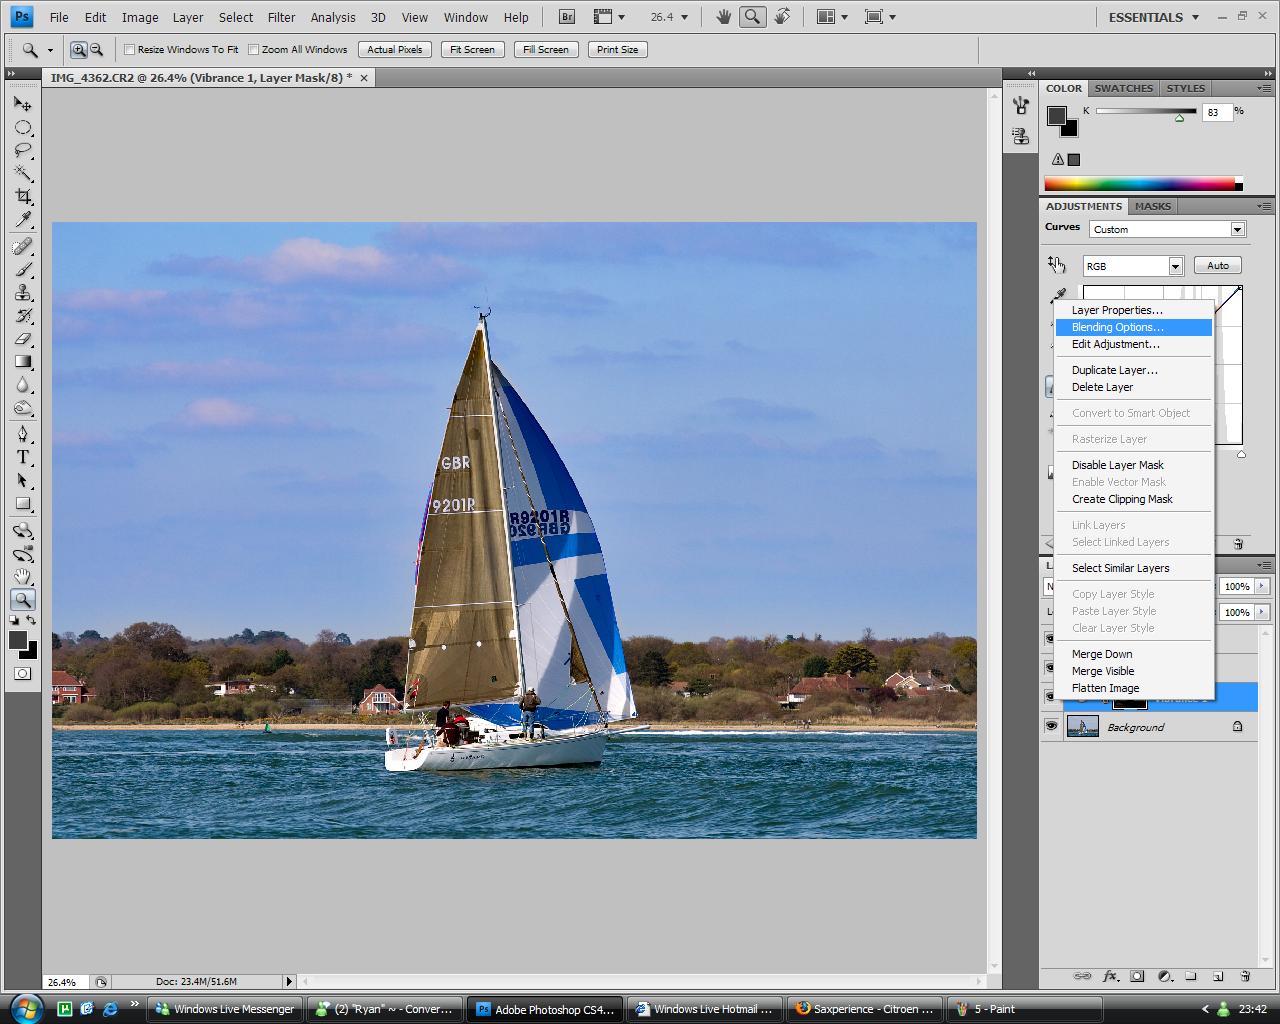
now with the new window open, you can adjust the blending properties of the layer you have selected, the main thing you want to concentrate on is the "opacity" slider, this will adjust the potency of the layer.
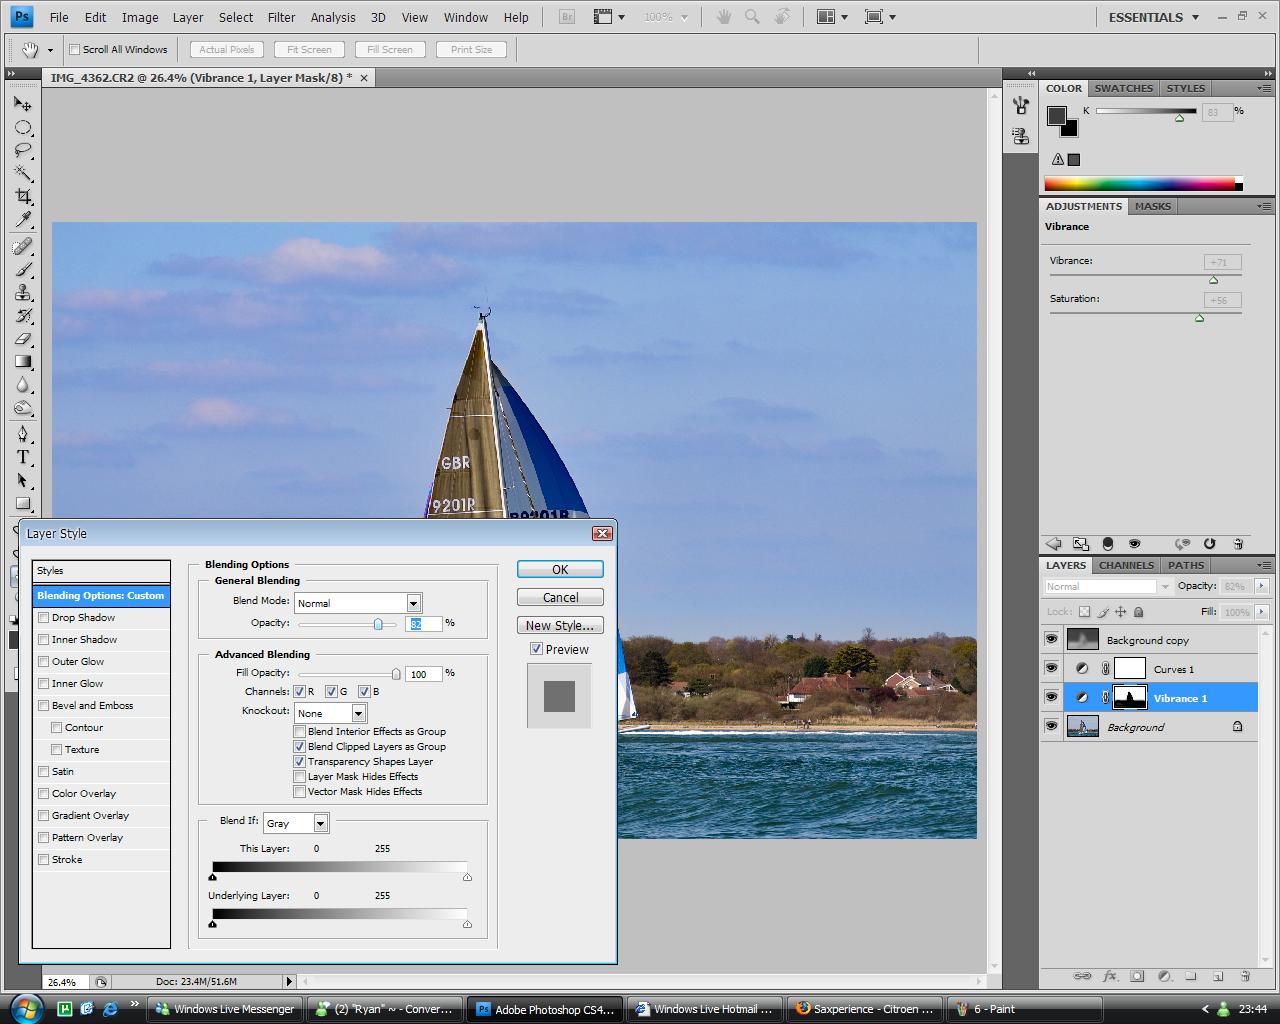
you can also play with "blend mode" in the top drop down menu, to get some different effects.
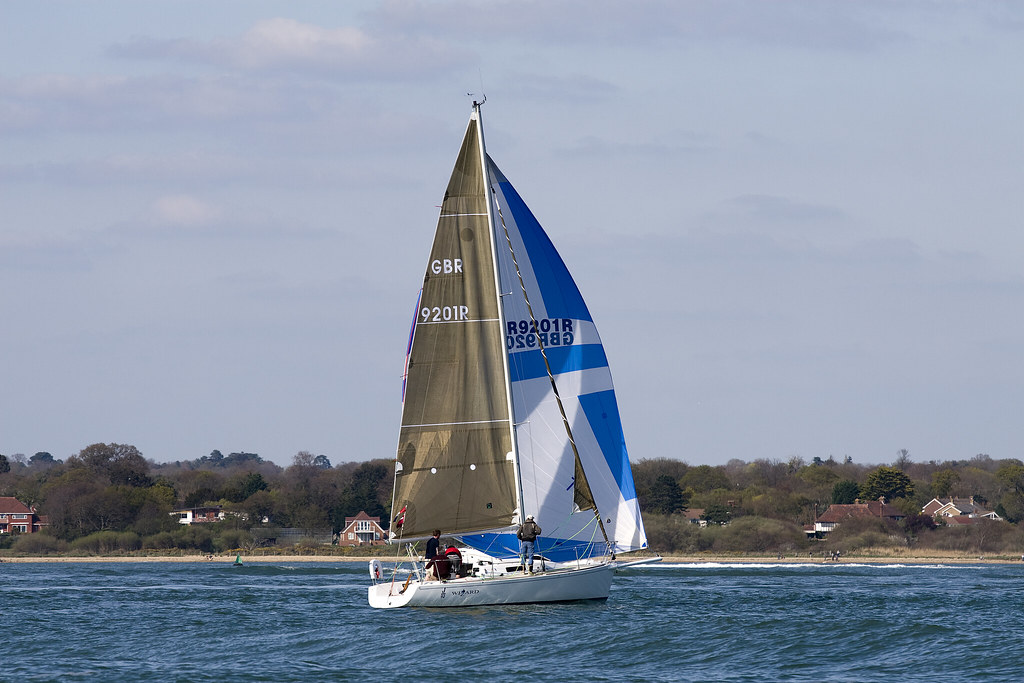
from this
to this
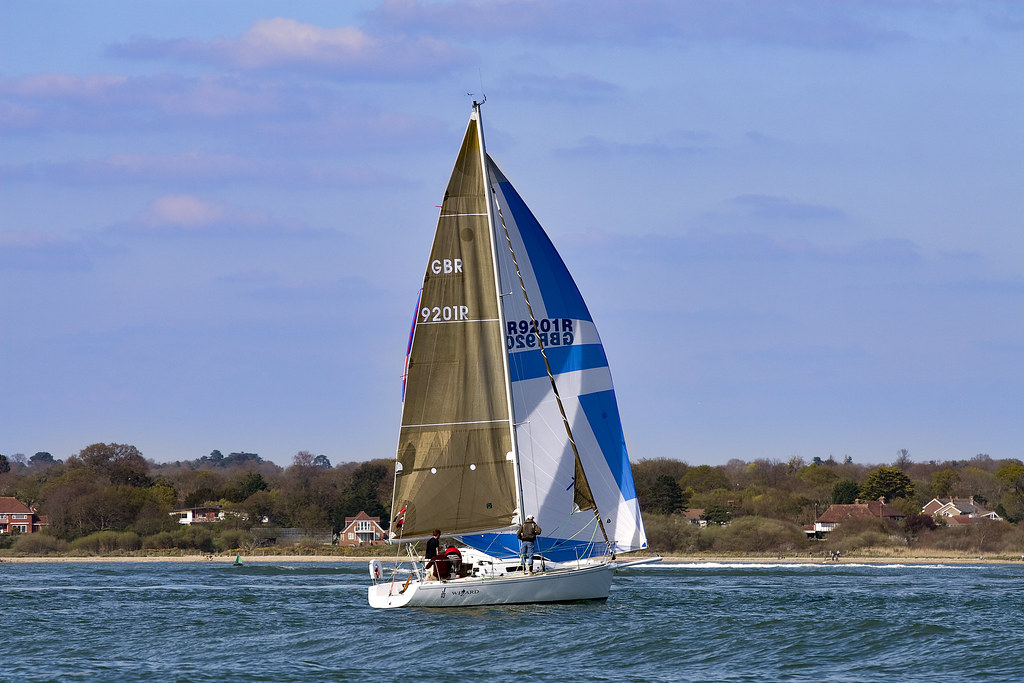
hope this is helpful guys.
good luck
Brad


 Linear Mode

