Hi Everyone,
Here's a quick guide to watermark your photographs with a copyright - copyrighting is important particularly if you're sharing over the internet, placing a lightly opaque copyright image/text/logo over the image makes it difficult for a would-be photo-thief to edit the image or pass it off as their own.
Sooooo, here's a run down of how to do a basic watermarking and save your setup so that you can automate the process on future images to save time and maintain consistency.
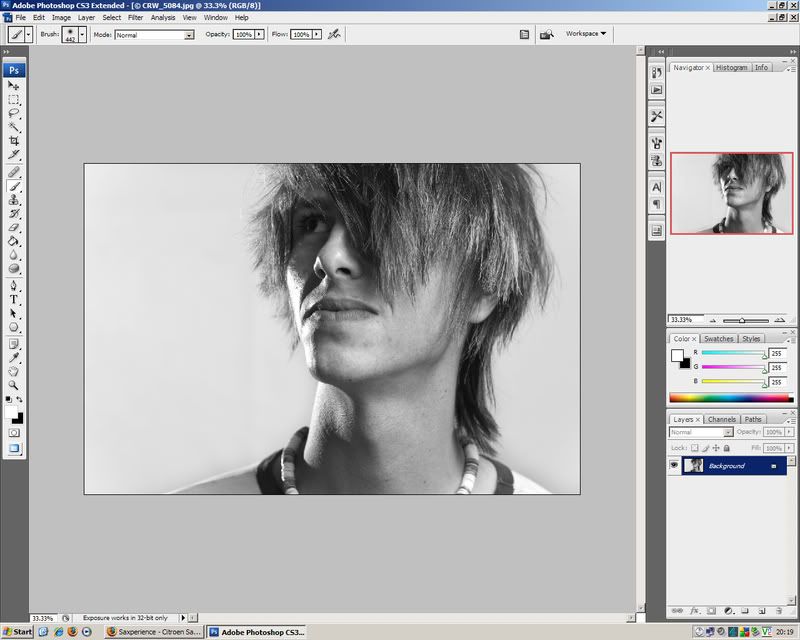
Grab a photo - Made my sister take this so I could check lights were in the right position
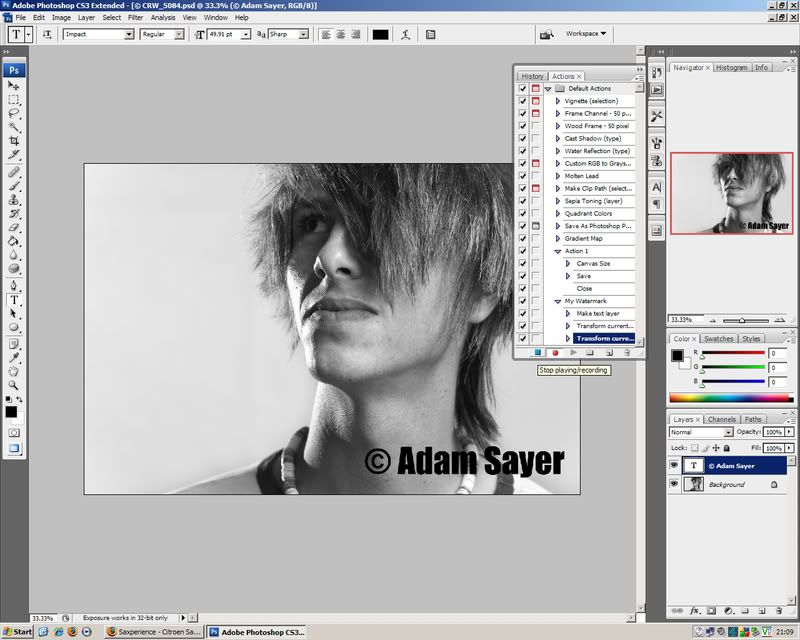
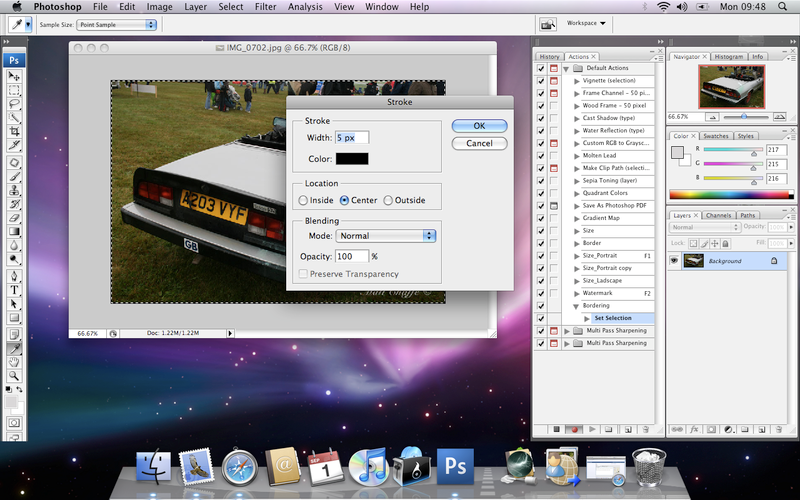
Then select from the top 'Window > Actions'
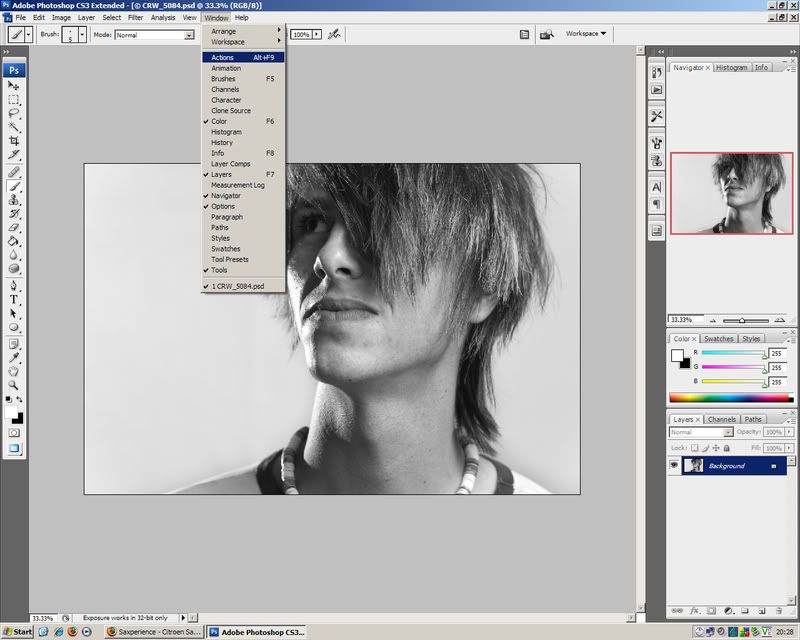
This brings up the Actions Panel that will allow you to automate you watermarking process

In the Action Panel, press the 'Create New Action'
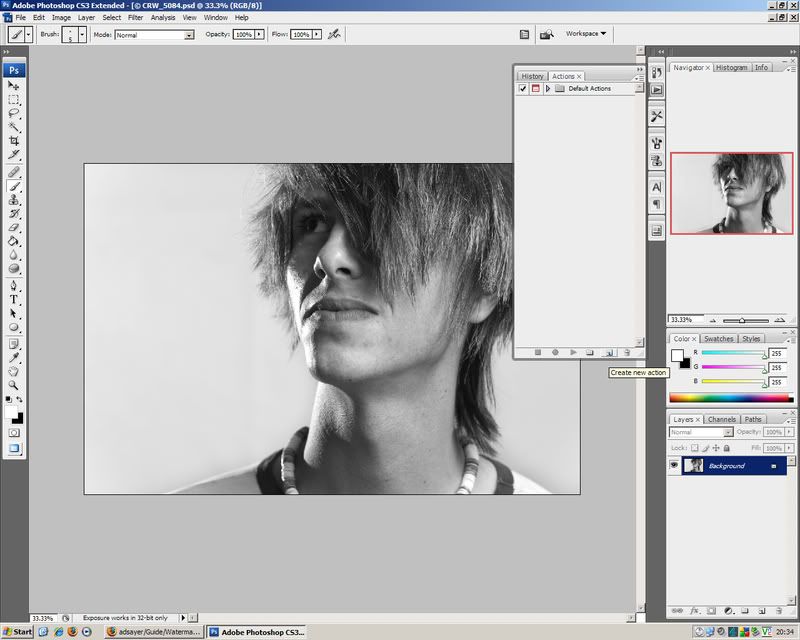
From this point on WHATEVER YOU DO in Photoshop you'll record... so be careful or you'll have stop the recording and delete what entry it's recorded

Select the Horizontal Type Tool on the left hand pane.
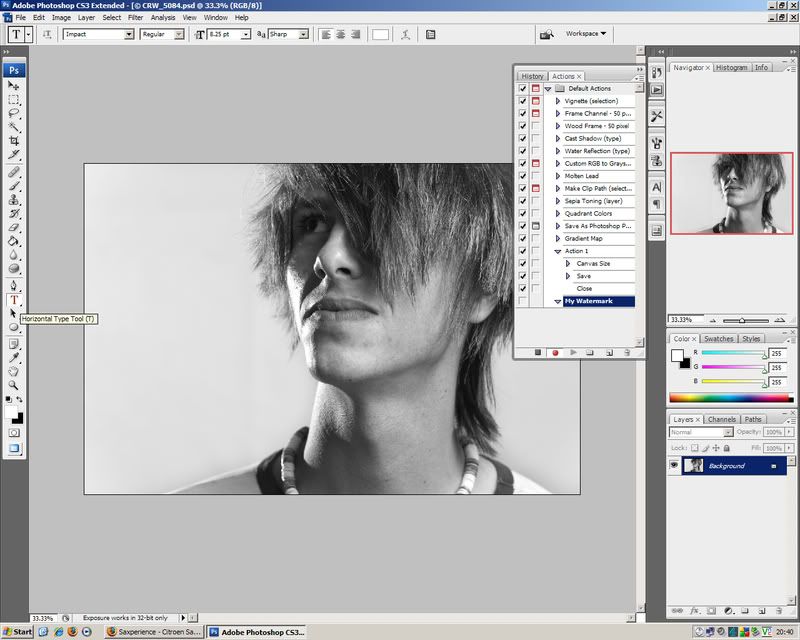
This will enable you to write specific text on your photo - like a watermark!

Click on the image and begin to type - then press the Enter key next to the numeric keypad (not the other Enter, that'll create a new paragraph!)
NOTE: if you want the Copyright Logo (©) then hold down the Alt key and enter the number '0169'
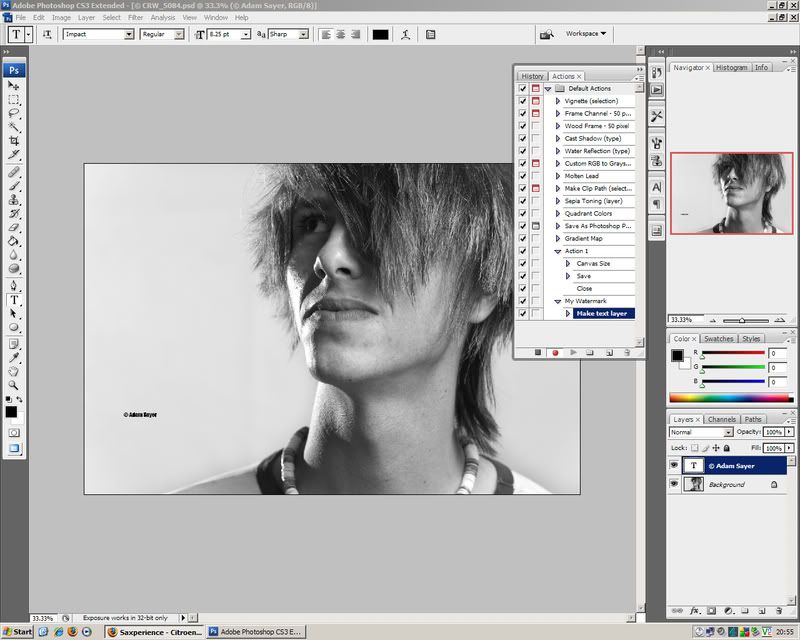
Notice once you're done you will have created a 'Layer' on the bottom right hand side pane. Notice that the lettering is a bit small and bit naff...
So what now we'll transform the text (change the size) and move it's position. Press Ctrl+T, this will bring up a box around your text.
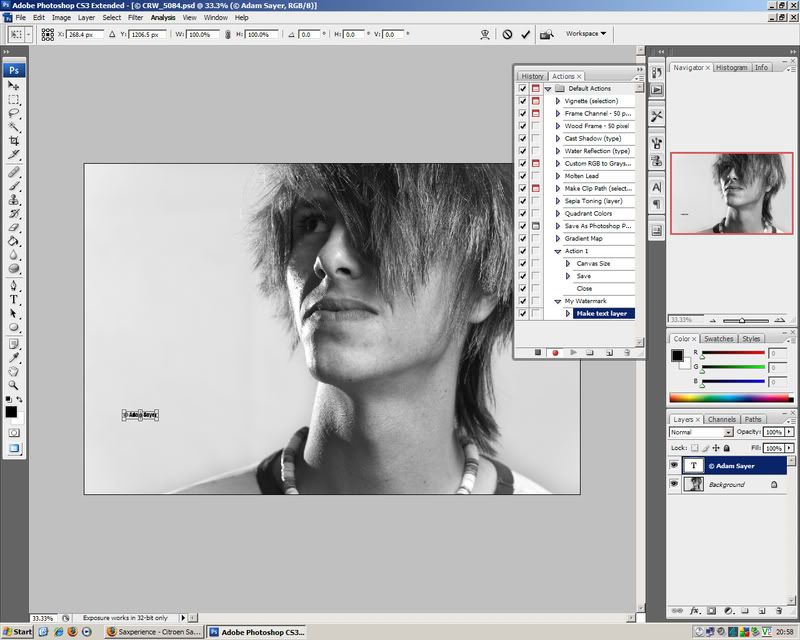
By resting your pointer over one of the corners of the box you can now click and drag the text to adjust it's size
Once you're happy with the size, press Enter
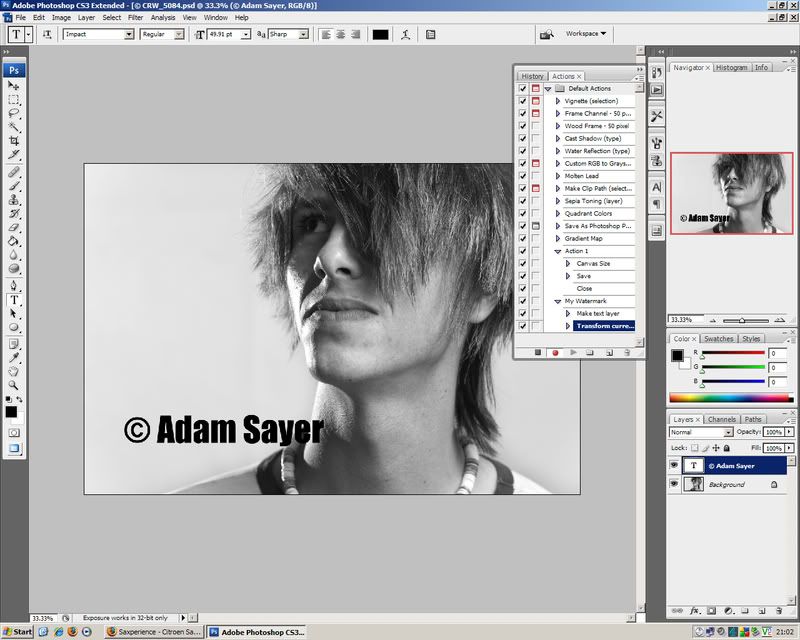
Now let's position the text in a better area.
Press Ctrl+T again. Then place the pointer inside the box around the text then click and drag the text to where you want it, then press enter.
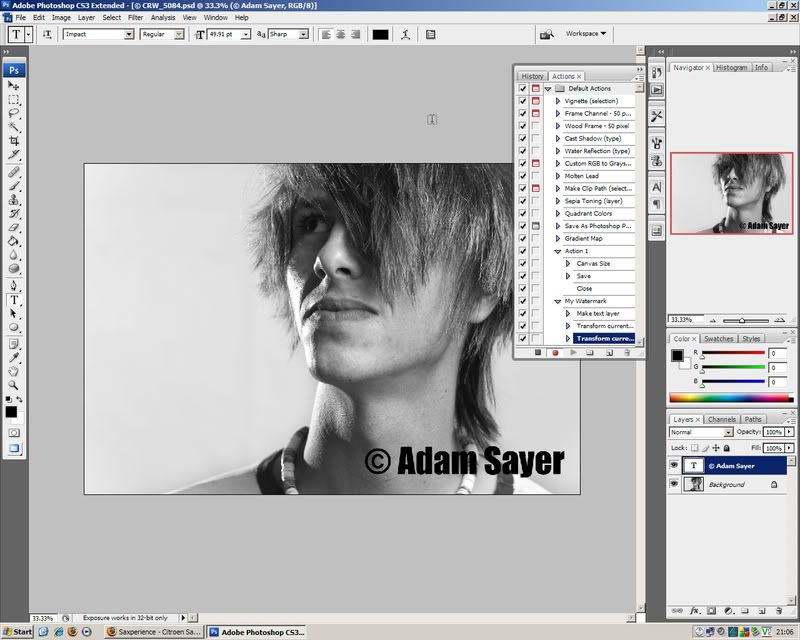
Done.
Now you have several option available to you. If you're happy with this simple Watermark then press STOP on the Actions Panel. Now when you want to Watermark and image simply select the action (which I called 'My Watermark') then press the Play button. And it's done near instantly.
Or we can jazz up the text a bit...
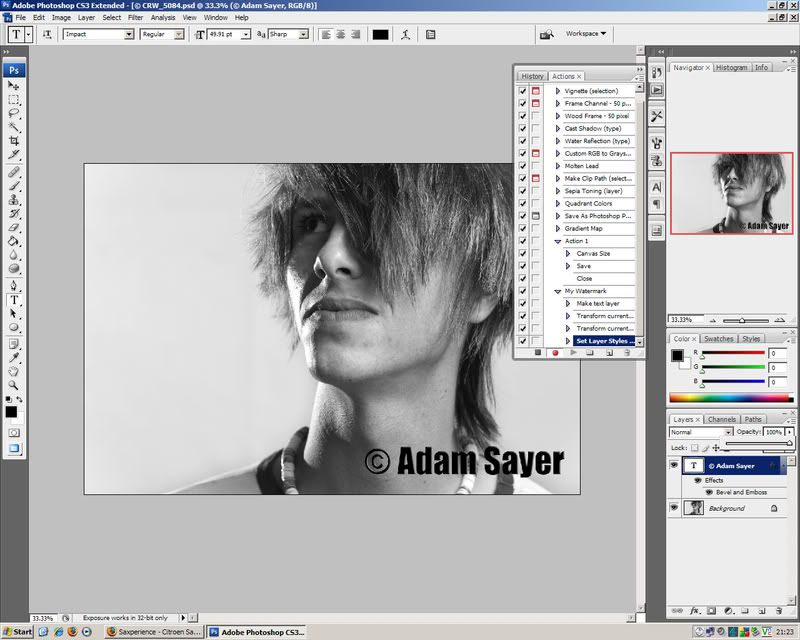
In the bottom right hand corner we have the Layers Panel. Making sure the Text Layer is highlighted, press the 'Add Layer Style' at the bottom of the panel (
'fx' logo).
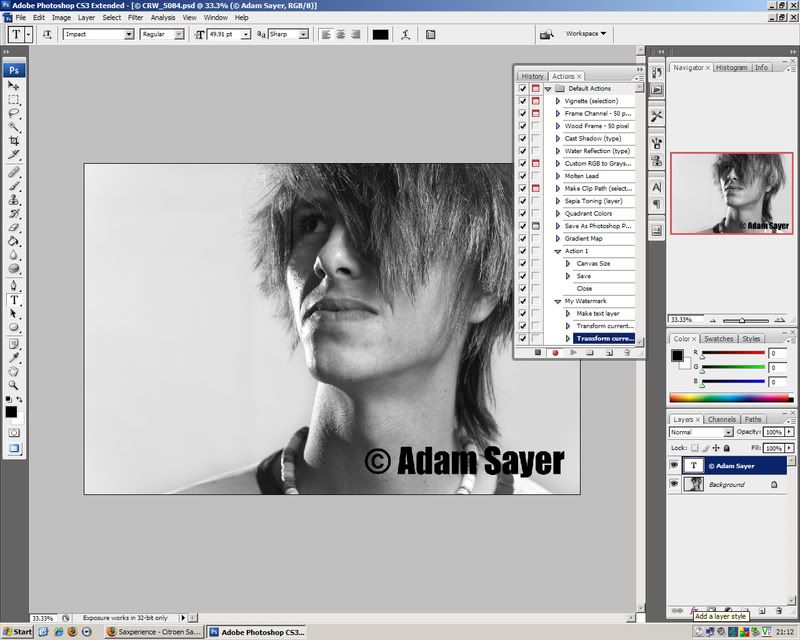
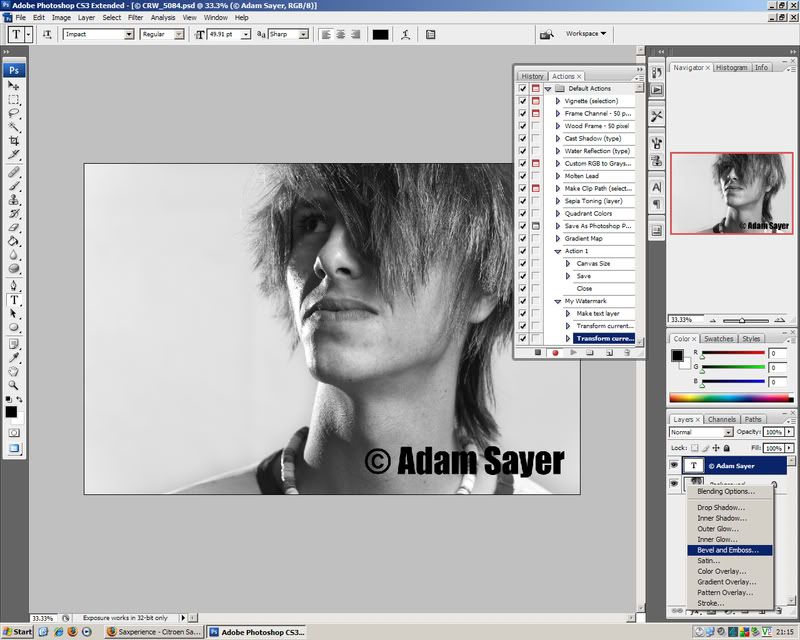
You'll now be presented with several options - I'm going to a single effect, Bevel and Emboss. But you can combine as many of these as you wish - Just follow the steps below.
This will bring up the Layers Style, you'll notice the same options as you were given when you press the 'Add Layer Style' button, but with your selection highlighted and with a check in the checkbox.
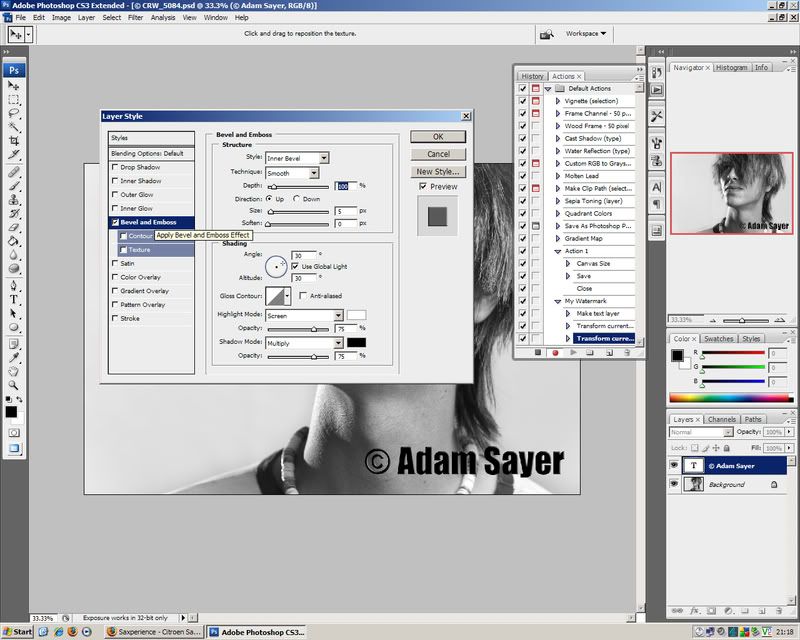
You've got loads of options under each one and I can't really go into all the options, but it's straight forward and if you have a play you can see what is actually changing
so play around until you find something you're happy with. Click 'OK' when you're done.
Now to finish it off you can make it slightly opaque... In the Layers Panel (Bottom Right Corner), make sure your Text Layer is still selected/highlighted. Then 'Opacity' Box and drag the slider away from 100% until you have a depth of transparency that you're happy with.
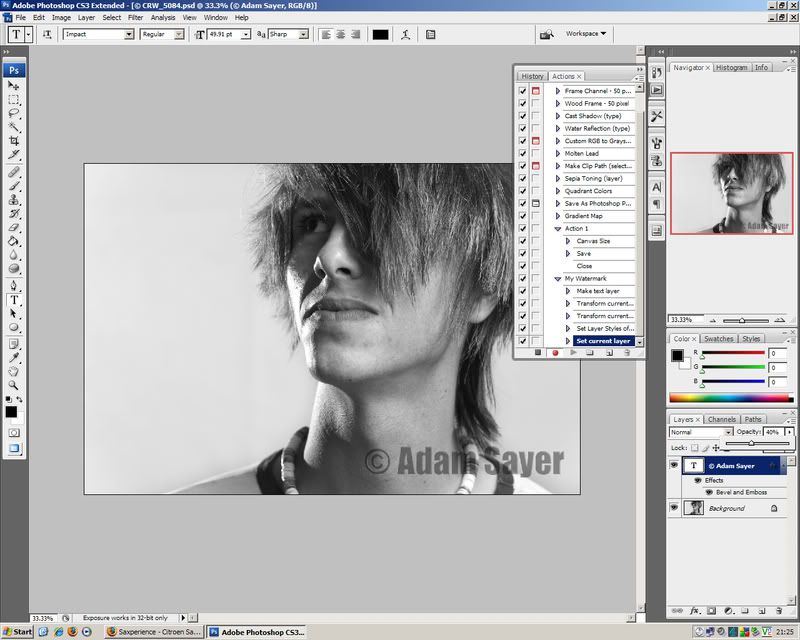
And it's done, make you stop your Action Recording. Then for future images press the Play button to repeat process and save you time.
Go File > Save As and save the image as a JPG and it's ready to go to the web.
Cheers
Ads


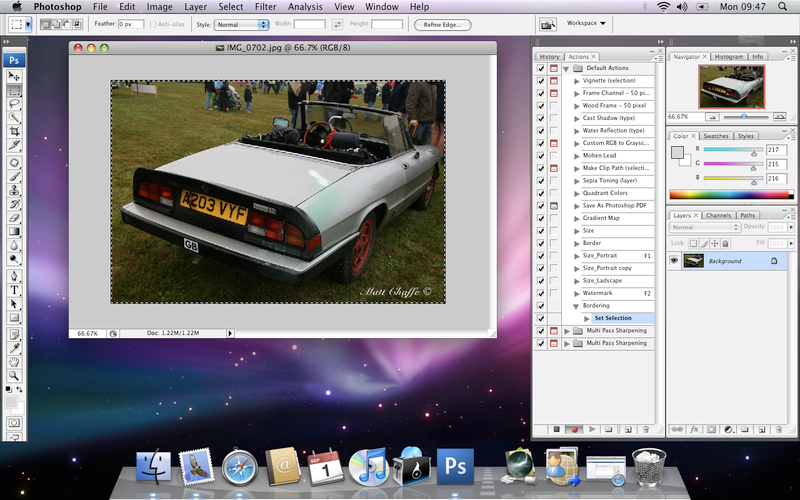


 ) Is there any way of batch processing in CS4?


 Linear Mode

