| Non Saxo Photos / Videos / Progress Reports Please share photos/videos of your non saxo in this forum. |
 |
|
 30th July 2015, 23:01
|
#381
|
|
Regular Poster
Join Date: Nov 2008
Location: Alnwick/Northumberland
Posts: 258
Car(s): Cobalt Blue 106
|
Bilt Hamber 
Love reading updates on this, think I've also convinced myself to get a plating kit.
|

|

|
|
7th August 2015, 08:41
|
#382
|
|
West Midlands
Join Date: Nov 2005
Location: Nuneaton (West Mids)
Posts: 13,835
Car(s): '64 Volvo V40 RDesign, '89 Ph1 309 GTi, 97 Mk1 S
|
Definitely worth getting one, it's time consuming but worth it.
.......
Slow progress at the moment, however the dashboard and remainder of the interior should be refitted this week is my plan.
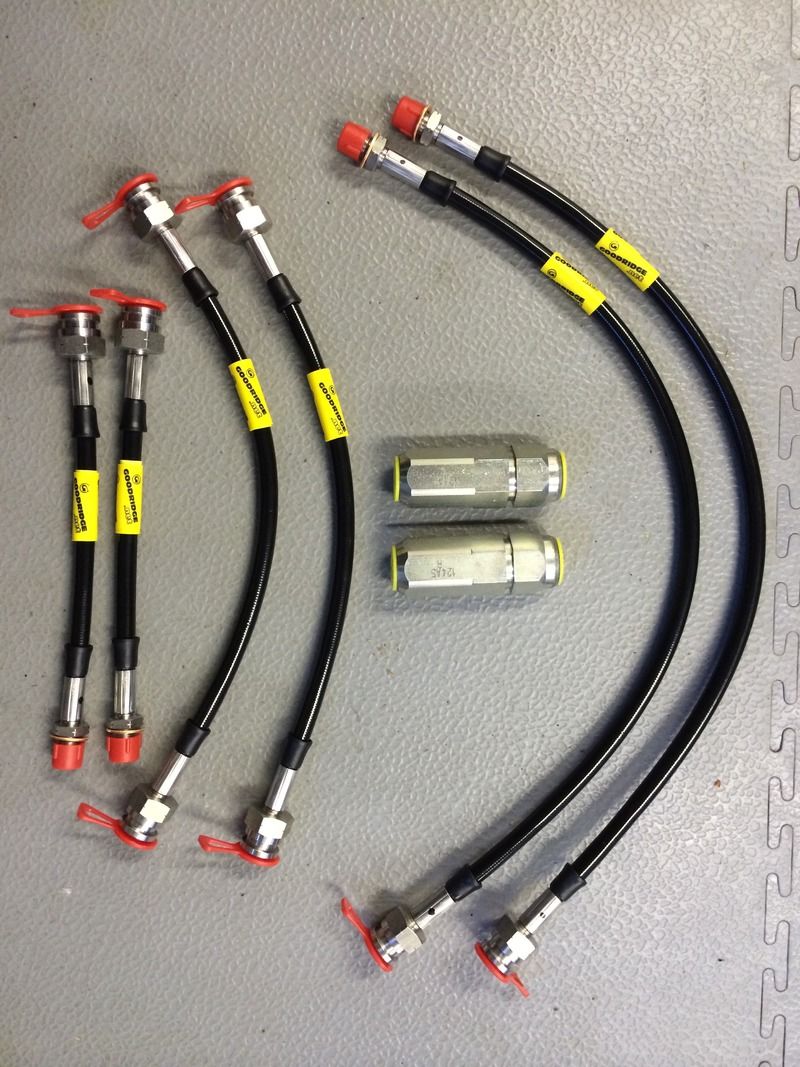
Gathered a few more bits for the brake system aswel, new rear brake compensators and stainless Goodridge hoses
|
|
|
|
|
7th August 2015, 09:48
|
#383
|
|
Saxperience Hardcore!
Join Date: Dec 2005
Location: Bradford
Posts: 26,687
Car(s): '15 Focus ST-2
|
Hi Matt,
Long time no speak!
I have just read through this whole thread and wow, I love what you've done! The attention to detail you have is fantastic, will follow this one with great attention to detail!
|
|
|
|
|
The Following User Says Thank You to Luke For This Useful Post:
|
|
|
8th August 2015, 09:01
|
#384
|
|
West Midlands
Join Date: Nov 2005
Location: Nuneaton (West Mids)
Posts: 13,835
Car(s): '64 Volvo V40 RDesign, '89 Ph1 309 GTi, 97 Mk1 S
|
Cheers Luke! Long time no see aswel, hope all is well :-)
|
|
|
|
|
14th August 2015, 09:48
|
#385
|
|
Newbie
Join Date: Jun 2013
Posts: 26
|
Any updates Matt?
|
|
|
|
|
19th August 2015, 21:06
|
#386
|
|
West Midlands
Join Date: Nov 2005
Location: Nuneaton (West Mids)
Posts: 13,835
Car(s): '64 Volvo V40 RDesign, '89 Ph1 309 GTi, 97 Mk1 S
|
Lots of hours going into it Danny, just feels like slow going.
I still havn't got the suspension refitted. There's the odd bit of surface rust here and there where new bits would be bolting up to so I've literally spent hours ensuring that every last bit has been removed before giving a few good coats of zinc rich primer. That's been the hard bit as the Bilt Hamber stuff which I've been using to remove the rust is good, but it does require a few coats and some scrubbing to get rid of all rust traces.
I have now got all those bits prepped for some paint which won't take me long to apply.
I'll upload some pics in a min, not much to look at considering the hours I've put in but it's still going in the right direction
|
|
|
|
|
19th August 2015, 21:18
|
#387
|
|
Newbie
Join Date: Jun 2013
Posts: 26
|
Quote:
Originally Posted by willsy

Lots of hours going into it Danny, just feels like slow going.
I still havn't got the suspension refitted. There's the odd bit of surface rust here and there where new bits would be bolting up to so I've literally spent hours ensuring that every last bit has been removed before giving a few good coats of zinc rich primer. That's been the hard bit as the Bilt Hamber stuff which I've been using to remove the rust is good, but it does require a few coats and some scrubbing to get rid of all rust traces.
I have now got all those bits prepped for some paint which won't take me long to apply.
I'll upload some pics in a min, not much to look at considering the hours I've put in but it's still going in the right direction
|
All progress is good progress Matt
|
|
|
|
|
19th August 2015, 22:11
|
#388
|
|
West Midlands
Join Date: Nov 2005
Location: Nuneaton (West Mids)
Posts: 13,835
Car(s): '64 Volvo V40 RDesign, '89 Ph1 309 GTi, 97 Mk1 S
|
Right here's a few pics that I've took this week. Generally not much to look at but at least it documents some work done
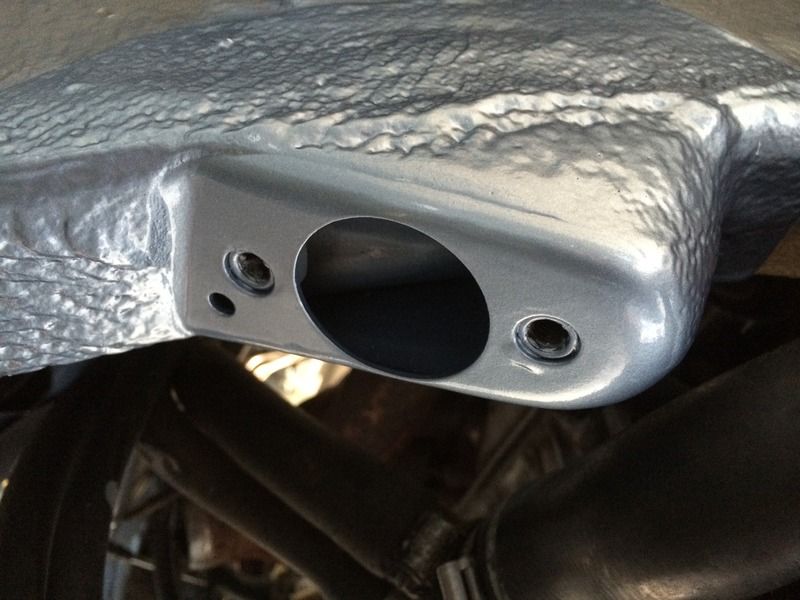
Steering rack heat shield before
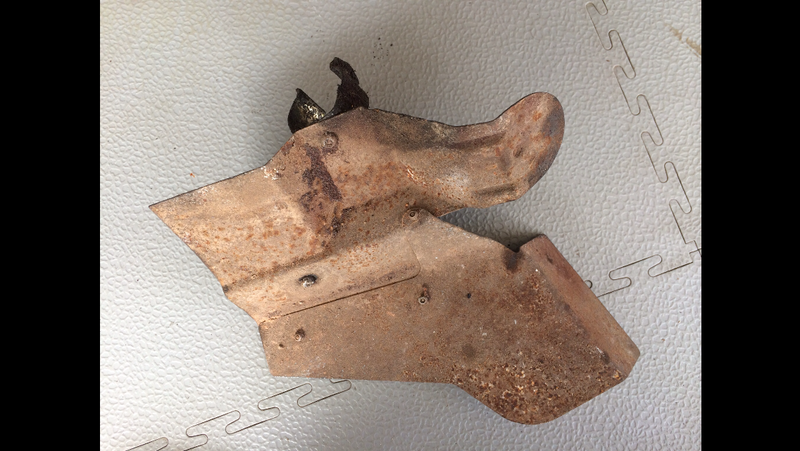
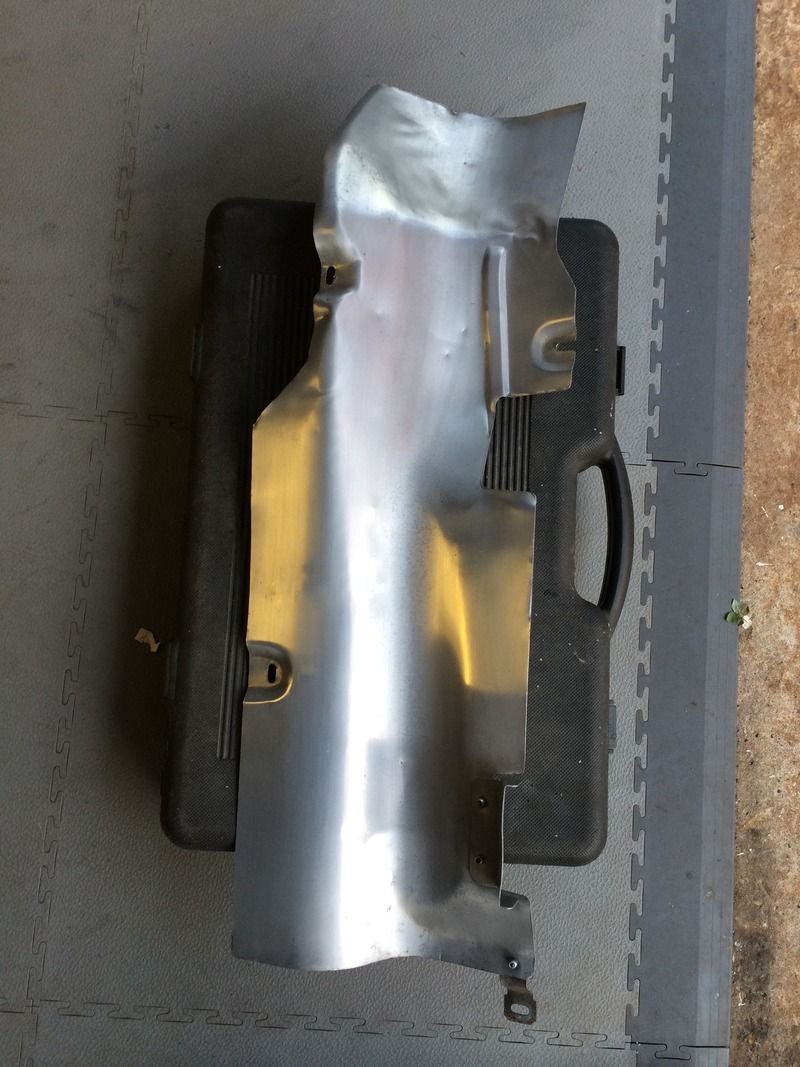
How it stands. It would originally have been electroplated so if I can fit it in the bucket I'll do that next. Removed the standard rivets holding the clips as they'd worn loose with age
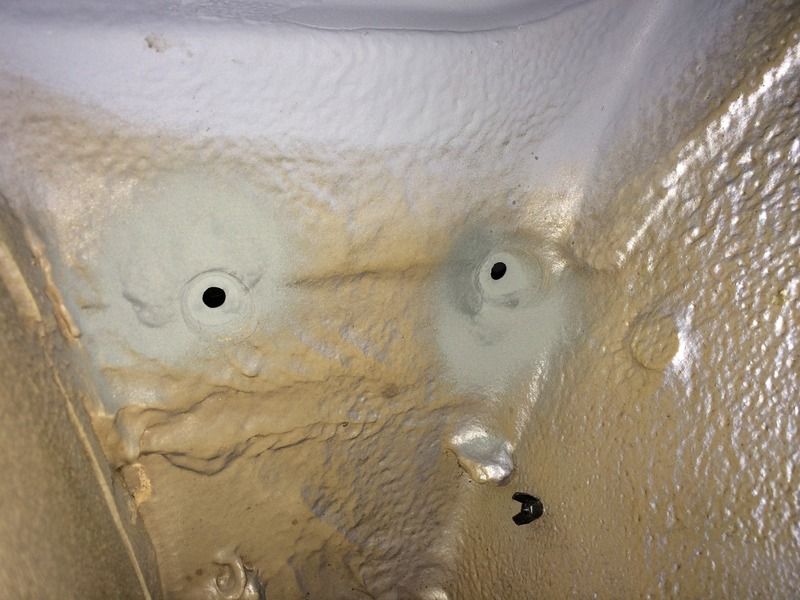
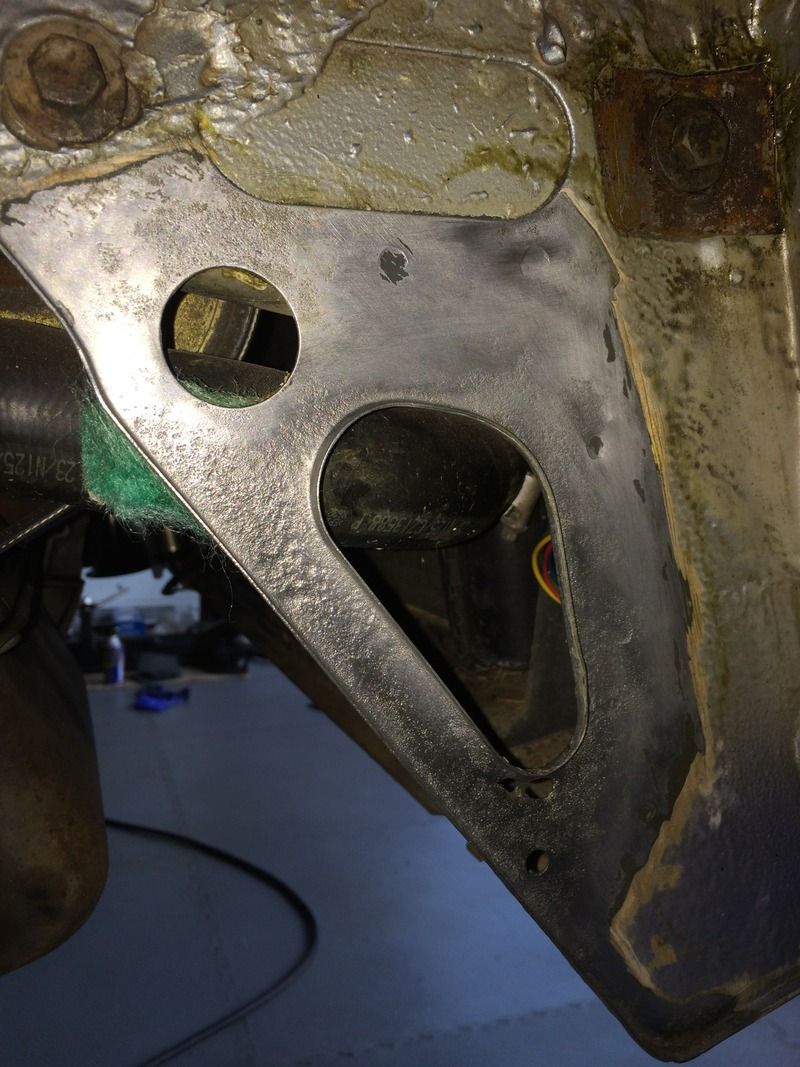
Rear subframe mounting before's. Can just about make out some surface rust. Very minor but worth eliminating early
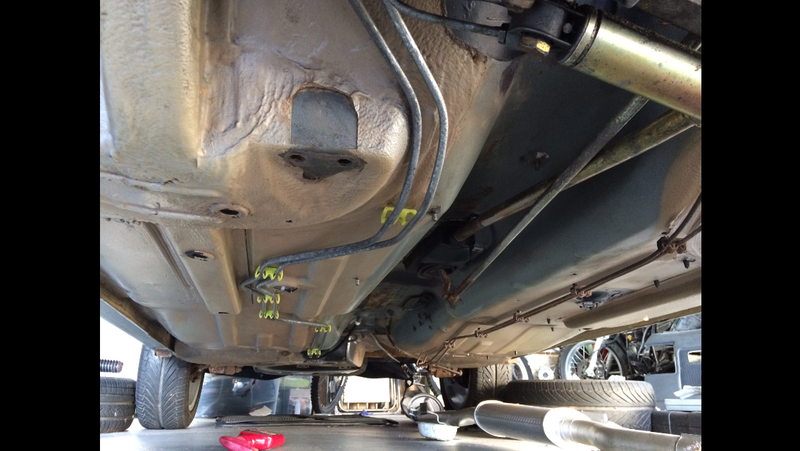

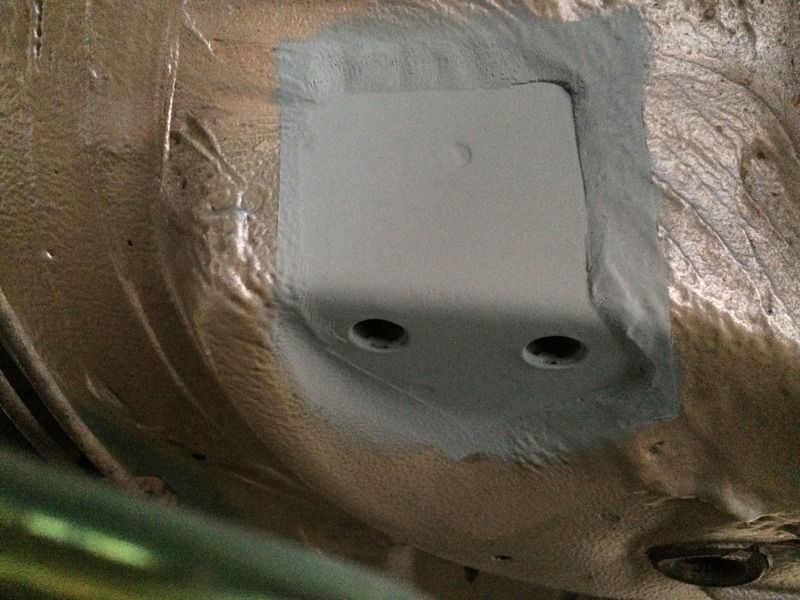
After rust removal and 2 coats of zinc primer
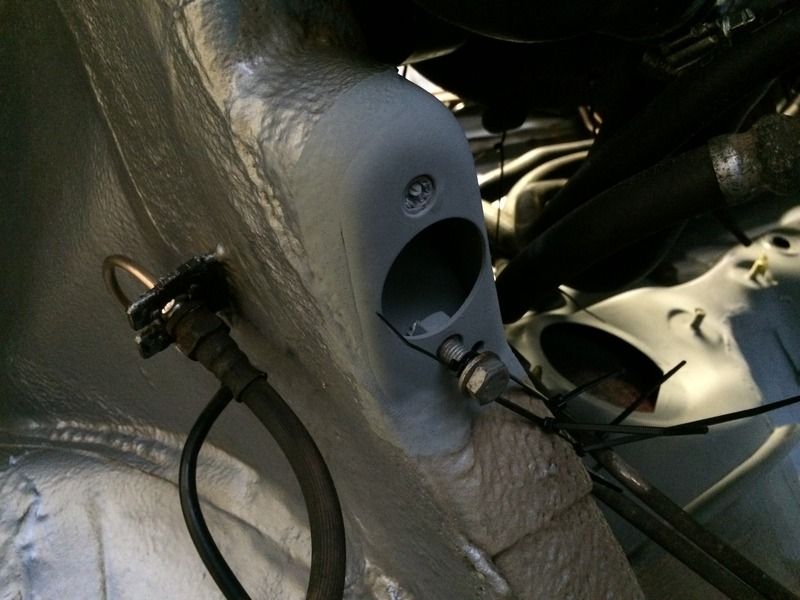
Drivers side front subframe mount primed. Had to cable tie some of the hoses out the way whilst tackling some of the bulkhead
Passenger sides done
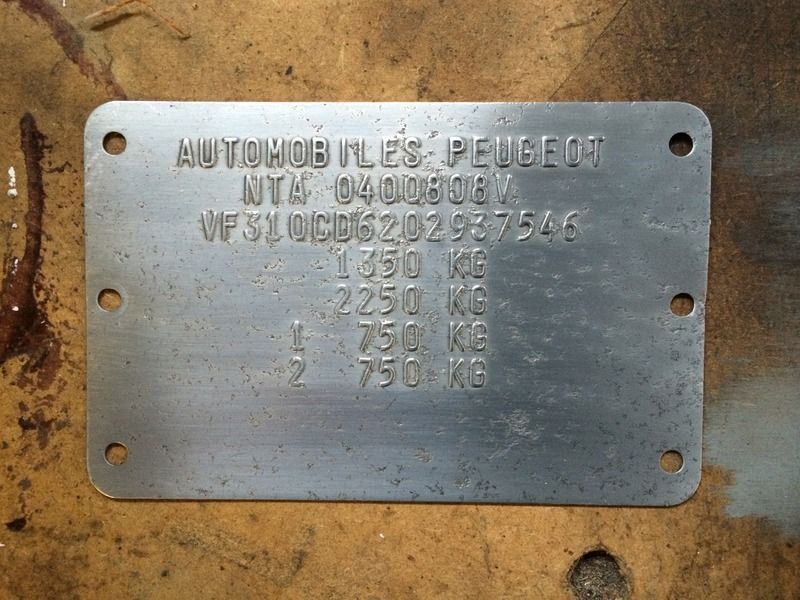
Removed the chassis plate to see if there was much I could do with it
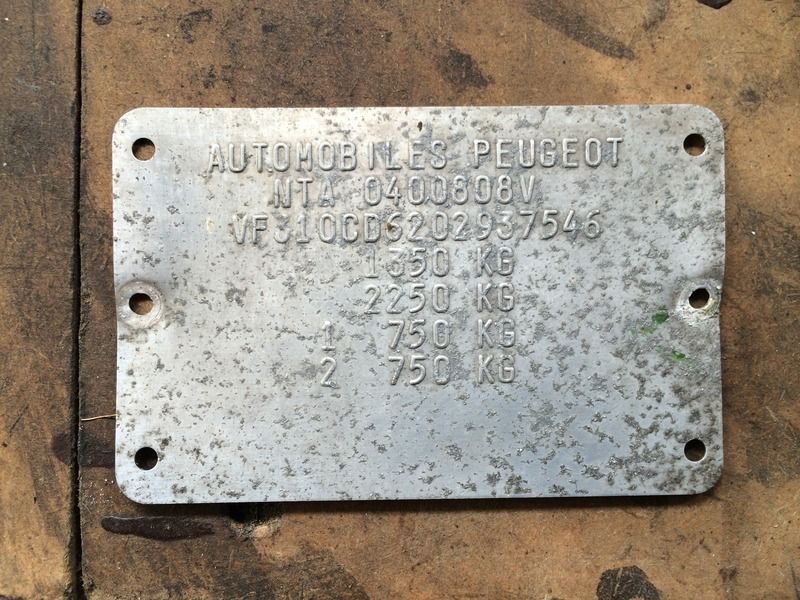
This is about as good as it'll get. Soft metal doesn't allow for much polishing. Pitting doesn't look as bad
|
|
|
|
|
19th August 2015, 22:32
|
#389
|
|
West Midlands
Join Date: Nov 2005
Location: Nuneaton (West Mids)
Posts: 13,835
Car(s): '64 Volvo V40 RDesign, '89 Ph1 309 GTi, 97 Mk1 S
|

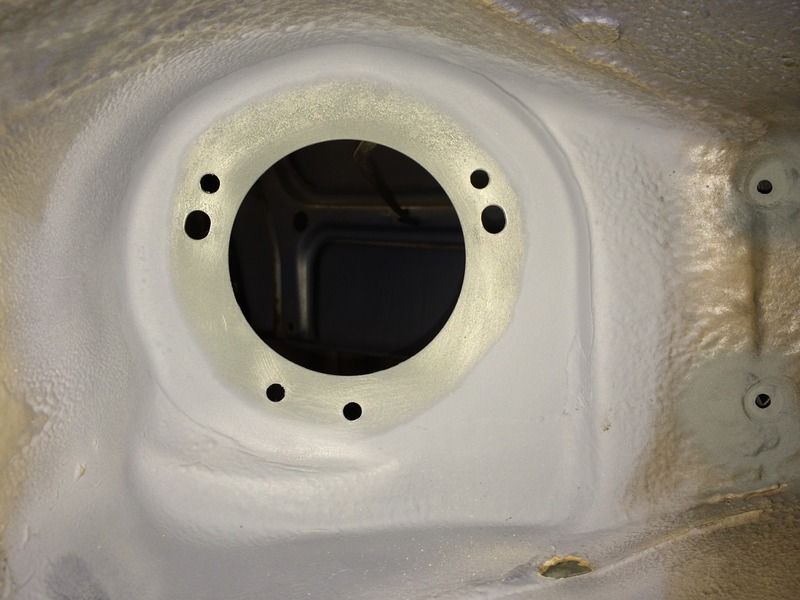
Surface rust evident on the rear of the suspension turret
Both sides back to bare metal, treated and zinc primed
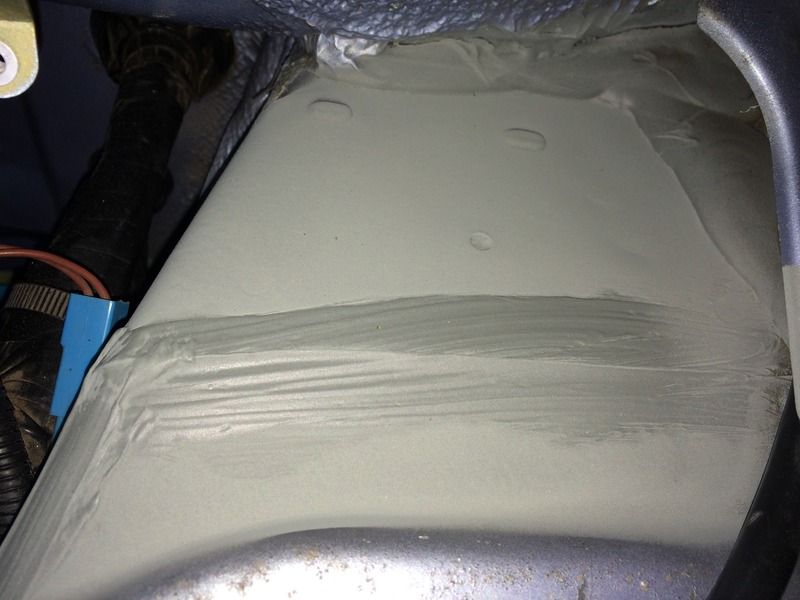
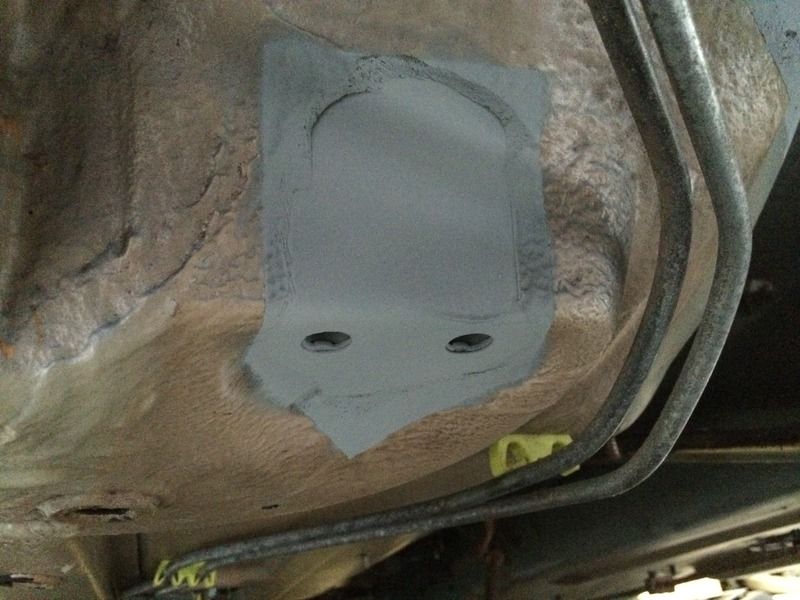
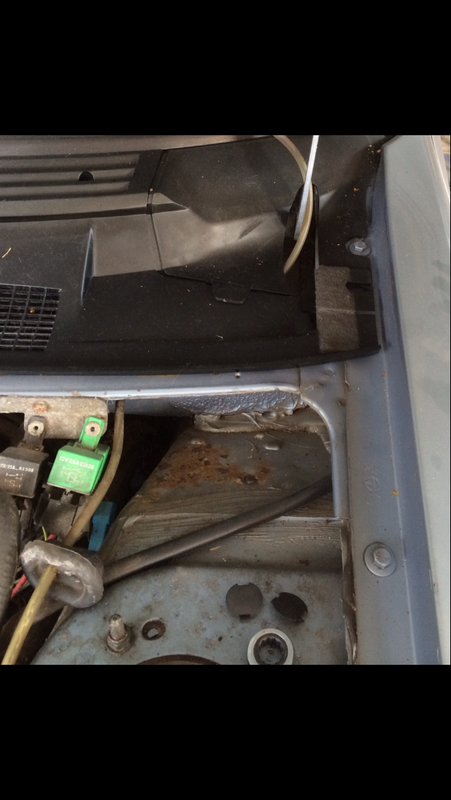
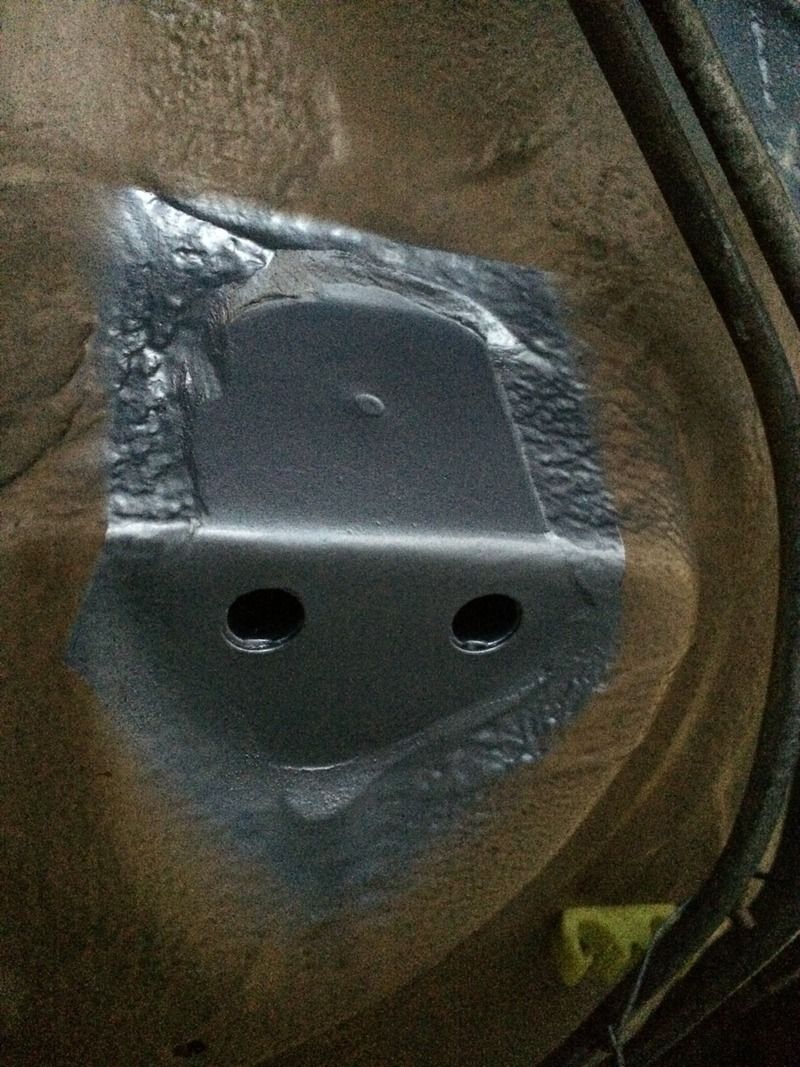
Drivers side inner suspension mount almost ready for some paint. Made a template around the top mount and held that in place whilst reapplying some new stone chip. Top mount of course has to mount to a solid surface
Checked out the underside of the top mount that the chassis plate was riveted through to make sure there was no rust spread from the holes. As it turned out they were perfect.
Just need to finish getting this bit cleaned back to the bare metal now. This bit was completely hidden under the stone chip and would have festered away unnoticed if I hadn't poked every inch under the arch to feel for loose stone chip or the tell tale crispy notice underneath

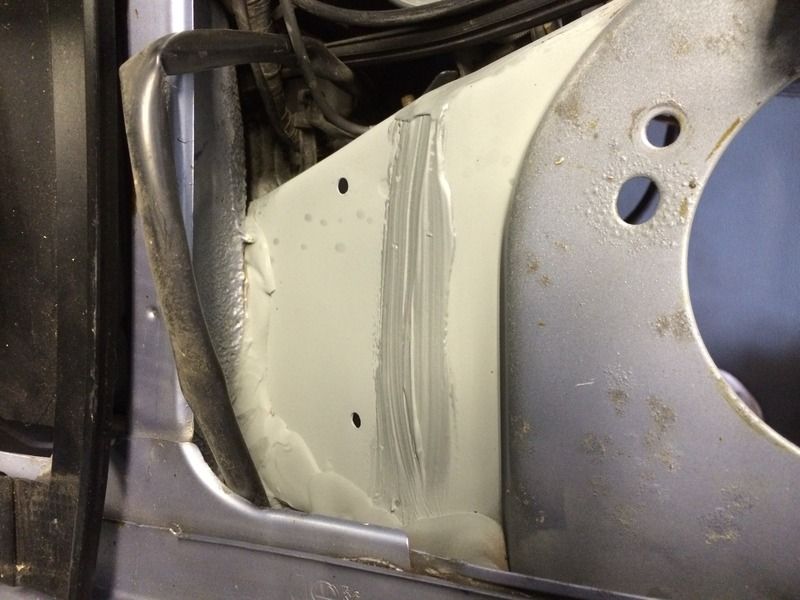
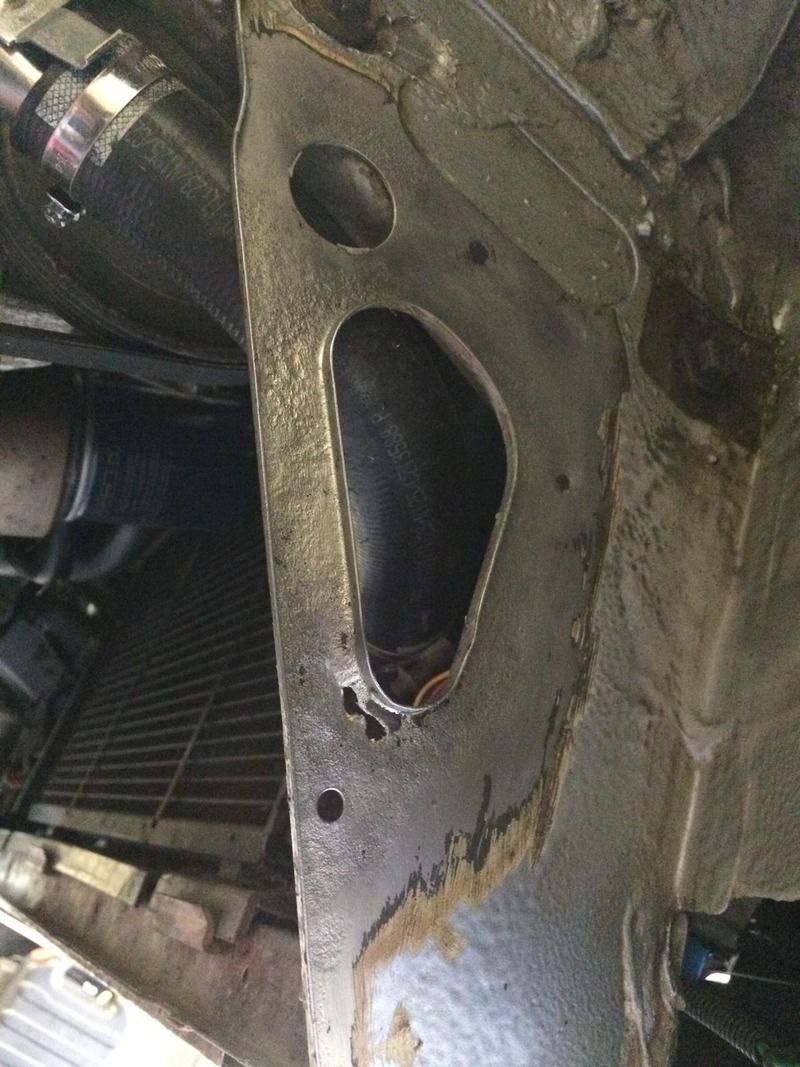
This bit on the drivers side was looking very shabby. I didn't get a before pic however it was mostly brown, and again other than some crunching under the stone chip on the rear edge it was completely hidden
First session with the rust removal stuff
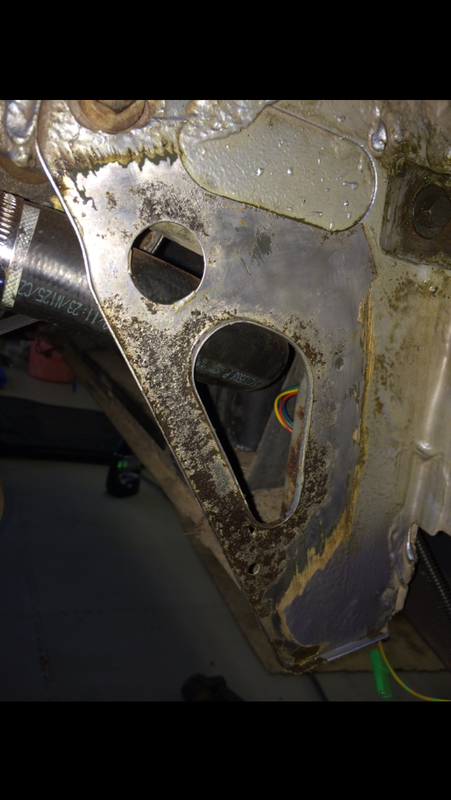
Second session, almost there. Unfortunately there 2 holes to attend to but it is fortunately still a solid piece otherwise
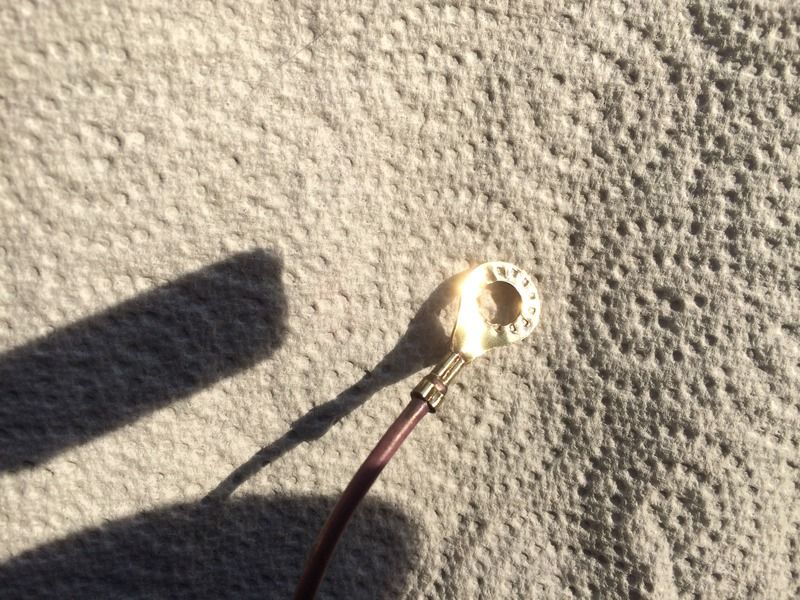
And lastly I had a random spare hour the other day and polished up the terminals on the brake pad wear sensor loom. The terminals are brass so although they looked knackered, they will polish back up with a craft rotary tool with polishing brush attachment and metal polish.
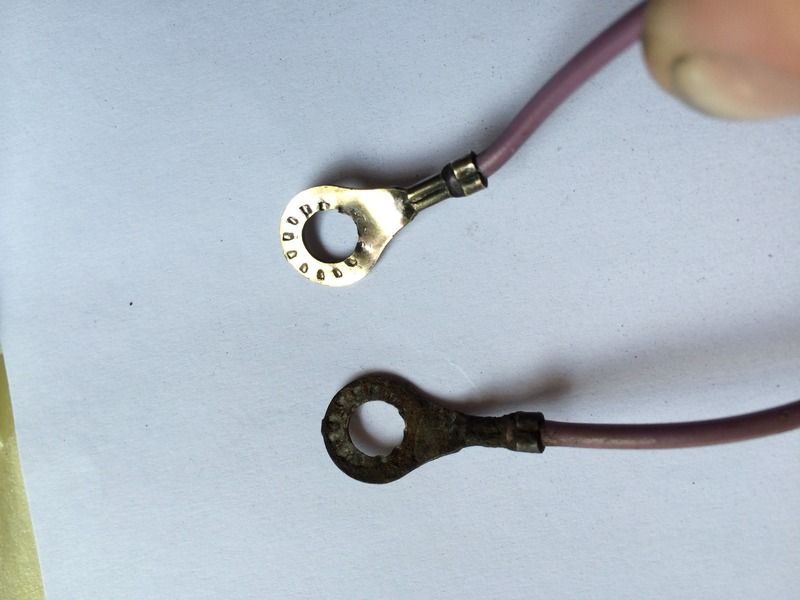
The one in the above pic which hadn't yet been done polished up to this- should actually allow some current through it now
Last edited by willsy; 19th August 2015 at 22:44.
|
|
|
|
|
19th August 2015, 22:38
|
#390
|
|
Newbie
Join Date: Jun 2013
Posts: 26
|
Great attention to detail Matt. Is the full respray still on the cards?
|
|
|
|
|
19th August 2015, 22:47
|
#391
|
|
West Midlands
Join Date: Nov 2005
Location: Nuneaton (West Mids)
Posts: 13,835
Car(s): '64 Volvo V40 RDesign, '89 Ph1 309 GTi, 97 Mk1 S
|
Quote:
Originally Posted by lincolndanny
Great attention to detail Matt. Is the full respray still on the cards?
|
It will be mate but it'll be quite some way off. I've spent a ridiculous amount on the 309 already this year so I'll get it running and continue to perfect underneath.
The bodyworks going to have to wait til I've done some bits on the house & garden so it's doubtful I'll get round to the respray until after next years out
|
|
|
|
|
19th August 2015, 22:54
|
#392
|
|
Newbie
Join Date: Jun 2013
Posts: 26
|
Quote:
Originally Posted by willsy
It will be mate but it'll be quite some way off. I've spent a ridiculous amount on the 309 already this year so I'll get it running and continue to perfect underneath.
The bodyworks going to have to wait til I've done some bits on the house & garden so it's doubtful I'll get round to the respray until after next years out
|
I know that one! Balancing house and cars is always a hard one. Itching to get stuck into the VTS but I know that the sensible thing to do is to leave it for now until I've collected most of the parts I need. Will you strip the whole car back down for a respray or hope that the bodyshop is good at masking? 
|
|
|
|
|
19th August 2015, 23:05
|
#393
|
|
West Midlands
Join Date: Nov 2005
Location: Nuneaton (West Mids)
Posts: 13,835
Car(s): '64 Volvo V40 RDesign, '89 Ph1 309 GTi, 97 Mk1 S
|
I keep looking for a decent VTS but really I'm too committed into this one, it would be a bit crazy for me to start another project alongside it.
I've almost got past they stage of getting all the bits I need, it's been a long slog! Silly things like making sure I've got the right nuts & bolts. I've printed off and gone through most of the service box diagrams making sure that everything is there as it should be, that's been just as time consuming as the more physical tasks
When the respray time comes I'll strip the whole thing right back down again. It'll go pretty much as a bare, but rolling shell
|
|
|
|
|
23rd August 2015, 09:24
|
#394
|
|
Saxperience Post Whore
Join Date: Aug 2008
Location: The wrong carpark
Posts: 5,152
Car(s): Xantia 1.9TD
|
looking good will!
|
|
|
|
|
2nd September 2015, 20:14
|
#395
|
|
West Midlands
Join Date: Nov 2005
Location: Nuneaton (West Mids)
Posts: 13,835
Car(s): '64 Volvo V40 RDesign, '89 Ph1 309 GTi, 97 Mk1 S
|
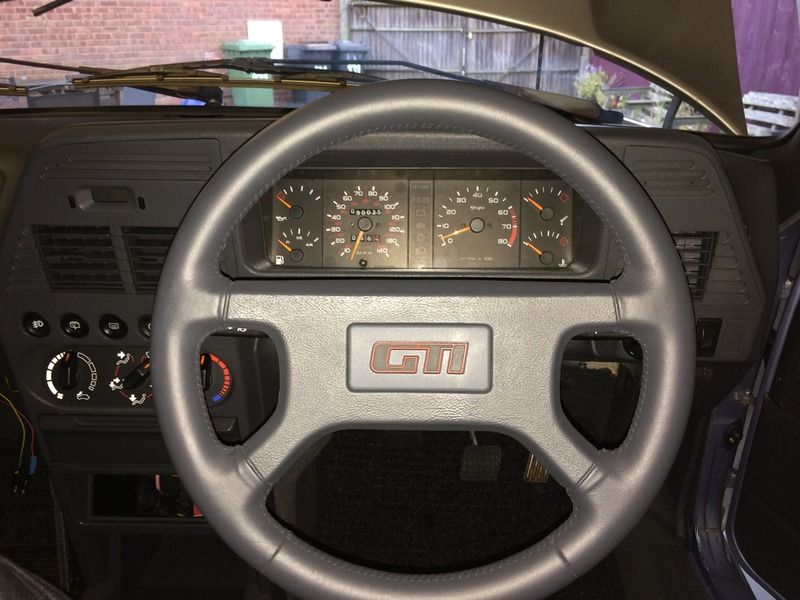
Been making some more good progress with this, still looks slow going from the pics but I have spent hours cleaning bits up etc
Dashboard is almost fully reassembled, the first time since I got the car. Pretty much all of the interior is reinstalled now too.
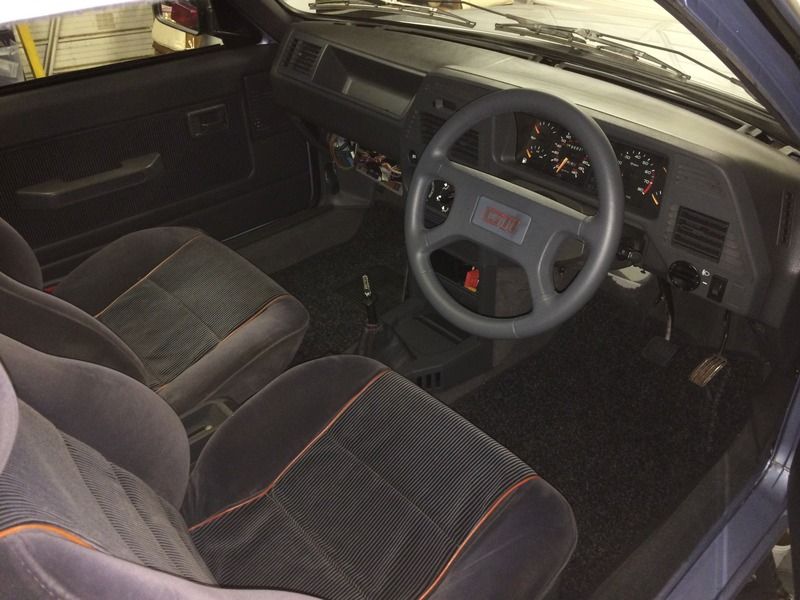
New genuine clutch cable and speedo cable also fitted.
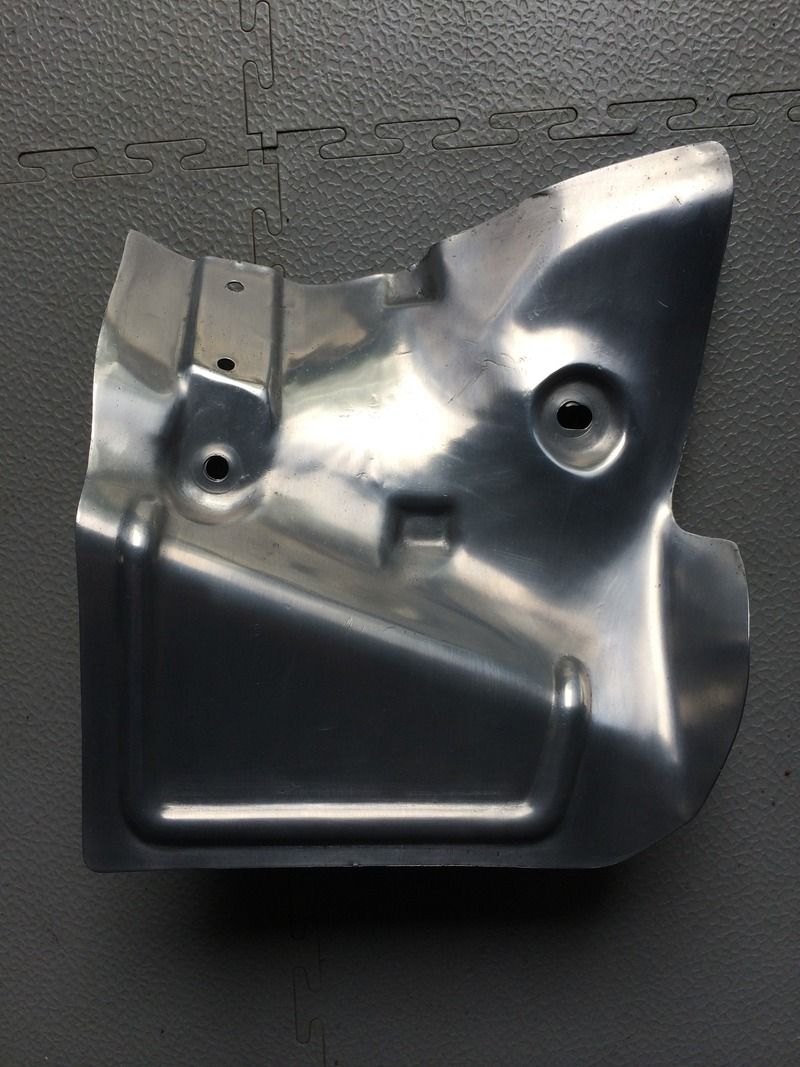
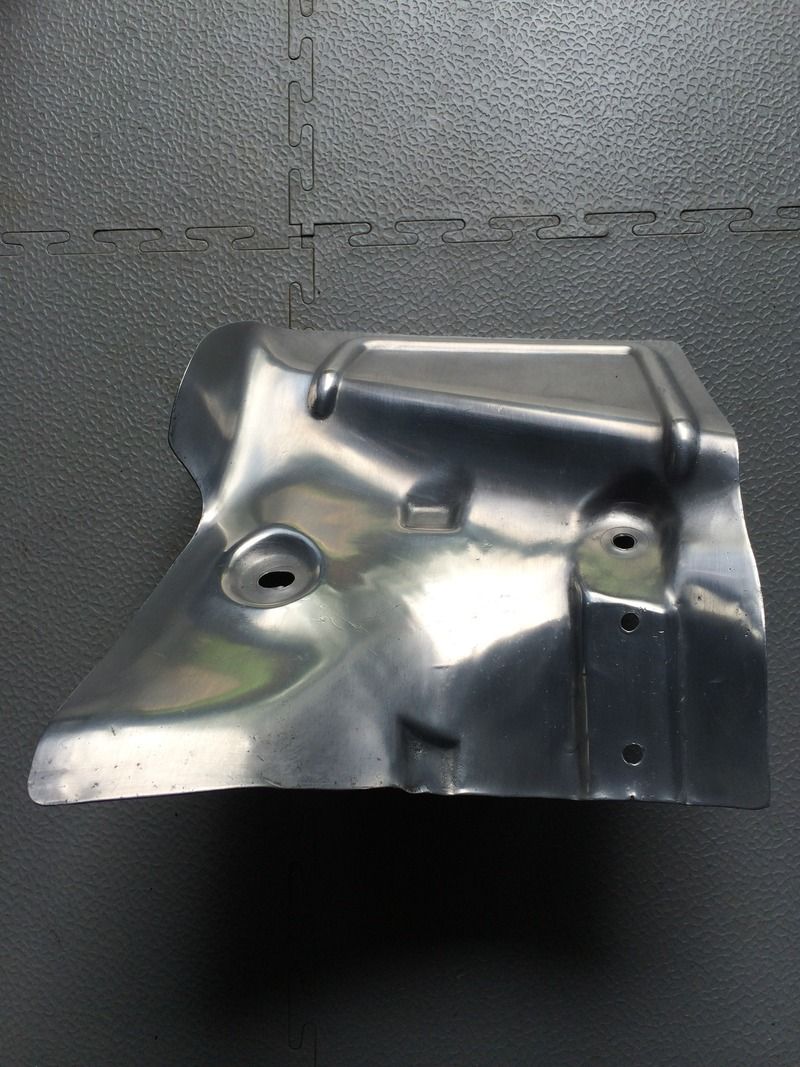
And during some paint work rather than watching the paint dry I ended up polishing one of the exhaust heat shields for the fun of it
Should have some more pictures tomorrow
|
|
|
|
|
2nd September 2015, 20:48
|
#396
|
|
Newbie
Join Date: Jun 2013
Posts: 26
|
Looking good Matt, is that the NOS wheel? 
|
|
|
|
|
3rd September 2015, 12:34
|
#397
|
|
West Midlands
Join Date: Nov 2005
Location: Nuneaton (West Mids)
Posts: 13,835
Car(s): '64 Volvo V40 RDesign, '89 Ph1 309 GTi, 97 Mk1 S
|
Quote:
Originally Posted by lincolndanny
Looking good Matt, is that the NOS wheel? |
Yep that's the new wheel mate, it's restored rather than NOS though, it's that good a job you'd never know the difference though :-)
|
|
|
|
|
3rd September 2015, 12:34
|
#398
|
|
West Midlands
Join Date: Nov 2005
Location: Nuneaton (West Mids)
Posts: 13,835
Car(s): '64 Volvo V40 RDesign, '89 Ph1 309 GTi, 97 Mk1 S
|
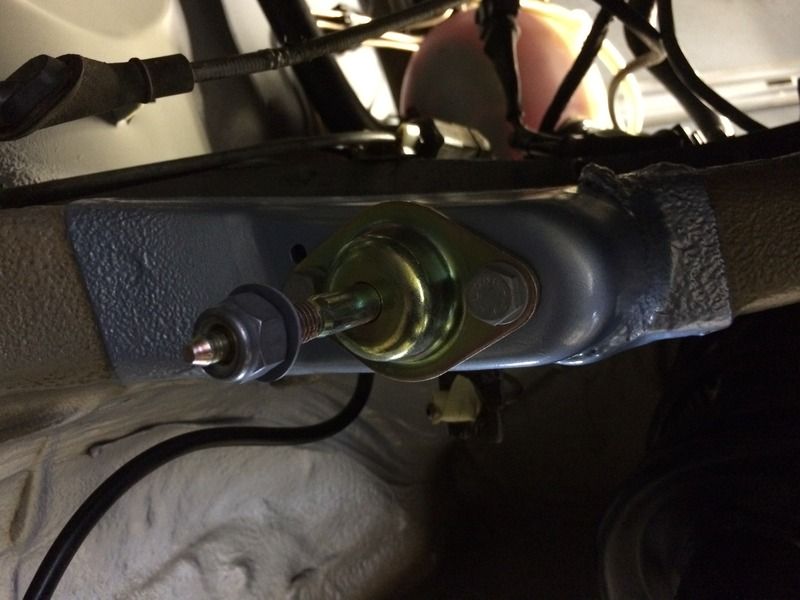
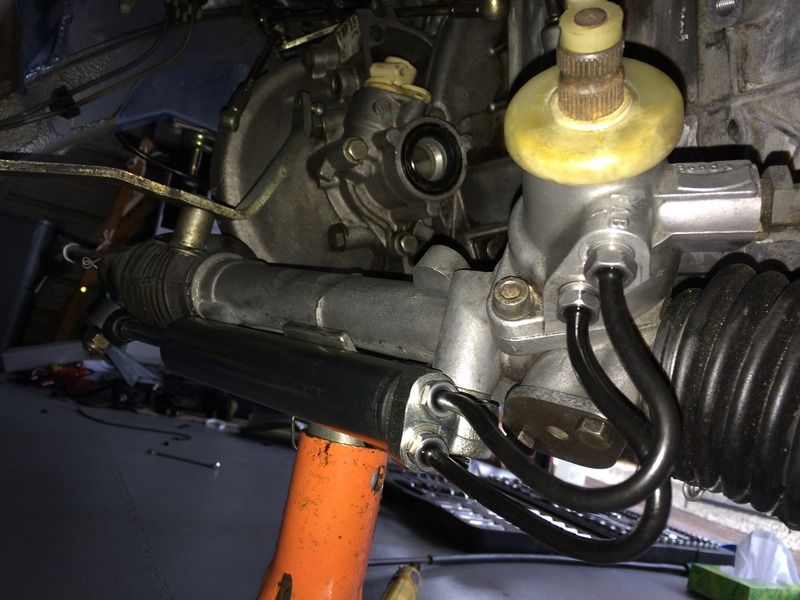
Finished the steering rack today.
After the earlier cleaning and replacing the bushes in the PAS ram it decided to spring a leak from the seal, much to my annoyance!
The pipes that attach to it also decided to leak.
So new pipes and PAS ram
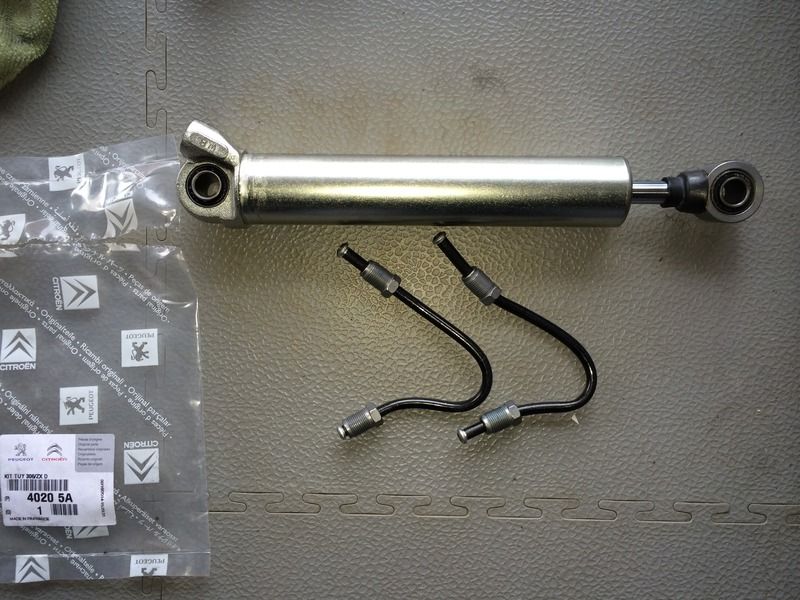
To replace the old
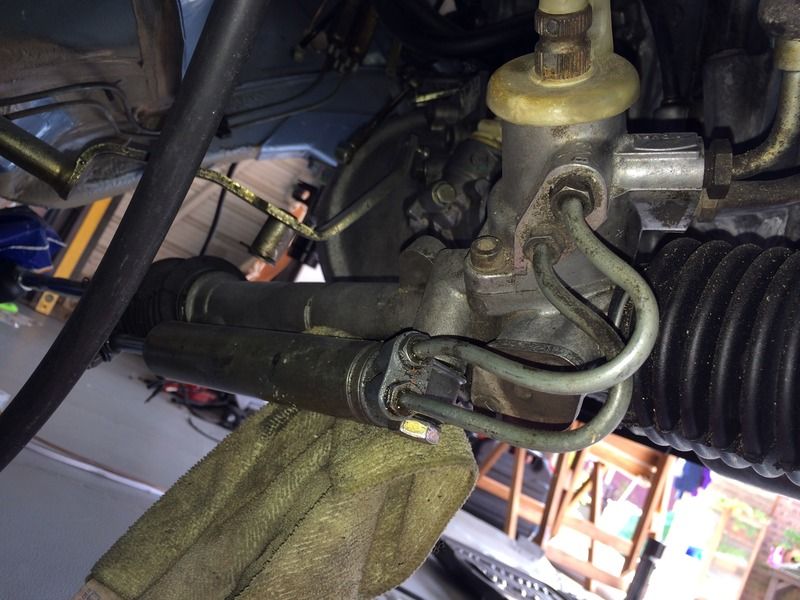
A little more cleaning of the rack with some metal polish prior to refitting. And it's done
|
|
|
|
|
6th September 2015, 10:55
|
#399
|
|
Newbie
Join Date: Aug 2015
Location: Swindon
Posts: 6
Car(s): Saxo VTR
Escort RS Turbo S2
|
Great work, enjoyed reading through the thread.
Interior looks mint now, look forward to seeing the next lot of resto work.
|
|
|
|
|
6th September 2015, 21:26
|
#400
|
|
West Midlands
Join Date: Nov 2005
Location: Nuneaton (West Mids)
Posts: 13,835
Car(s): '64 Volvo V40 RDesign, '89 Ph1 309 GTi, 97 Mk1 S
|
Finished painting the drivers side front subframe mount today, how I'd finished up last week
All done
Rear mounts both finished too
The Bilt Hamber rust removal gel has done it's job getting this piece back to bare metal. It does require some agitation with a decent wire brush to speed up the process but it really is the best way to get the panel cleaned up properly without removing any good metal.
It's also better than using the rust 'converter' treatment stuff which is brush on, having used it previously I really wouldn't rate it again if I'm honest and will be removing the stuff that I'd brushed onto the inner wing earlier in the thread
I just need to decide how best to get this piece looking as it should again.
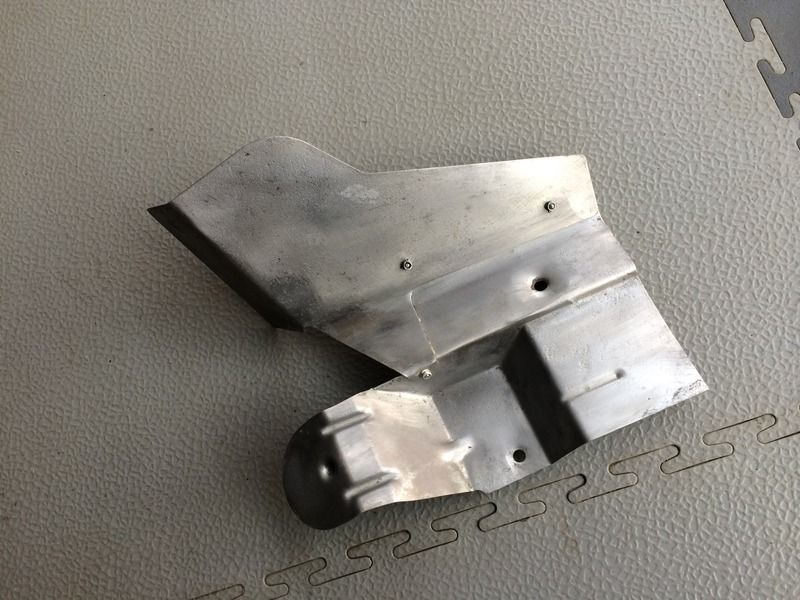
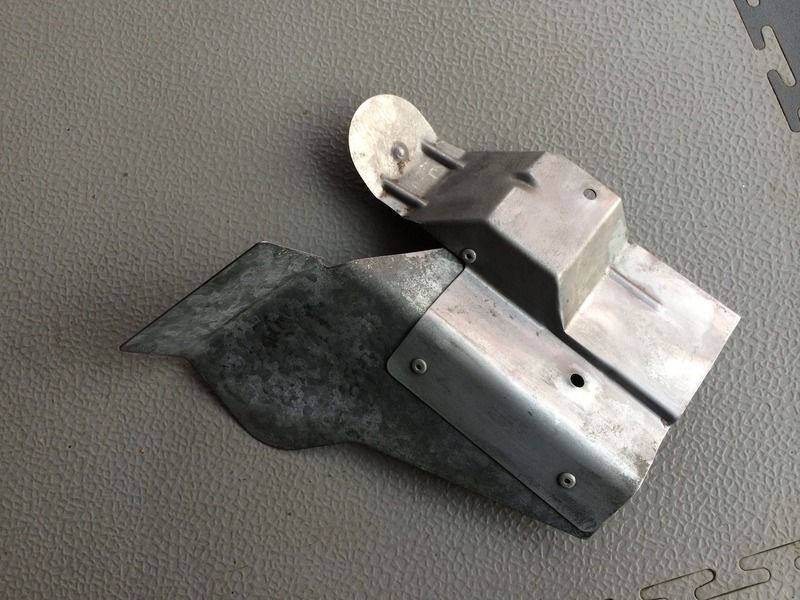
Whilst all the paint was drying and the rust removal stuff was working it's magic I decided to go OTT yet again with an exhaust heat shield. Quite a bit of work went into turning this
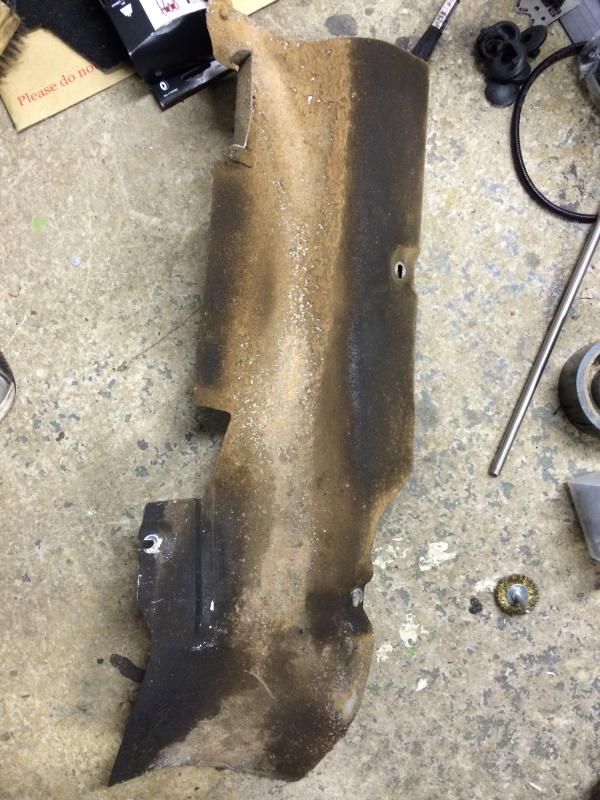
Into this
Hopefully I'll get some more done tomorrow
|
|
|
|
 Posting Rules
|
You may not post new threads
You may not post replies
You may not post attachments
You may not edit your posts
HTML code is Off
|
|
|
All times are GMT. The time now is 19:30.
|


 Linear Mode
