I thought I'd do a quick write up on here of something I've been doing over the past couple of months as a long term, low cost project.
Me and the fiancee have been planning on moving out for the past couple of months and I needed something car related in the new place!
So i thought to myself, what could be more car related and in her face than a table made from an engine?
Obviously most of us will be familiar with the concept..you take an engine (usually a V-) and mount some glass on it to give you a coffee table. Most people on here will probably be most familiar with the one from Top Gear, the Jag V12

When choosing an engine I only had a few search criteria..it had to be cheap and it had to be aluminium so that it was light..
I browsed a few different ones, Mitsubishi V6s, Rover V8s, Jag V8s and Jag V6s.
In the end I found someone who was breaking a Jaguar S-type. Probably one of the most ugly Jaguars ever, but the engine was a V6 and it's made of Aluminium making it nice and light. The 3.0 AJV6 was also used in the Mondeo ST and produced circa 240bhp. It's also extremely popular with people making kit cars due to it being compact, light and powerful as an NA engine.
They said they were breaking the car due to an 'uneconomical ABS fault' that outweighed the value of the car in parts...the engine was fully running when removed and shipped straight to me..I did believe it was only taken out of the car a week before i received it, although when it arrived it was covered in rat shite..so not too sure on that one if I'm honest.

ANYWAY
Here's what I saw when coming home from work one afternoon

Unwrapped the masses of black plastic and bubble wrap to reveal this

The engine was delivered complete including all ancillaries such as air con compressor, wiring loom, injectors, inlet mani, exhaust manis, flywheel, EVERYTHING bar the gearbox and drivetrain basically.

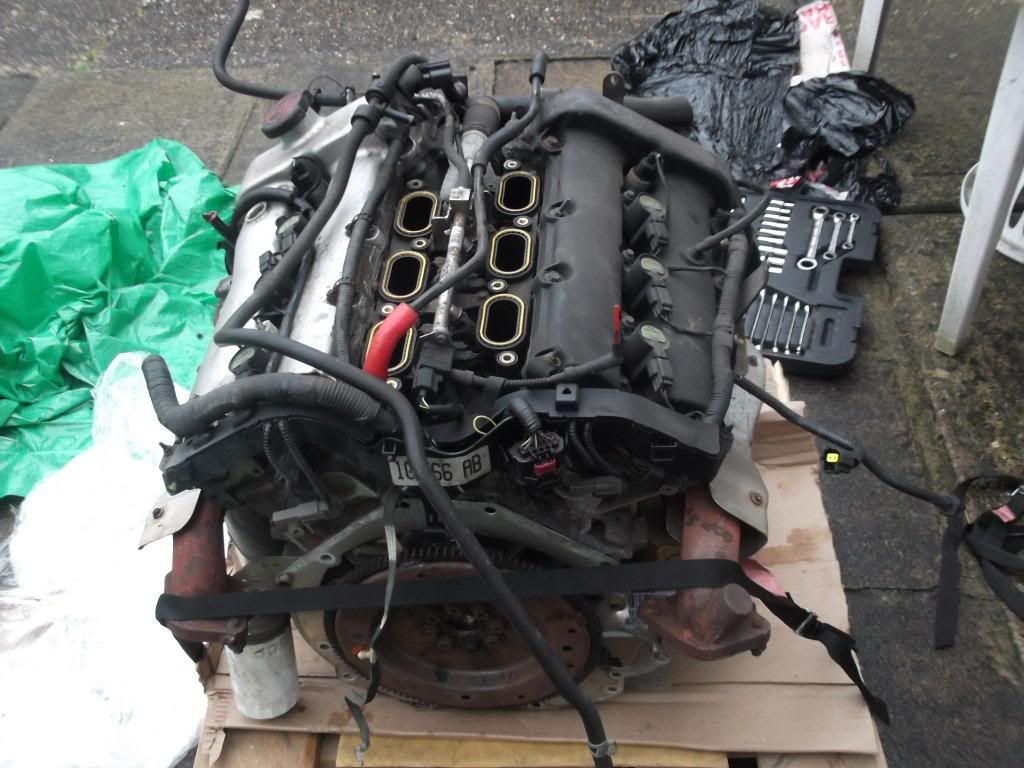
Almost seemed a shame to rip the thing to pieces really..
Since I'd never done anything like this before and have limited knowledge on how an engine works I just got stuck in and removed things in (what seemed like) a logical order.
the only thing I've done close to this would be one of those Haynes V8 engine models you build from like a thousand pieces, which did actually help if I'm honest!
This might aswell say FORD on it though if I'm honest.,..everything else on the engine does..

So off came the inlet mani, which was heavy. I'd honestly hate to change the plugs on this engine, you'd have to remove the mani every time and they're not exactly easy to get to..

Next off was the lower part of the inlet mani, fuel rail and injectors etc.


By this point i did remove the belts and waterpump etc too but I haven't foudn the pictures...but i'm sure you won't want to see half of the stuff i've posted anwyays.
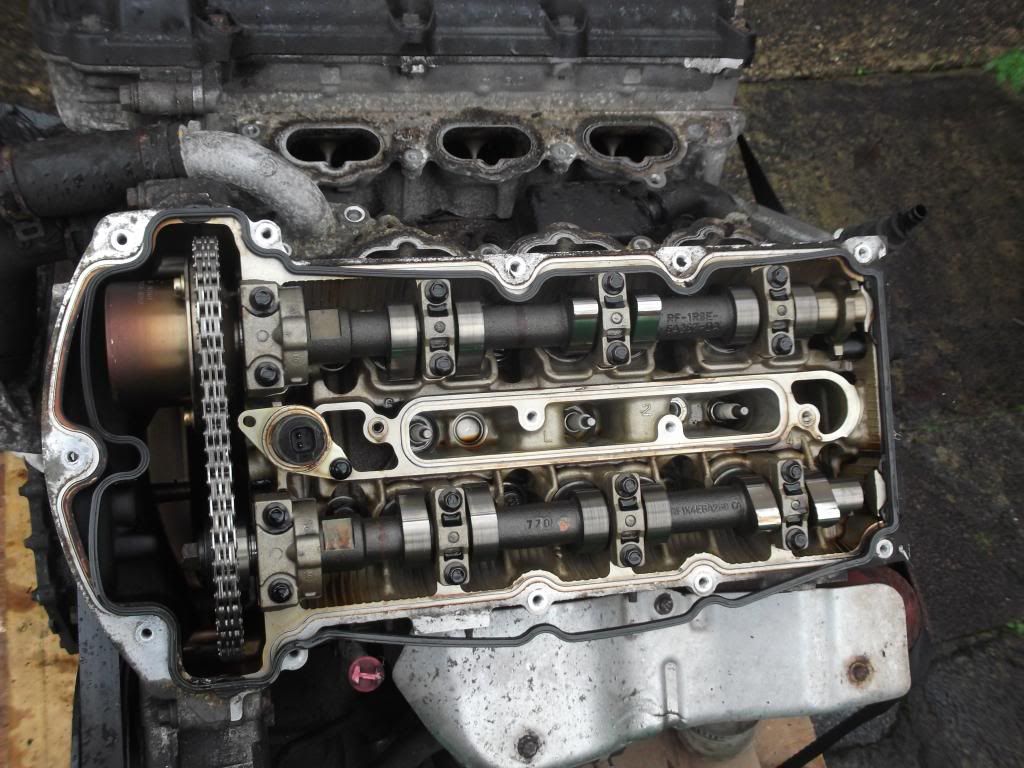
Next was the cam covers to start taking apart everythign inside the heads
I didn't exactly need to take it all apart, but it's a good learning experience none the less.


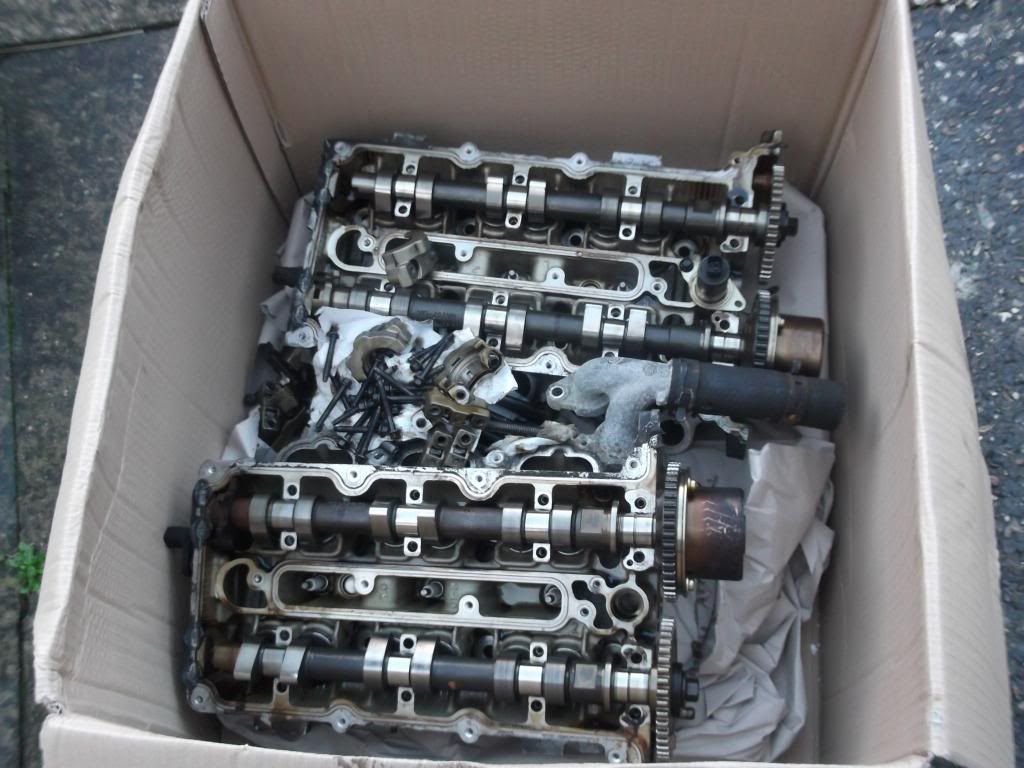
Off with the heads (after the exhaust manis and last lot of hoses had been removed)
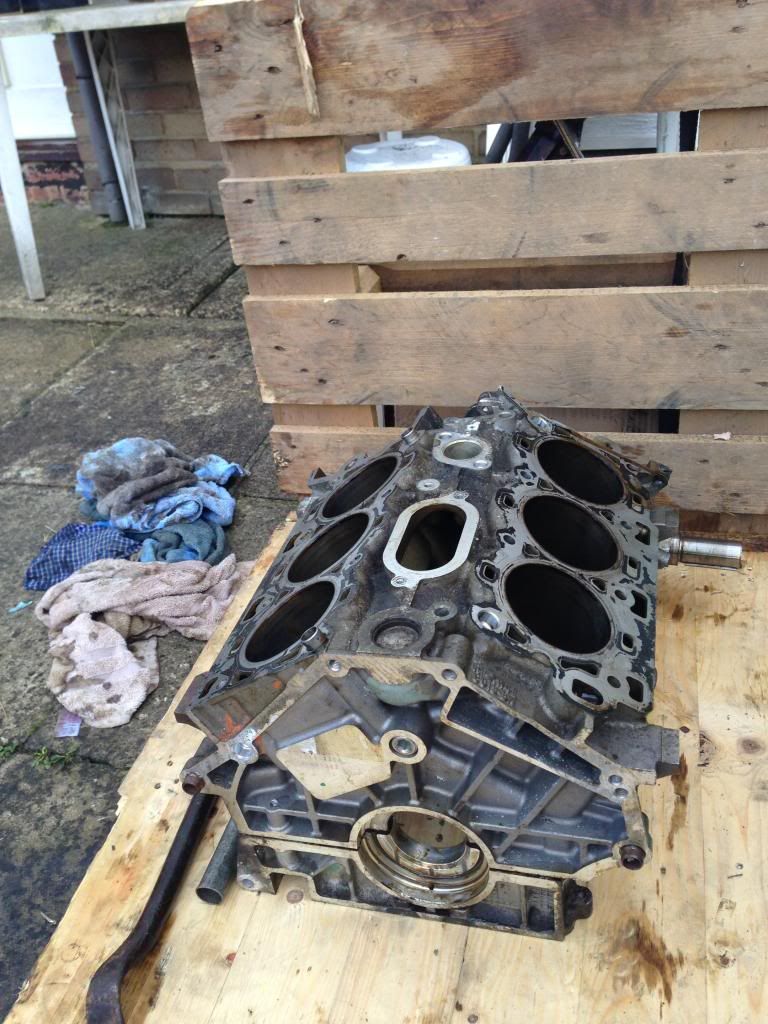
Which then left me with my V block where the magic would happen!
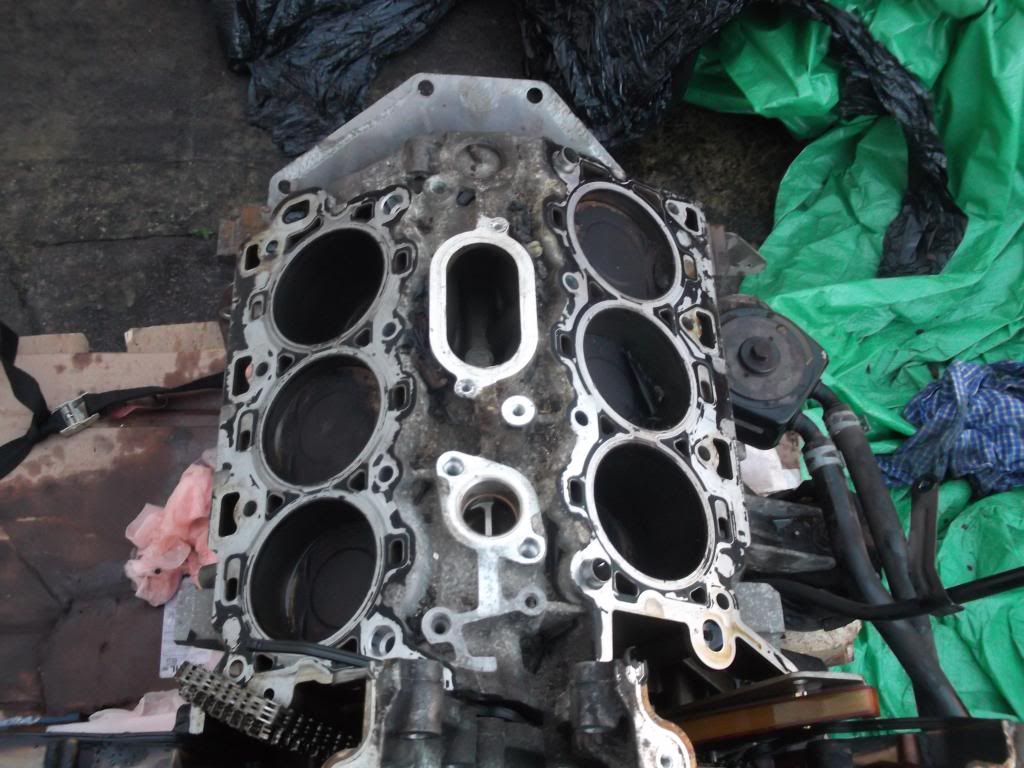

There was still plenty of coolant trapped in the waterways of the block, hense the pink crap everywhere..not what you need when the dog loves the smell of the stuff..
Was then able to split the lower part of the block (no idea what it's caleld if i'm honest..) from the main part so that i could remove the crankshaft..what a heavy fucker that was!
The crankshaft itself weighs more than the block..as soon as the crank was removed I could pick the block up by myself, whereas before I was having to roll it on poles or shuffle it about.


I was tempted to leave it like this, but since it was so low down i decided the bottom part would need to be on too.
that's better
And a picture of the heavy-arsed crank

So the next step was to take the block to be cleaned.
I decided to go for soda blasting since there's a very talented guy less than 10 miles away.
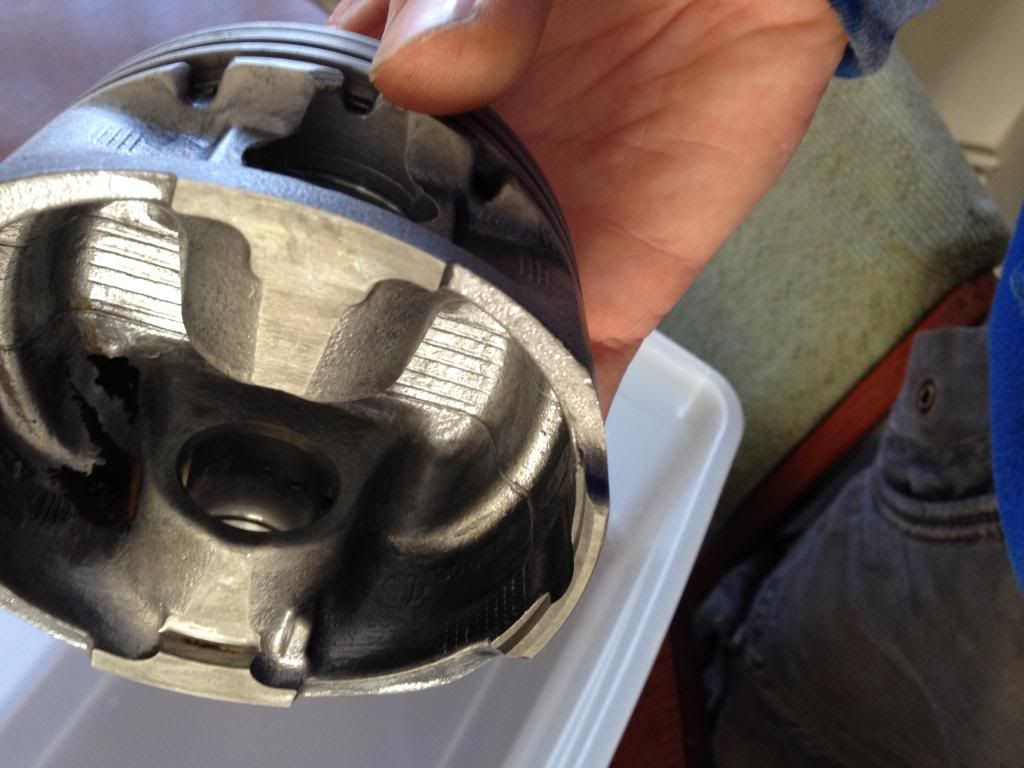
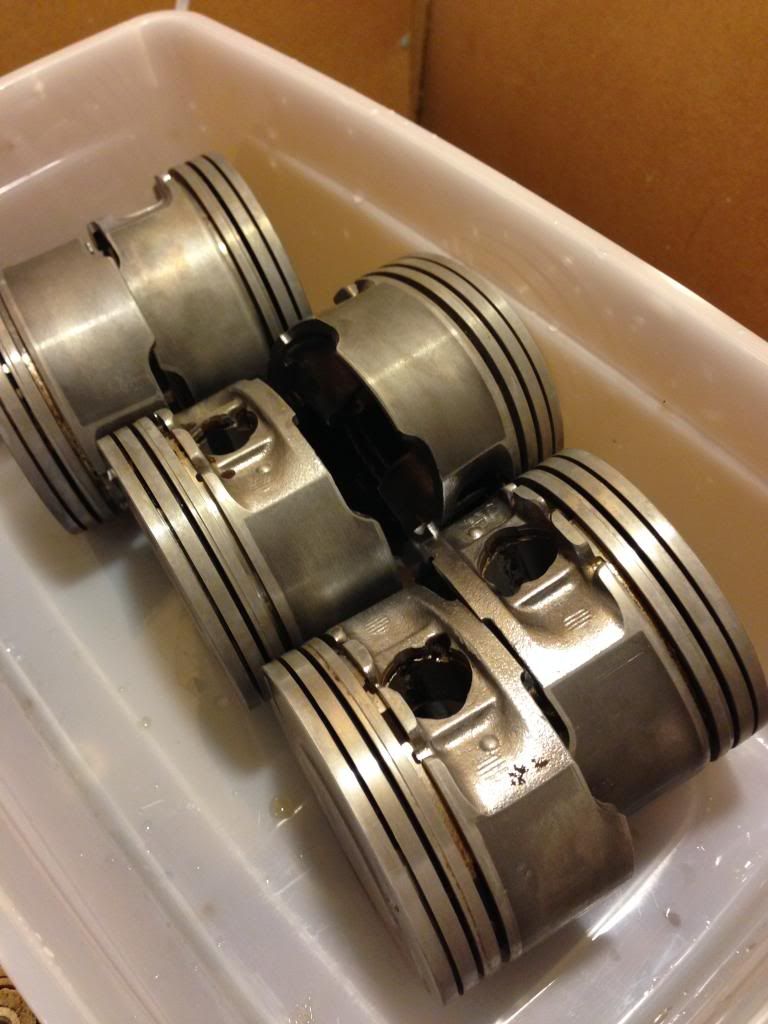
Whilst the block was away I set about cleaning the rods and pistons and get them ready for the engines return.
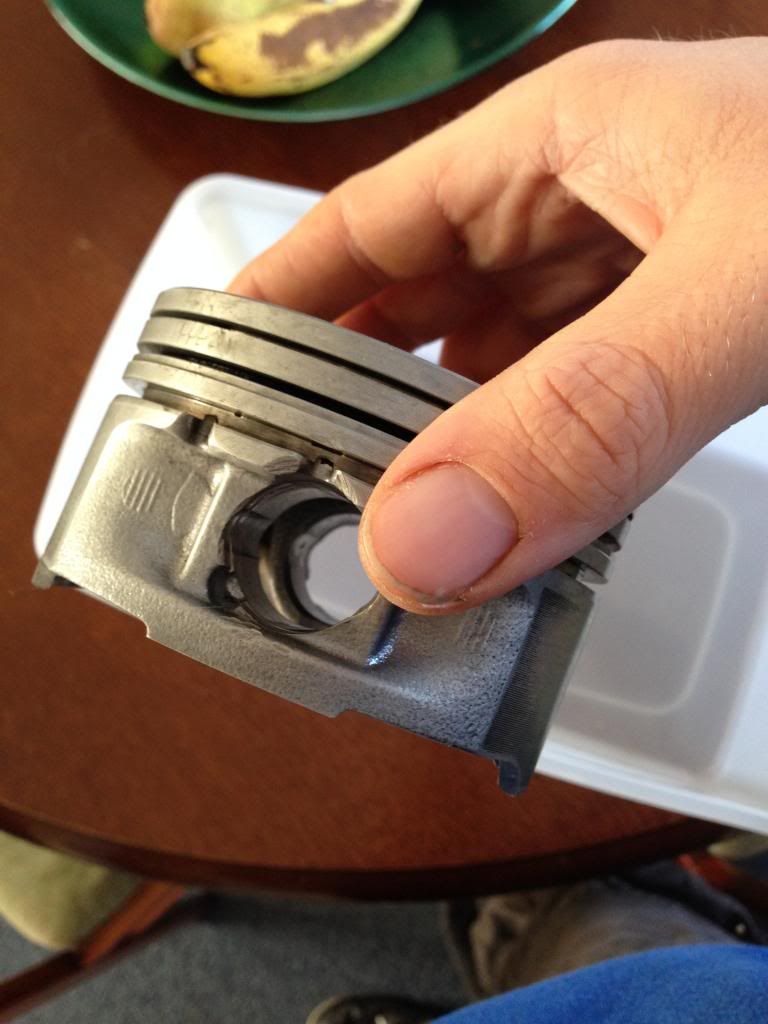
The engine had apparently done just shy of 100k miles and was 15 years old so the pistons were quite coked up.
This is them after taking them all apart.
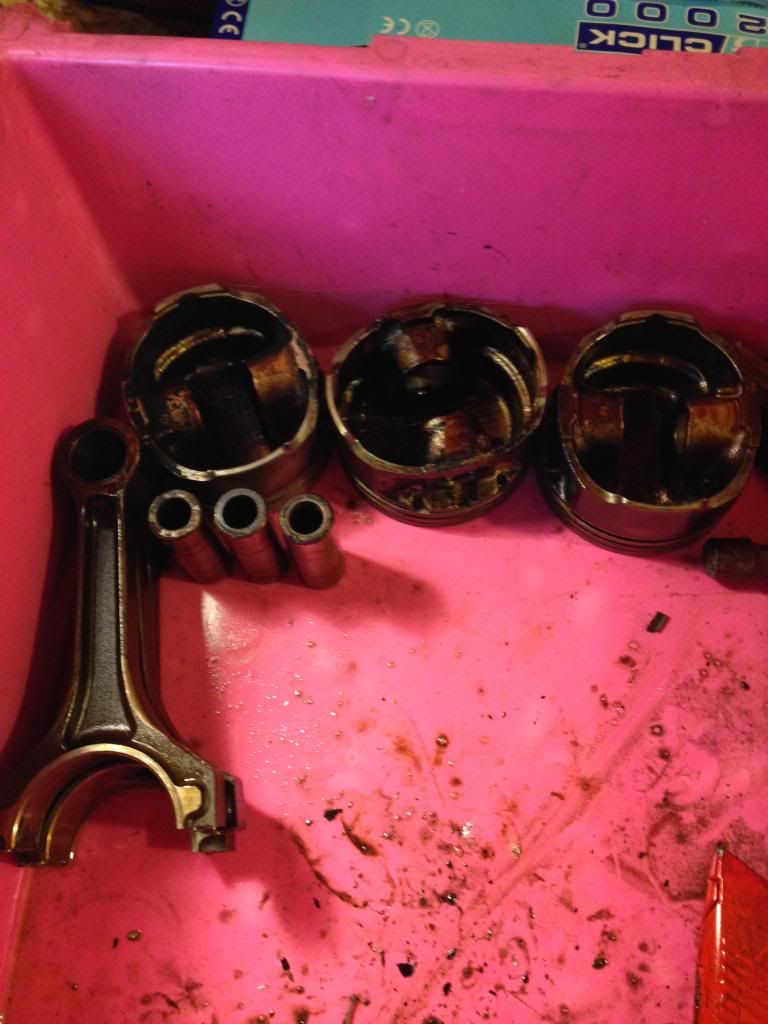
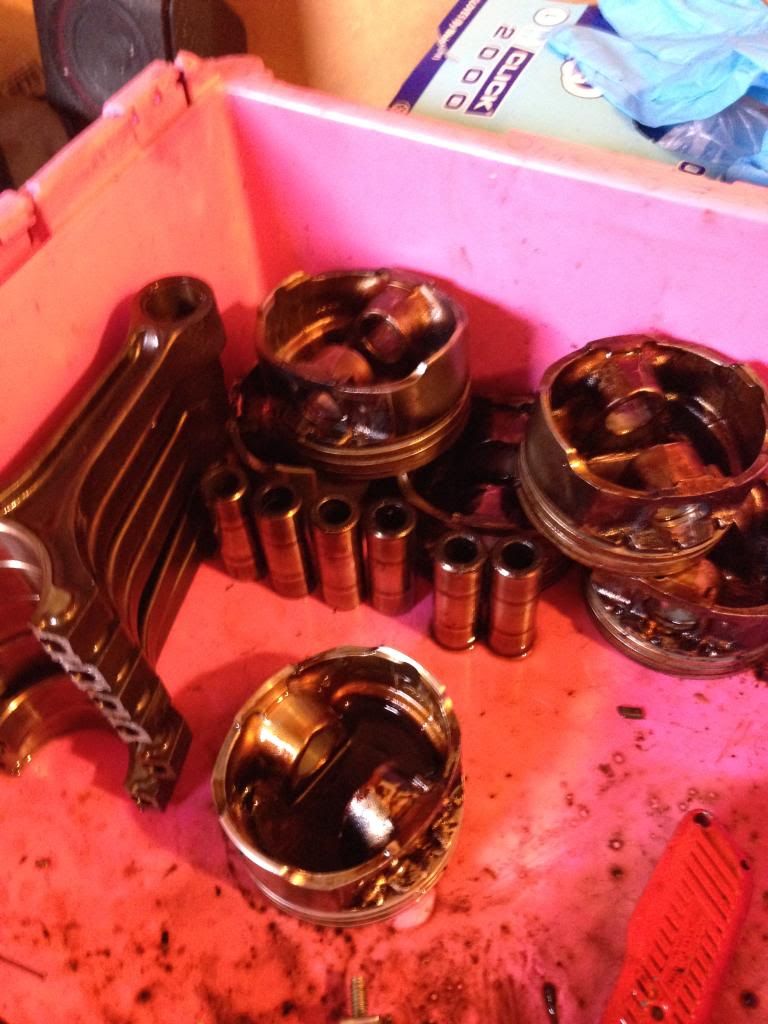
All i used to clean them was oven cleaner...nice and simple but very very effective.

Then after 2 weeks i got the block back.
The technique the guy used was to go over the engine with glass bead to cut in more and get most of the shite off and then go over it with soda a few times to clean up the finer pieces and give it a consistent finish.
This is how it looked straight from picking it up.


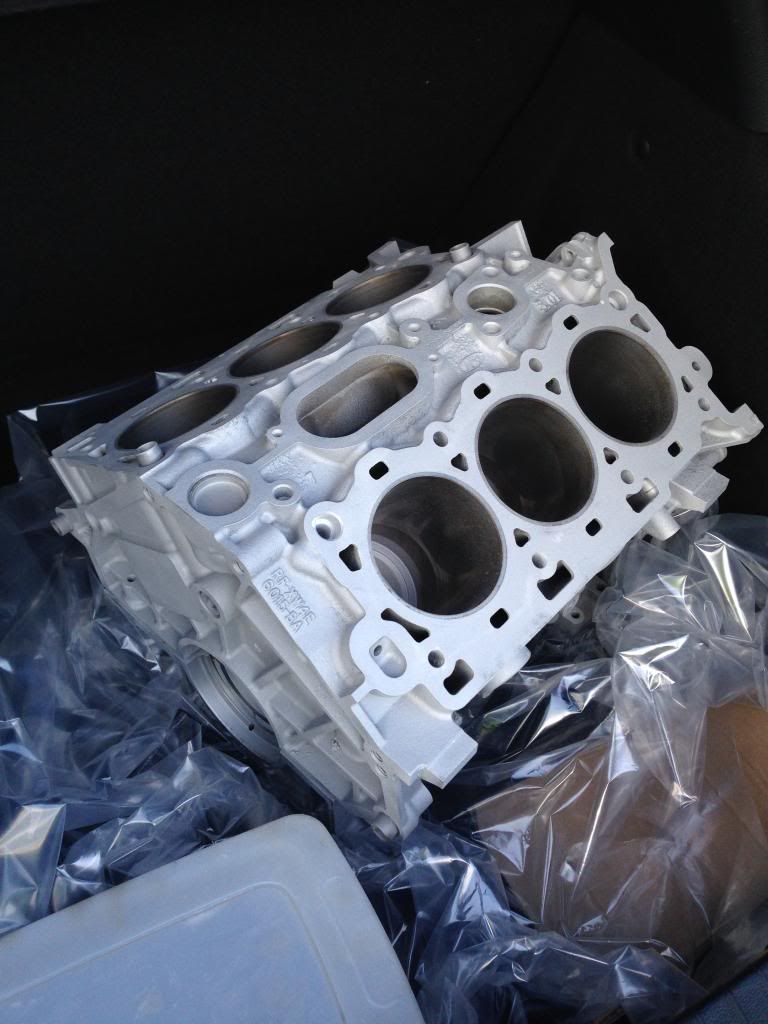
Almost surgically clean in my opinion. There are a few spots that are a little speckled still but they're mostly hidden.
The next job was to figure out how to mount the rods to the faces of the block where the heads would sit...I had a slight issue in the fact that i would have to drill a tap new holes for new bolts as none of the holes on the faces were in the right position or of the right size to be of use to me..but since this is aluminium, this was a painless job.
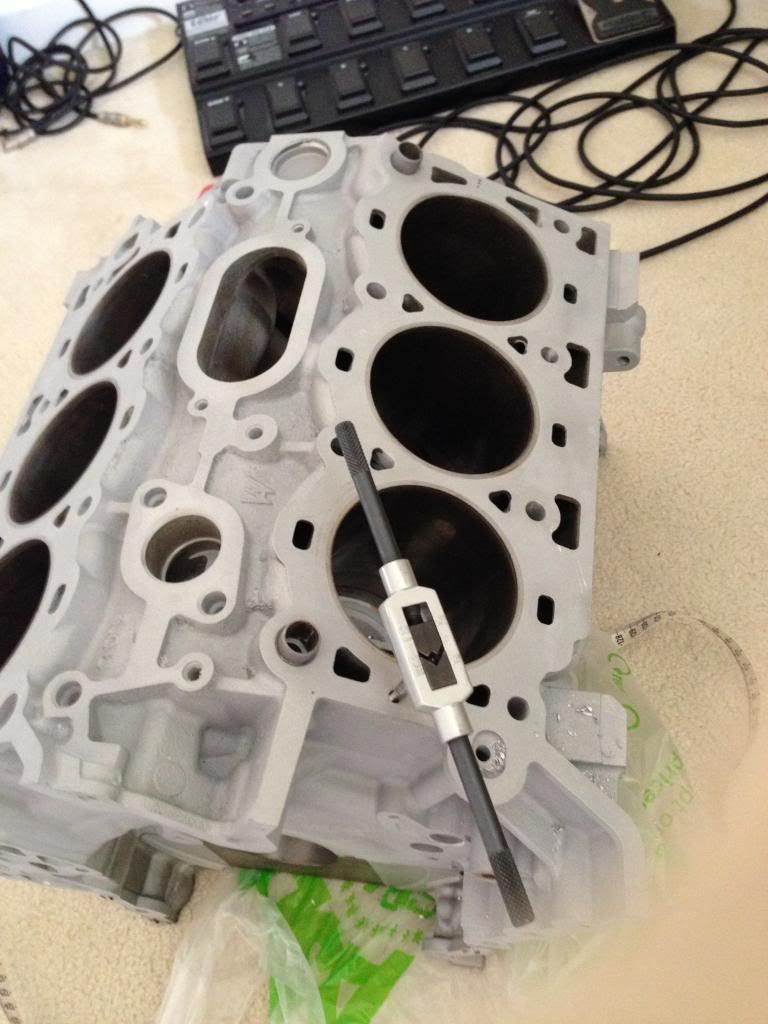
I drilled a 5.5mm hole and then used a 6mm tap and dye piece to thread the hole for the 6mm bolts i'd managed to pick up from work.
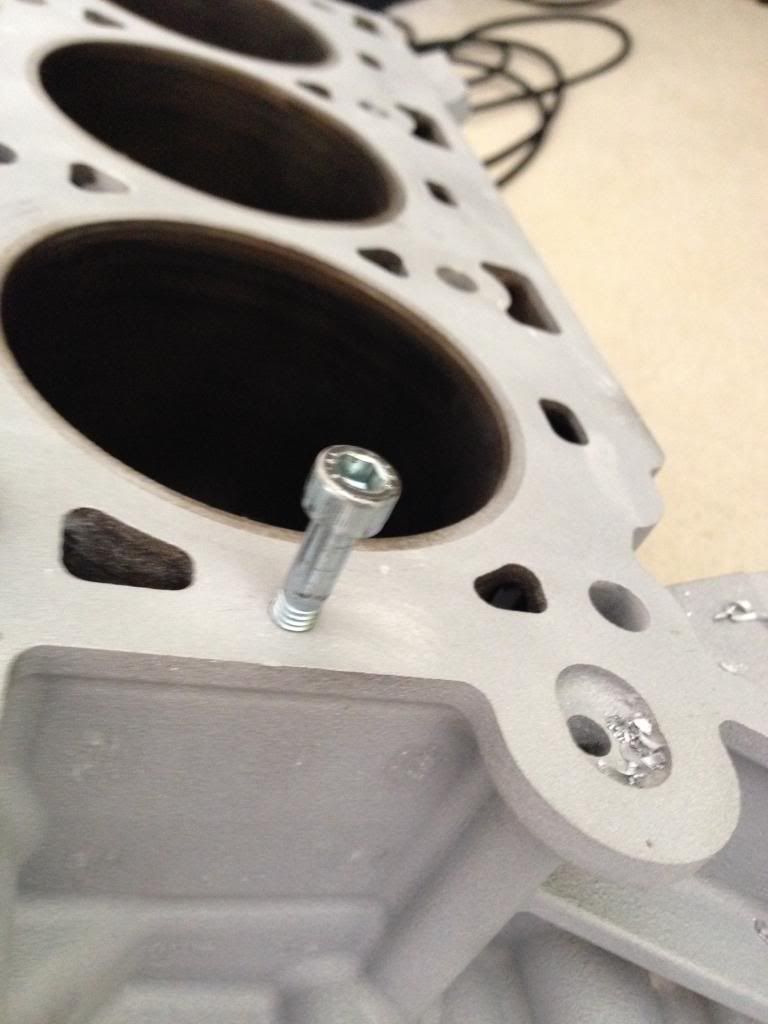
Like a gloooove.
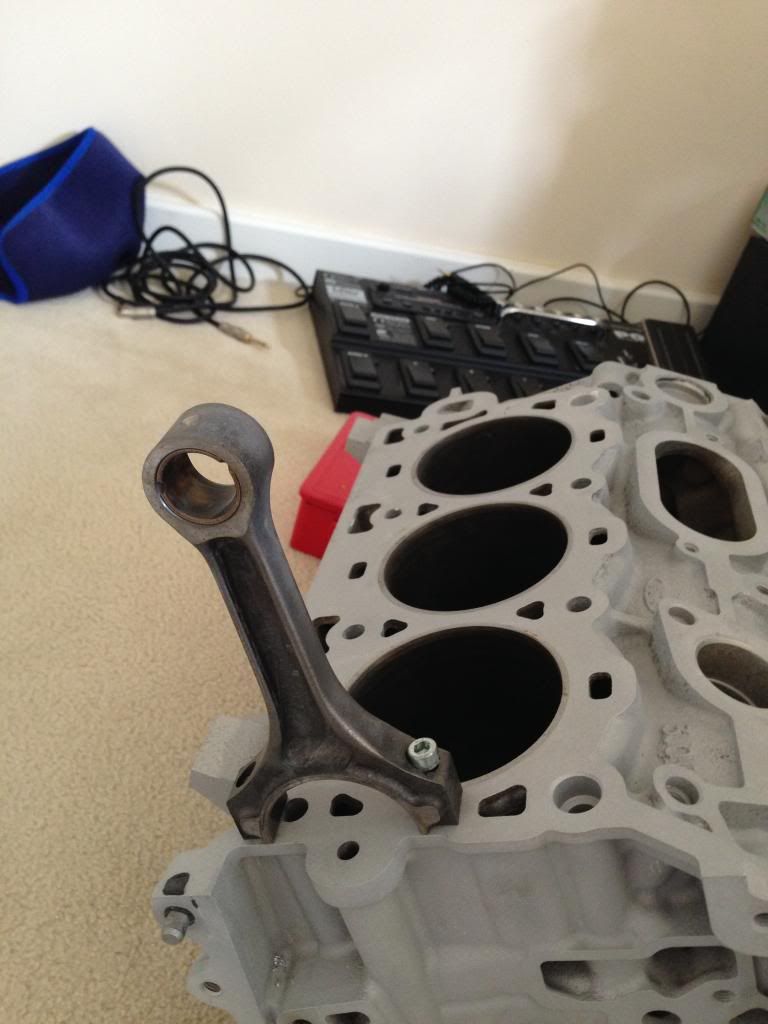
I left the rods a little duller than the pistons as i thought it'd break the colour up a little since I'm not planning on painting anythign at this stage...maybe in the future though?
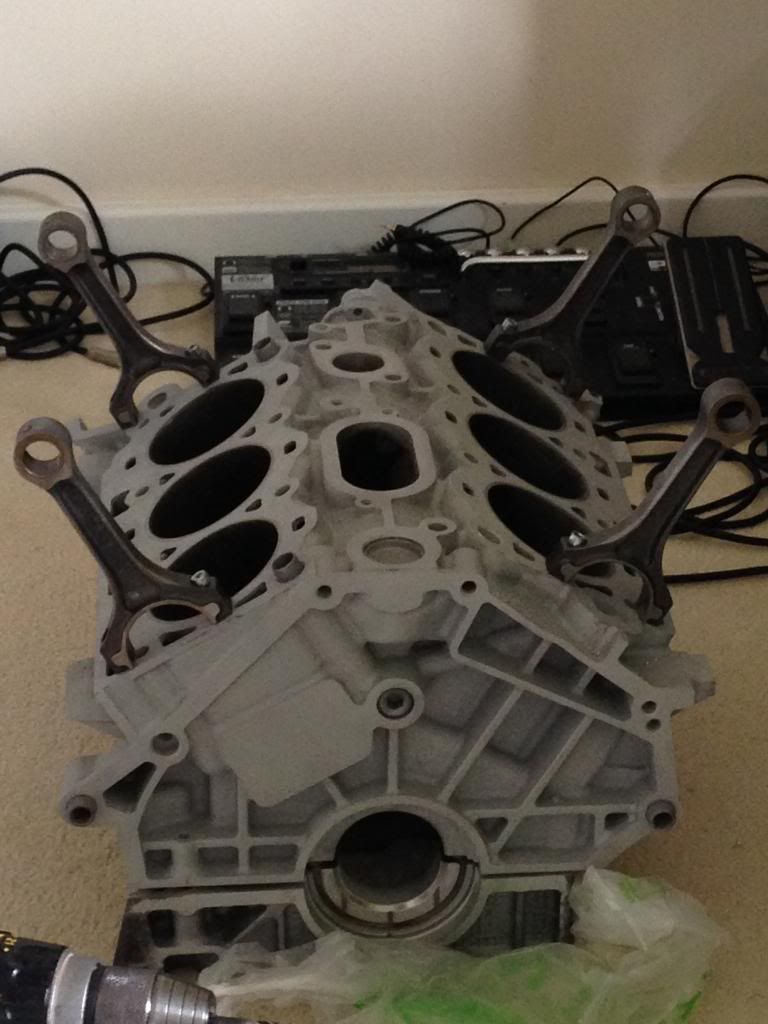
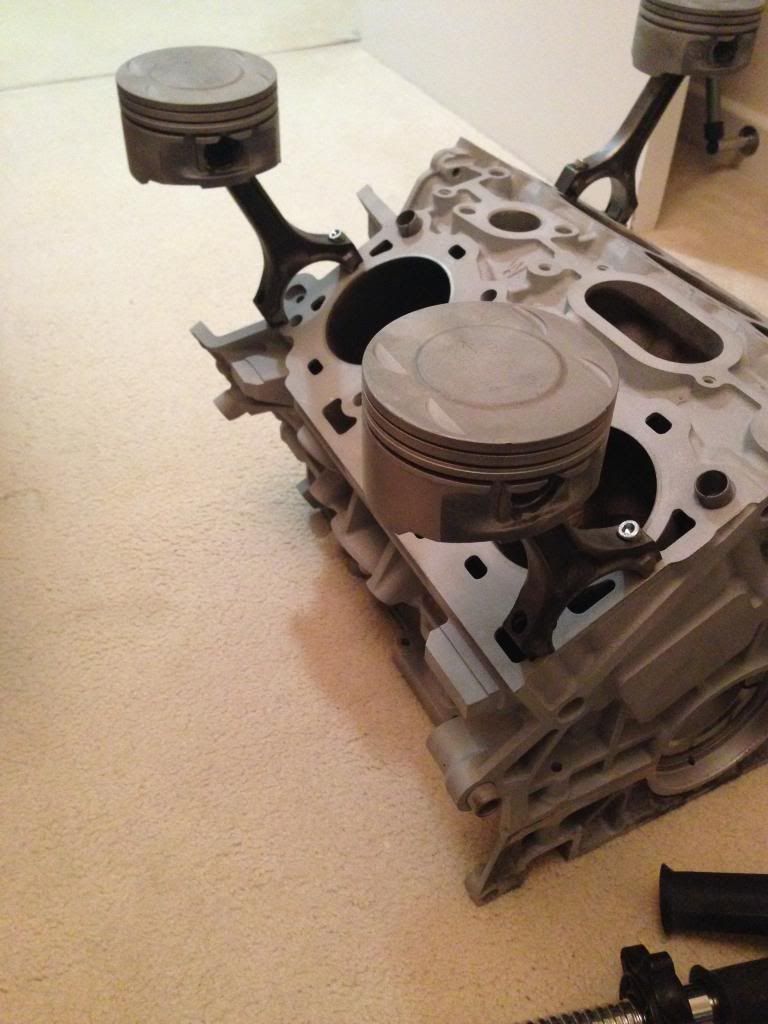
Anyways, I trial fitted the rods to each hole before assembling back together with the pins and pistons.
Next step was to just re-assemble all of the pistons and rods (well, 4 of the 6 anyways) and mount them on and make sure they were all sitting at the same height as the pistons would be supporting the glass on my table.
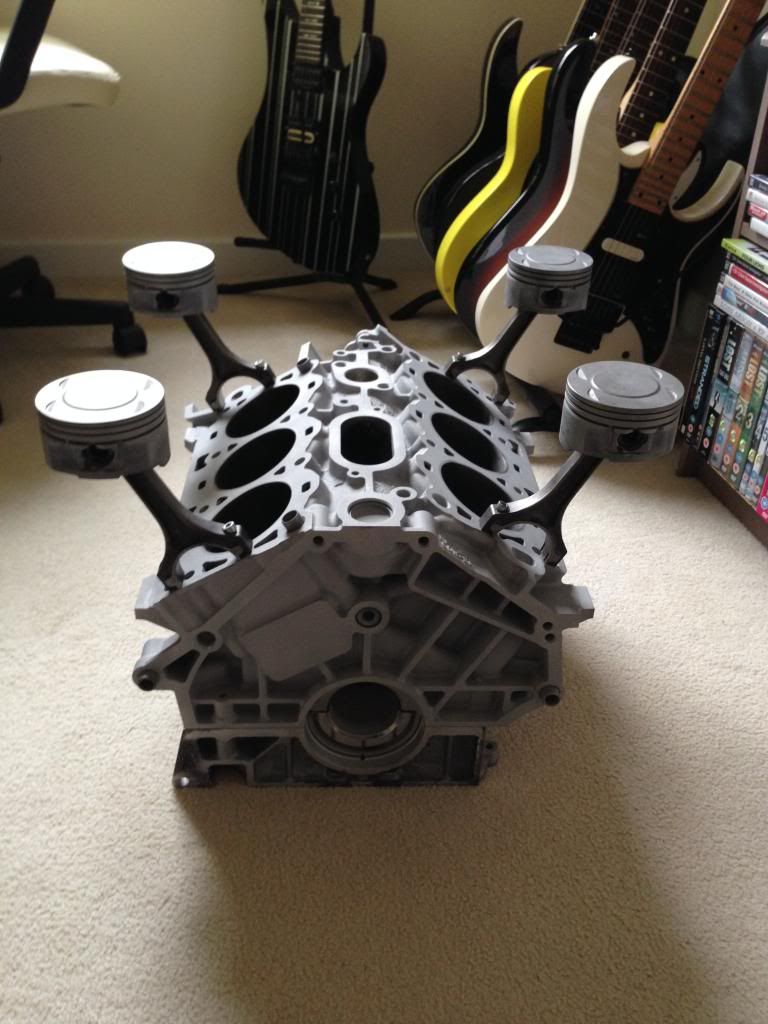

The only job left to finish it for now was to source some glass.
I had planned on getting a small oval made up with a laminated surface and beveled edge..i mentioned this to a work mate of mine who used to work on trucks and he mentioned that, to get me by for now, he had a rear windscreen lying aroudn at home from an old ERF 70's B series tractor cab...he bought it in for me and although it has a few scratches on it, it's brilliant!
and saved me even more money!


And that's it for now!
Its currently sat in our spare room which I've taken over as my sort of study/guitar room/computer room..but I've sneaked it into the corner of the living room for now until she moans that it's ugly and stupid like she's said all along..
Eventually i plan on maybe painting a few bits on it and some point in the near future I will be installing some LEDs inside the block so that it can illuminate the cylinder banks and intake holes subtly..not sure what colour to go for at the moment but it will happen soon!
I'd love to know what everyone thinks..positive or negative. I've enjoyed doing this and it's been a good learning curve regarding how to disassemble an engine and how it all works properly etc


 Linear Mode

