A bit of a long day...
So where to start. Quick recap, the cage came from a friend back in the summer, it then lived in my Summerhouse until now. I promised myself that all late season mods will be done by Oct to save ****ing about in the dark and cold. That did not work out!
I pulled nearly all of the interior, carpets, headlining, etc. ready for the Sat 15th Nov; cage day.
To be honest, the strip was a bit quick and dirty in places:

But I didn't have time to tidy up because I fell properly ill in the week running up to the 15th and that was that. Cleaning up the wiring, bits of sound deadening, etc. is very much on the to-do list.
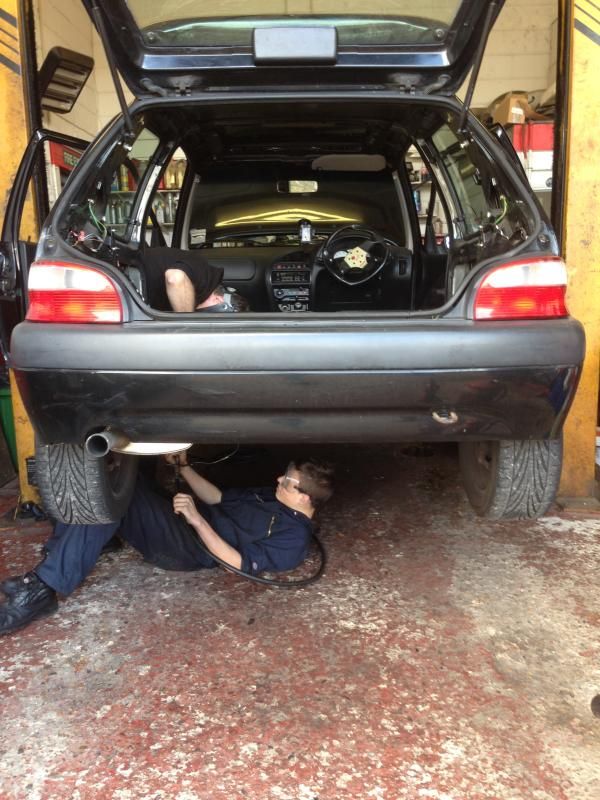
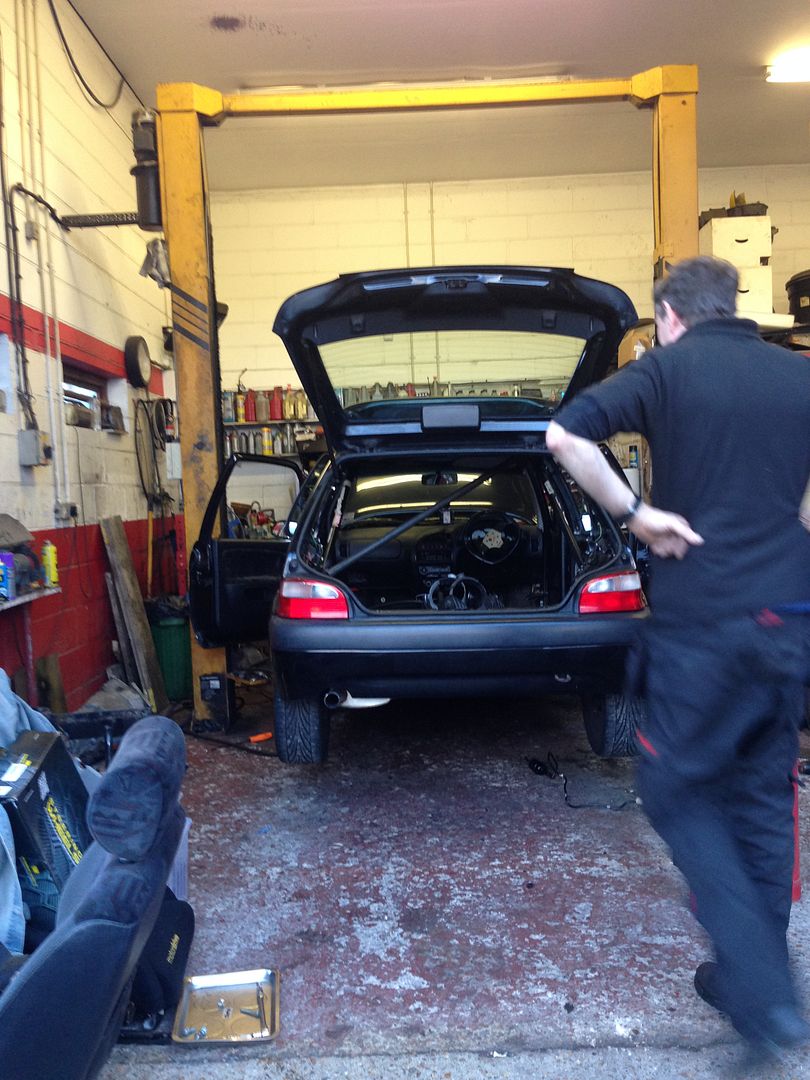
I loaded up the car well in advance, found a nice full tank of fuel the night before (Gareth thanked me for that when we thought we might need to pull the tank) and had an uneventful drive down to Gareth's. Got there nice and early, but then we talked bollocks, drank coffee, saw other cars fixed, cleaned, come and go before really getting stuck into mine near lunchtime.
With the front seat whipped out and the car on the lift, we offered up the cage a couple of times. Looks like it was all going to fit, which was a relief. A bit of massaging around the sunroof frame (hammer). Some wiring was in the way, easily removed. The fuel lines, which wanted to run under the cage feet less so. Fortunately Gareth got them released, blocked off and out of the way.
First up the main hoop.
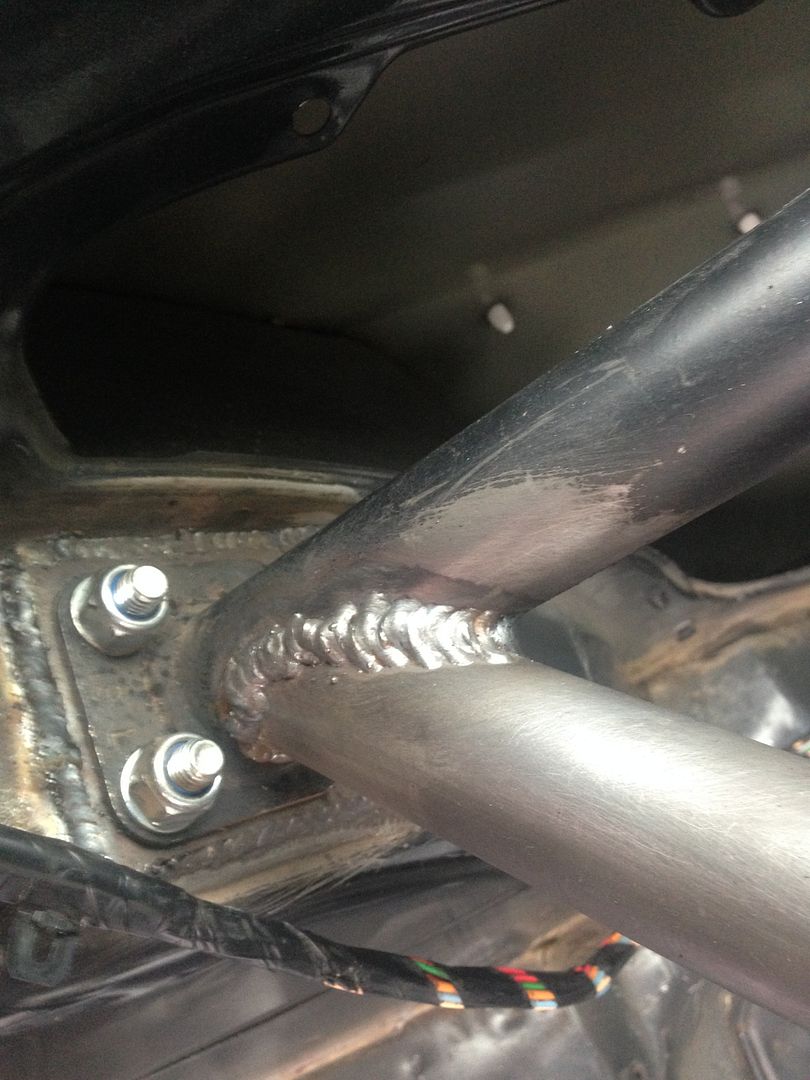
The car came without a decent fitting kit... It had some random old rusty bits, suitable for templates, but not much else. Gareth got some 3mm plate out and got cutting and banging. Gareth kept it old school with a hacksaw. I thought he would be there until about 2063 with a hacksaw, but Gareth and the Snap-On blade beasted it at an astonishing rate. Need to get one of those Snap-On hacksaws and blades! The plate needed bending and Gareth just hammered it right, whilst I tried to catch everything falling off the workbench, so no photos of this stage, but the results are here:
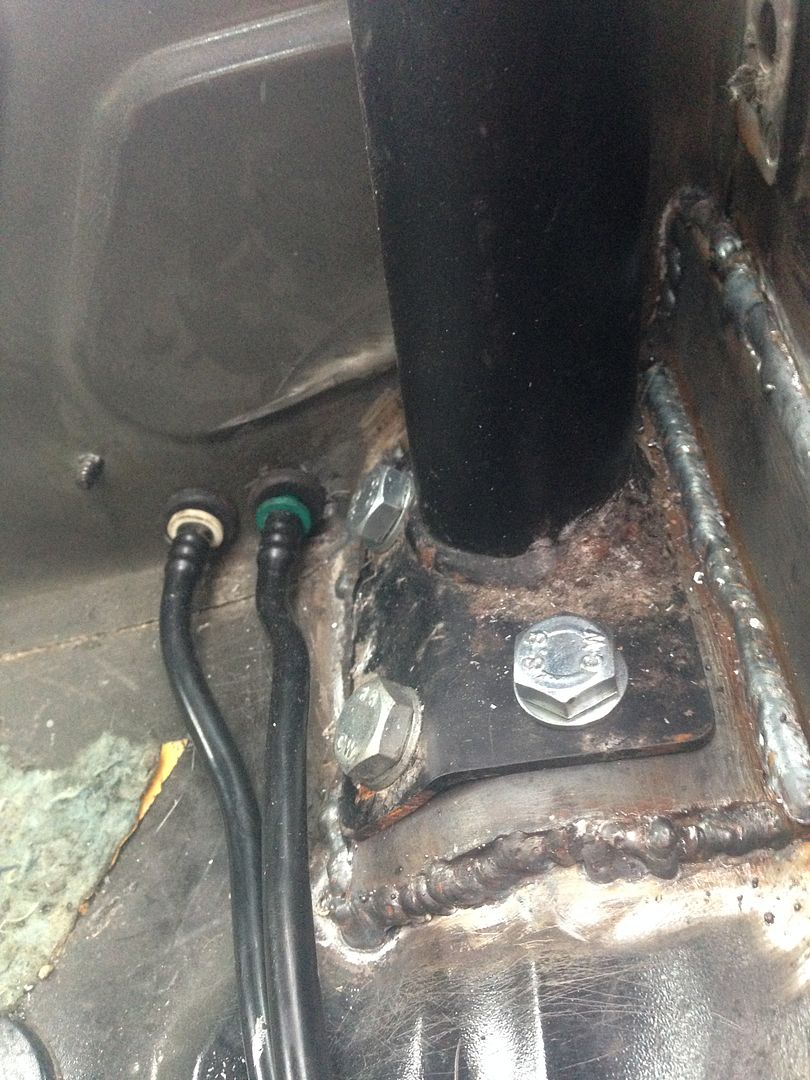
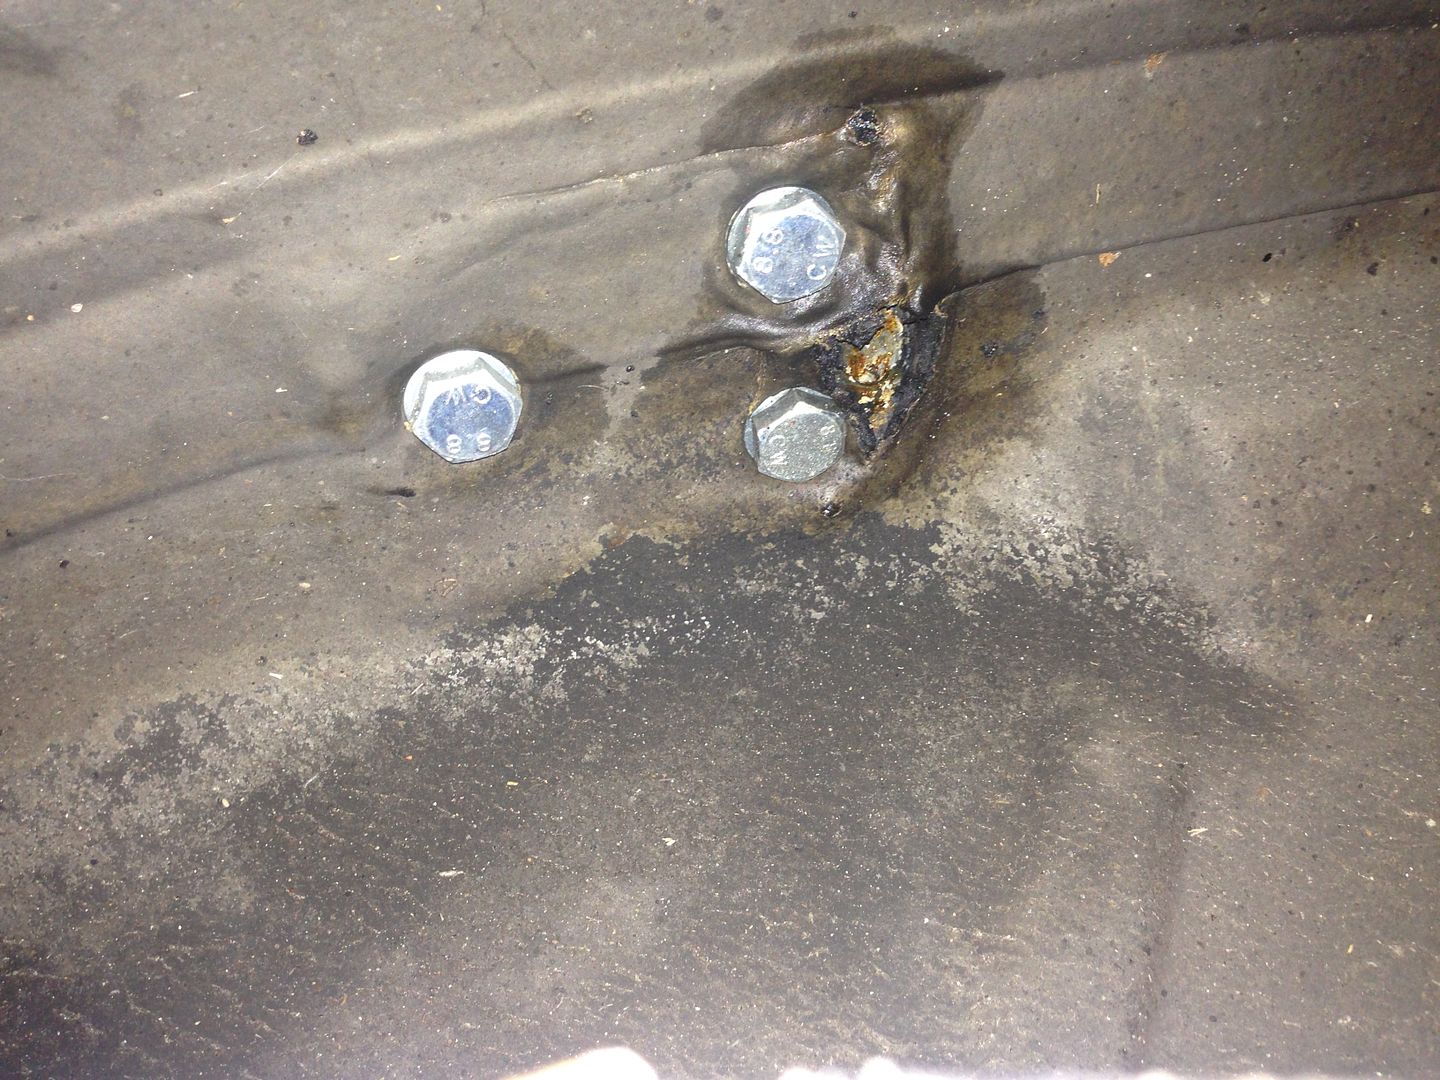
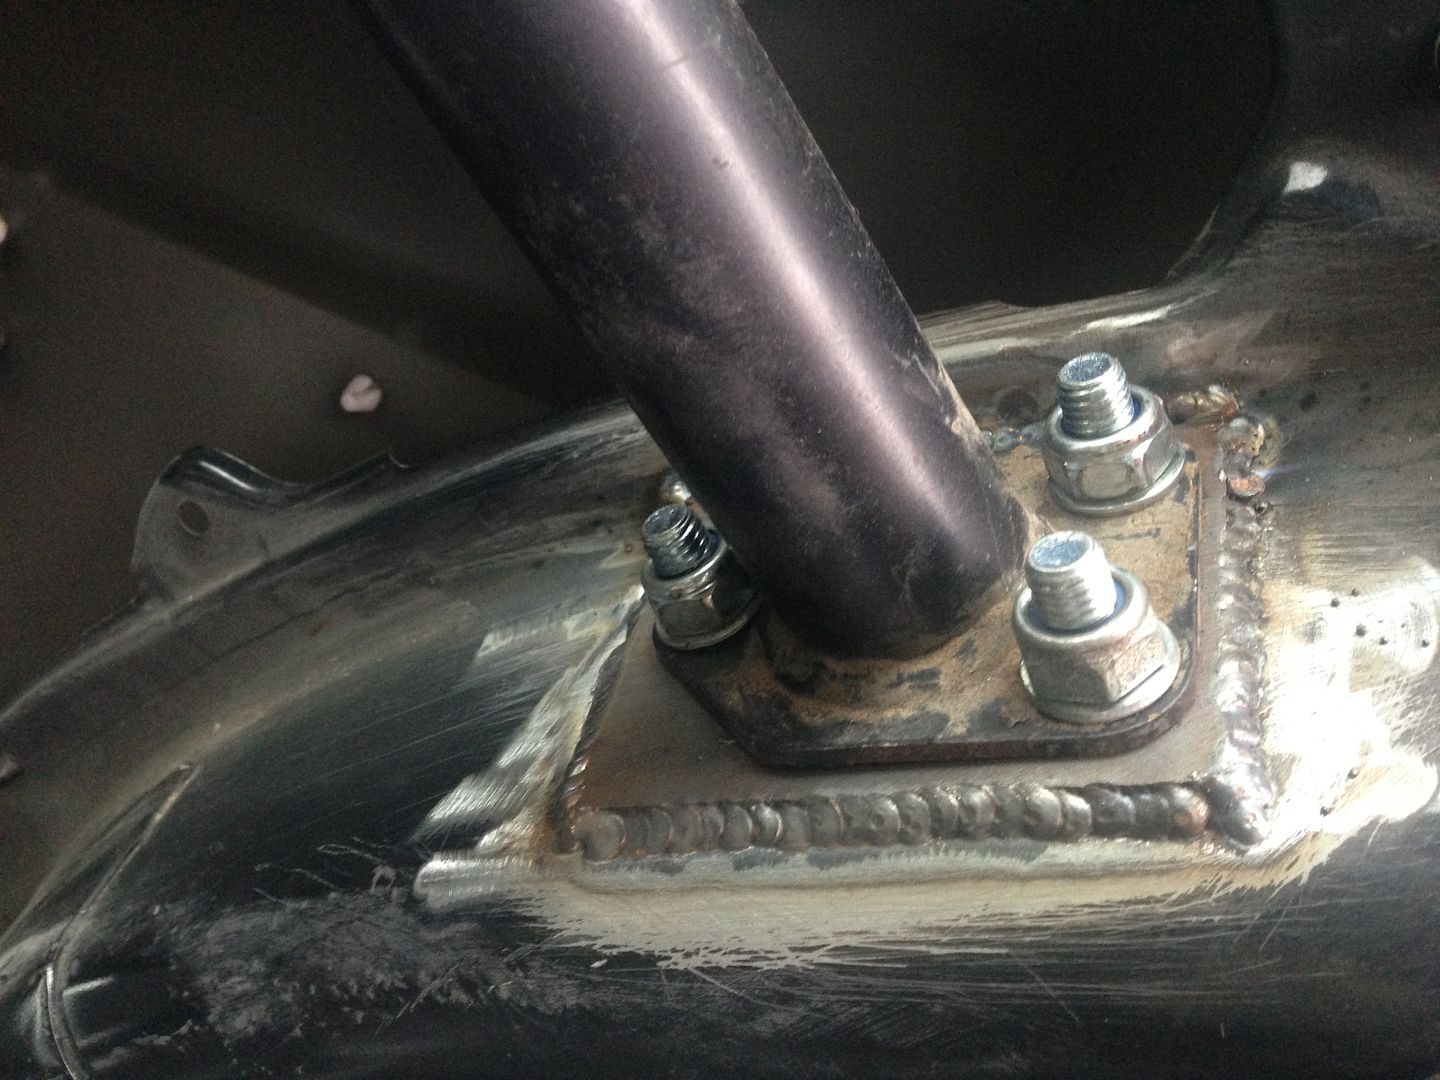
The front plates are in two parts, the bent base and the side. Obviously this is the finished article, drilled, welded, bolted, fuel lines re-routed, etc. This is the story of how we got there.
The plastic fuel tank was massaged out of the way. And some spare sheet metal used as an additional barrier.
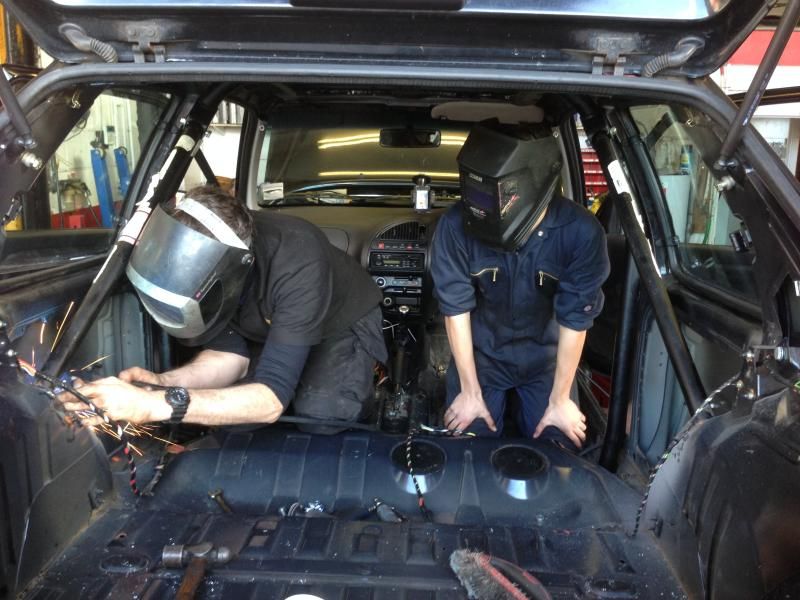
Time to get welding! Good news. Olly, Nick's son was out on fire watch. Car did not catch on fire. Well, it did a bit, but Olly did his job. I went outside and talked bollocks. Gareth only made occasional gripes about the thickness of French metal... Needless to say, I've used thicker johnnies.
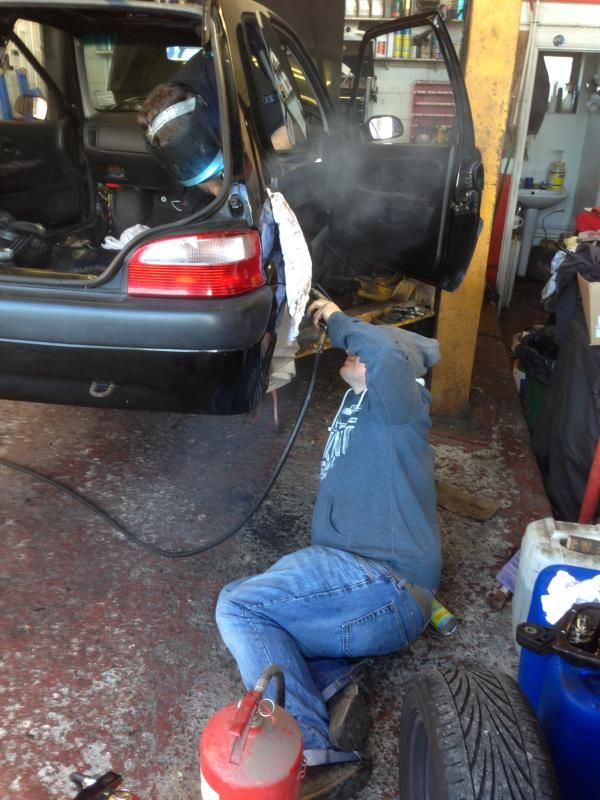
I think that this is the only photo of work actually happening:
Low and behold, the footplates were both in.
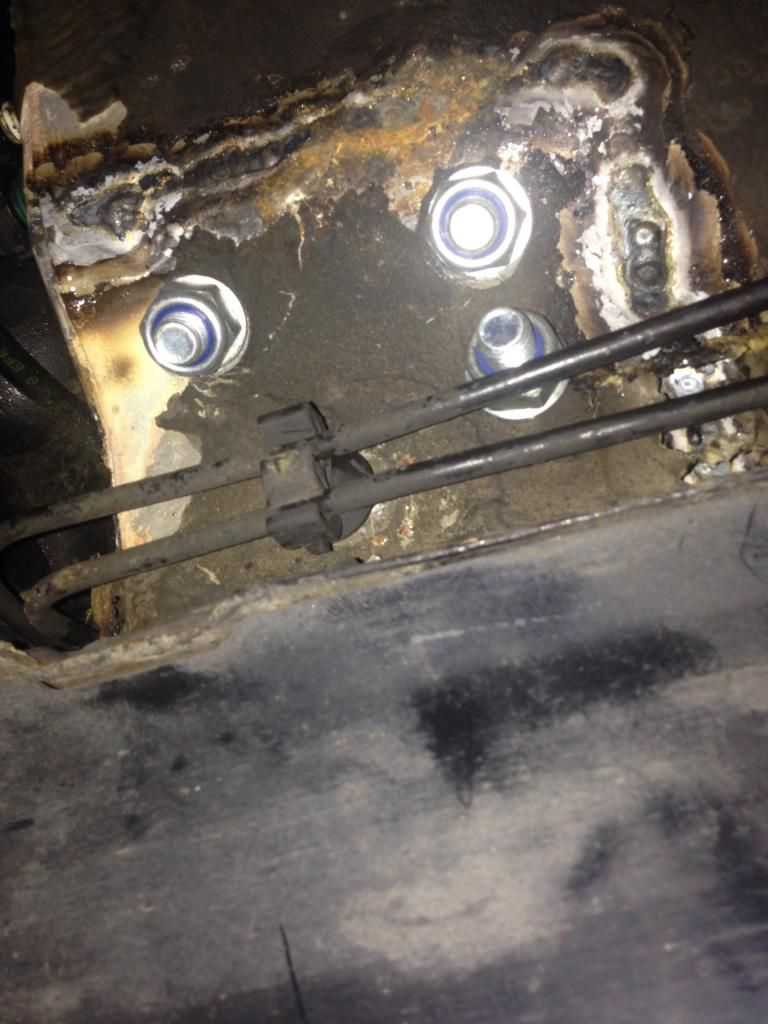
Gareth then drilled through to the underneath of the car and we got on with bolting in the main hoop. Only challenge was the brake lines running near the bolts, but we got there...
I'd like it known that I gave Olly a break and did the bolting up myself.
The cage took a little tickle around the seatbelt mounts, but nothing that G could not sort. No pictures, but the cage anchors to the seatbelt mount on the b-post.
So main hoop in!
Next up, back stays. More footplates made, but these are simple flat affairs.
Peered under the driver's side arch... Lots of gubbins there. Did the passenger side first. Olly and Gareth were in the car, with Gareth talking welding to the lad.
I was on fire duty. Fire came and went, plates were welded in. Note that the nuts are on the inside, to keep the intrusion into the wheel arch down.
To the other side. Not, what could possibly be in the way? Just the plastic fuel filler and a fuel return. Helpful. This was massaged out the way, covered with a fire blanket and my fire watching just got more exciting!
Gareth really wanted to block off he open fuel filler before starting welding - fuel vapour + welding = bad. Nick suggested using cloth. It was pointed out that a wick was not desirable. We couldn't find anything else that fitted (the filler itself was well inside the inner wing at this stage), so it was a piece of cloth inside of a rubber glove. So Nick was sort of right! He was pleased.
More welding, one small fire. I got it out, but I shit you not, a little bit of wee came out...
For anyone interested, fire was put out by blowing on it. With an airline.
Bolted the cage in, that was all four points bolted in. Whoop!
We then got the fuel filler back into place. Gareth started this job, but then he met Mr. Spider. Then it became my job! In reality, it took two of us because the cage bolts stole some room off us and it took a bit if massaging back into place.
Phew.
By now, Olly and Nick had left us. Olly did a top job, without complaint. Nick was not allowed near such a fine motor vehicle and just failed to complete various jobs on his Lolvo project. This was for the best.
Next job... Diagonal.
We discussed options, and settled on it running up to the main hoop, as per the finished item. Back in the day, Safety Devices took it leg-to-leg to keep it removable. This was sub-optimal and didn't look hard enough. Sorry, safe enough. But it does look hard.
So position B in this diagram:
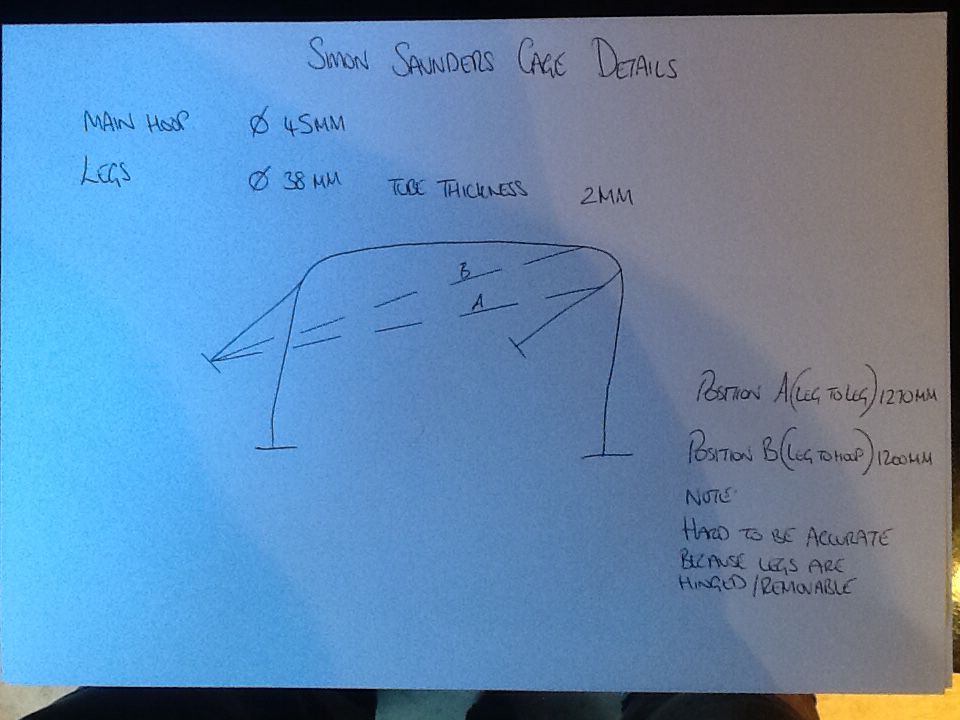
Gareth did the shaping and welding. It involved a toilet roll. I occasionally followed instructions. Well pleased with the end result.
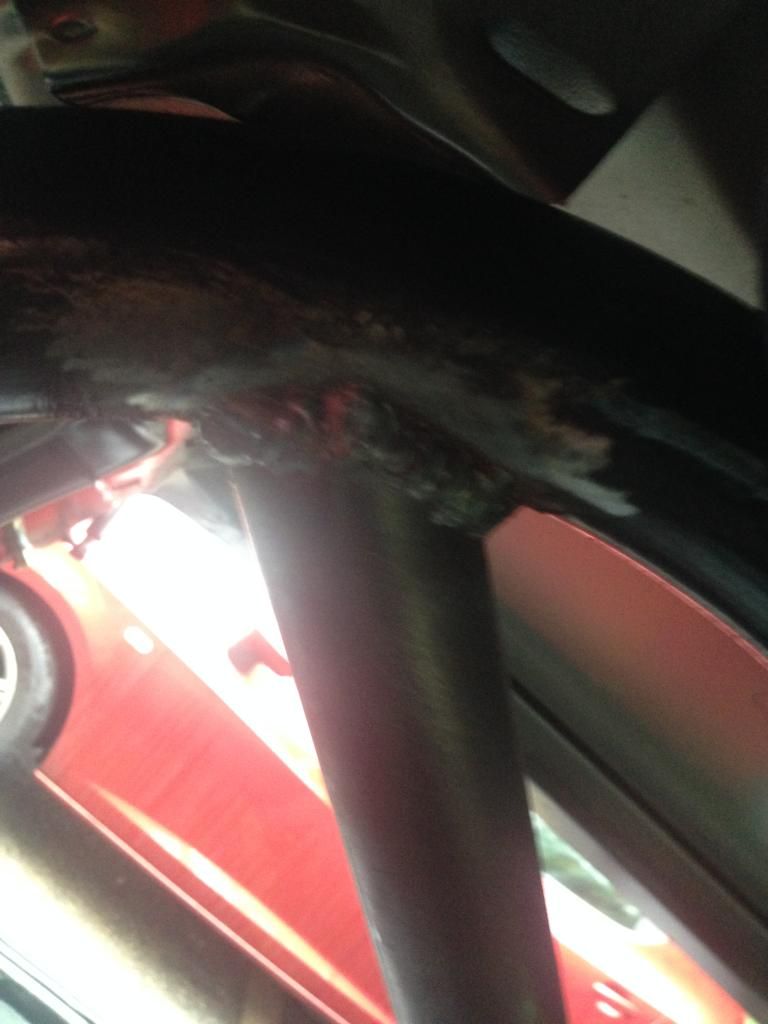
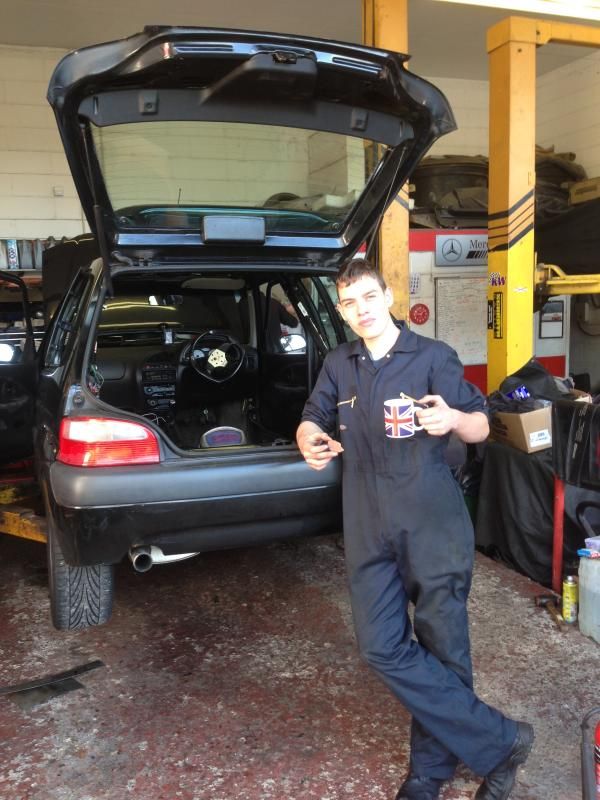
Cage in. Boom.
Gareth is at pain to point out that he would normally take care of painting, underselling, etc. but time was against us on the day and I'm 110% happy to deal with that.
We then got the fuel tank and other bits and pieces all back in place.
There is more to come, but that isn't written as yet... Oh and apologies for a few continuity issues in the pics and no grand unveiling... That will come in due course.


 Linear Mode

