After seeing a thread over on Detailing World about how to make your own Swirl Spotter, Me and my mate thought we would give it a go, so we did!!
Here's what we did
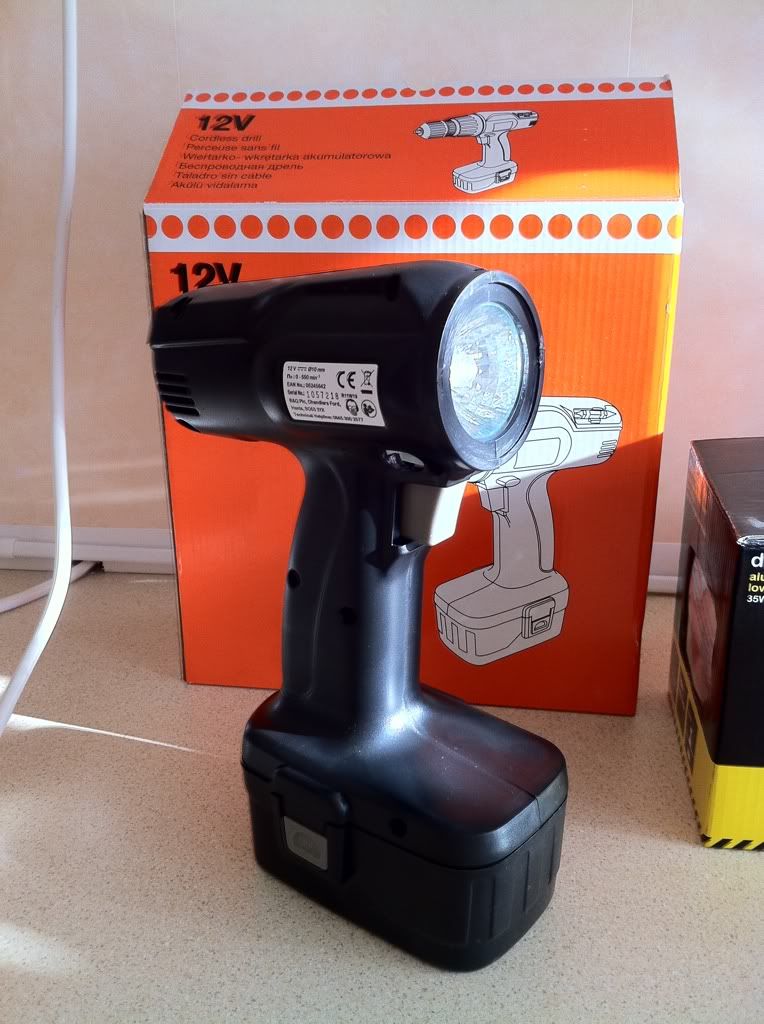
You need a drill and a halogen bulb as shown in the Picture below
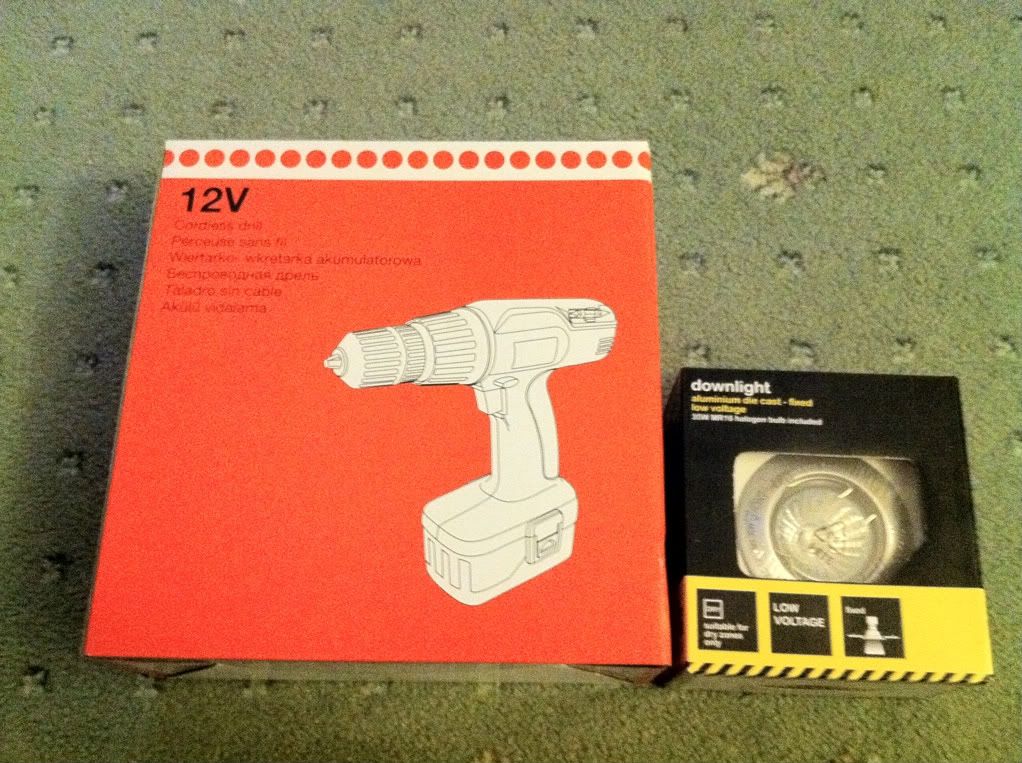
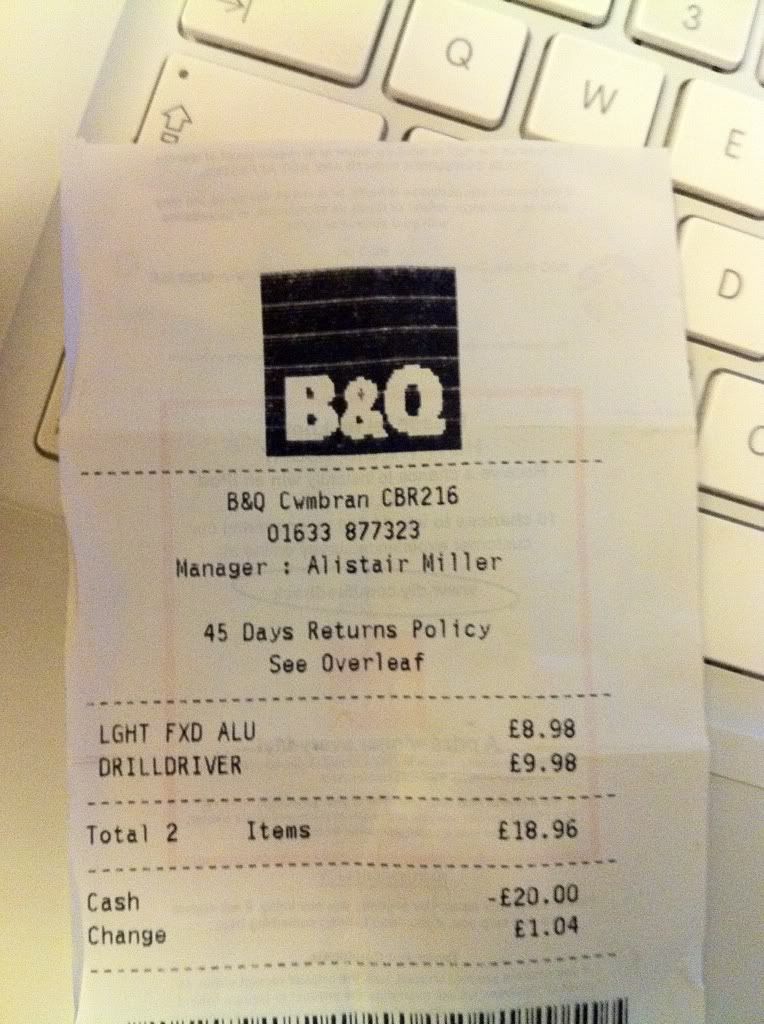
I bought these in B&Q for tidy some of . . . .
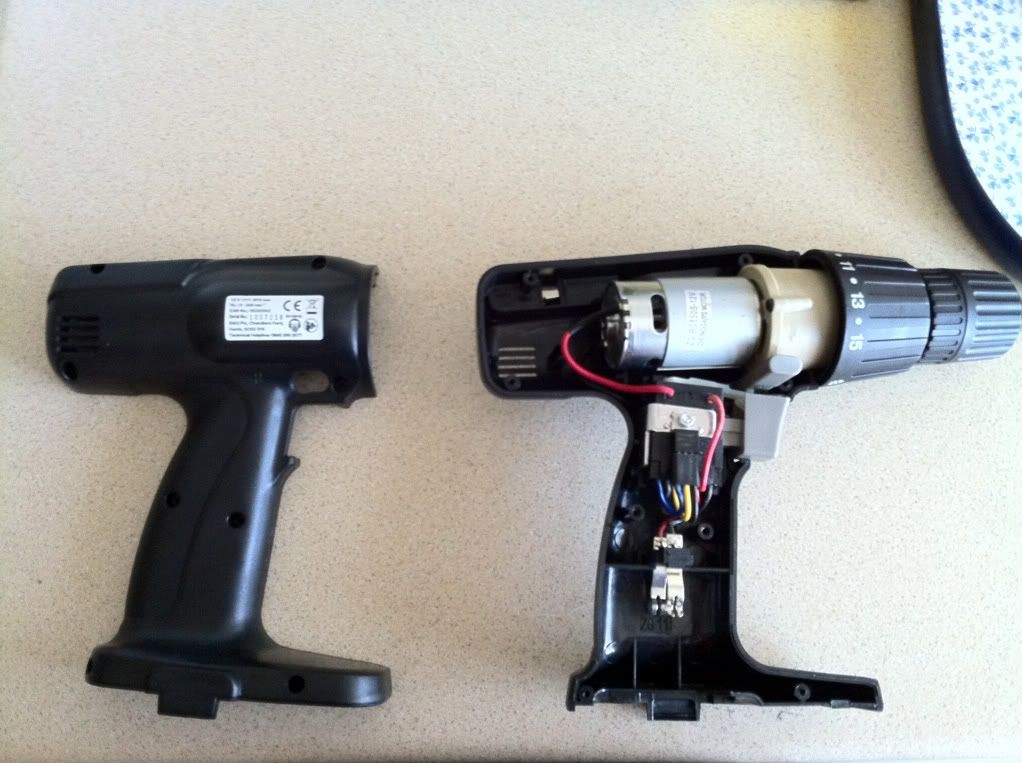
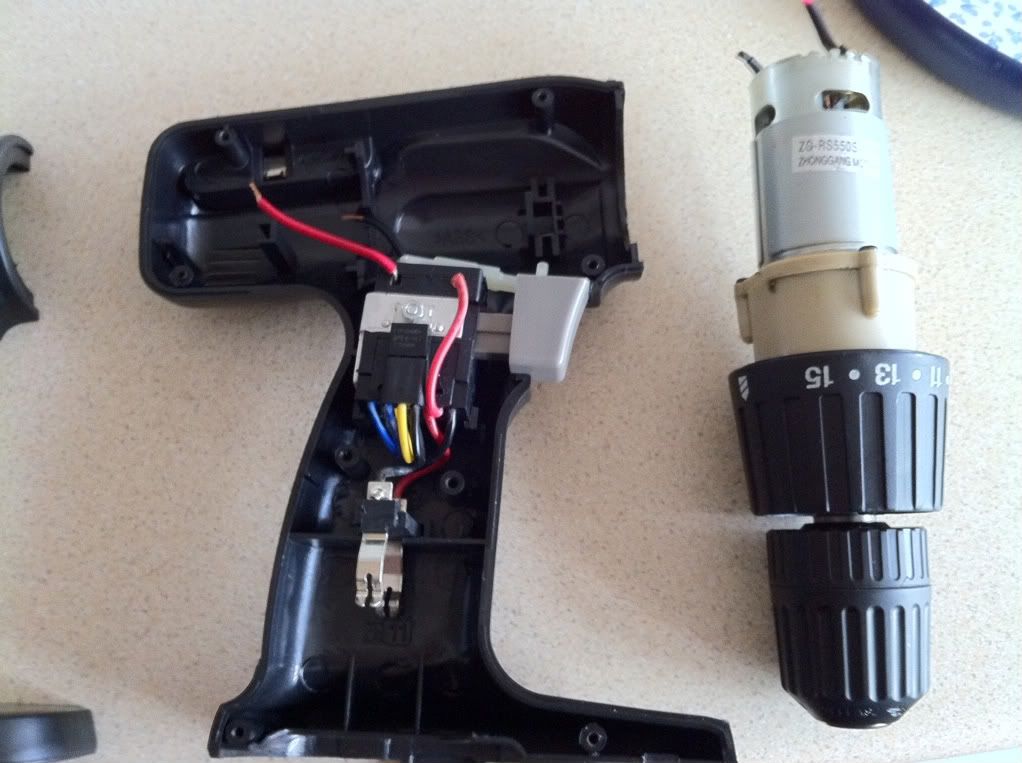
First thing i did was put the battery on charge as there isn't enough juice in there to begin with. Then on to the Drill, take out the 8 screws that hold the drill together. Leaving you with this. . . .
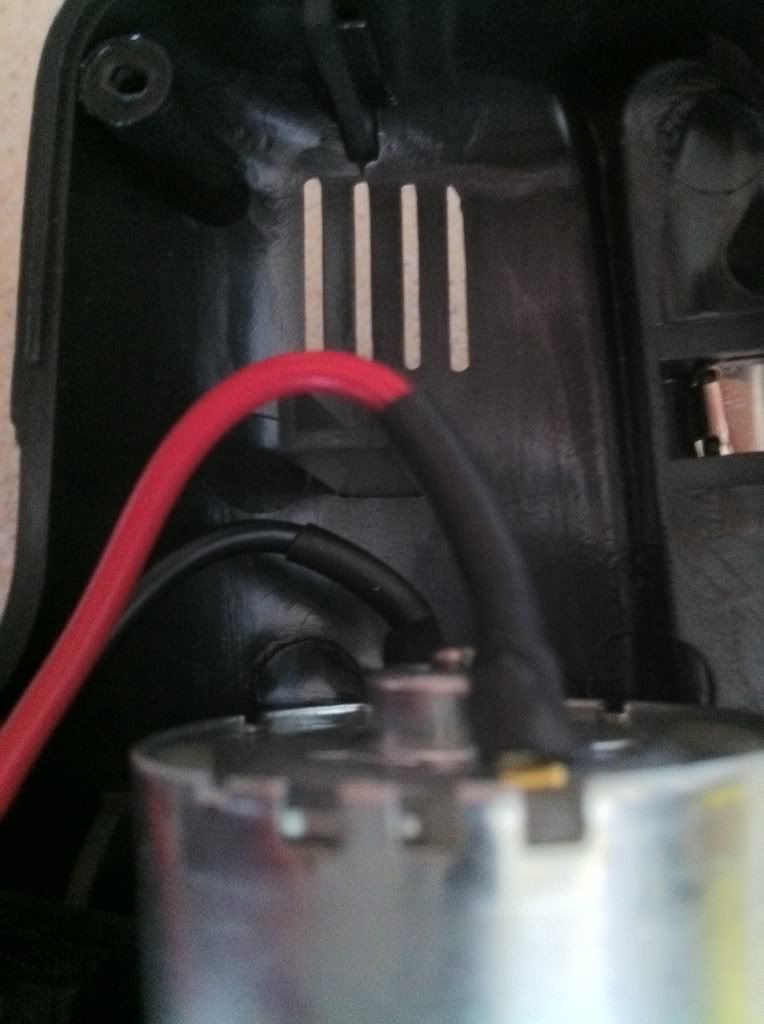
Next thing is to cut the wires going to the motor as shown here . .
As close to the motor as possible
Which then ables you to take the motor out and leave you with this, I also stripped the end of the wires ready for later.
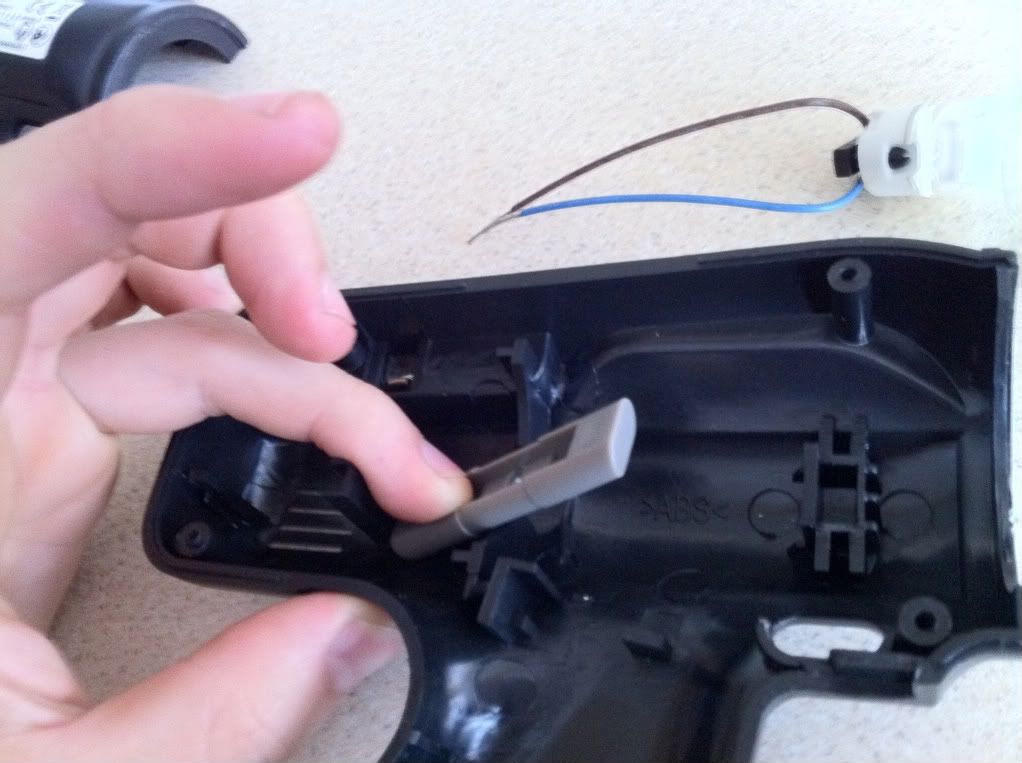
Now in this particular drill the bulb needs proping up, and the switch to turn the drill between clockwise and anti-clockwise is perfect. It comes out when you take the drill apart. Position the 'prop' like so ...... and glue in place, best to use a hot glue gun for this
Now onto the Bulb. The bulb we bought is a 35w MR low voltage downlight which is supposed to go in the ceiling in a house.
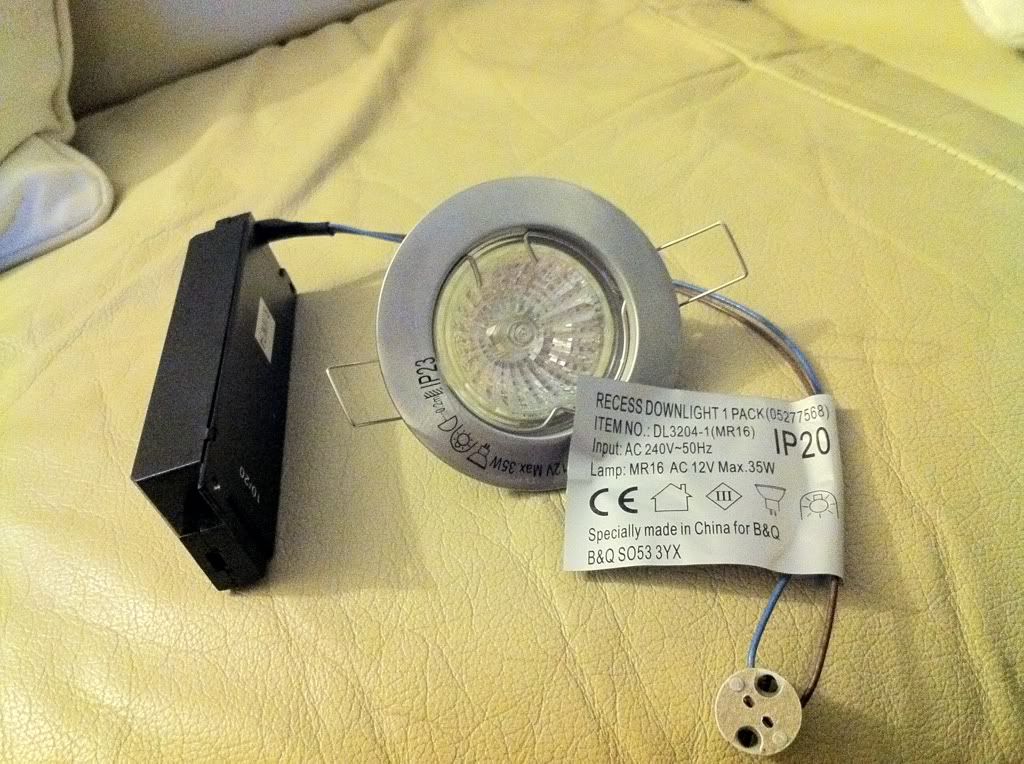
First thing to do is remove the casing from the bulb, done by pinching together the metal clips shown in picture
Cut the resistor off as this is not needed, and strip the end of the wires. And then crimp wires together like so. The connections where £1.02 from B&Q for a bag of 10+
Brown to Black
Blue to Red
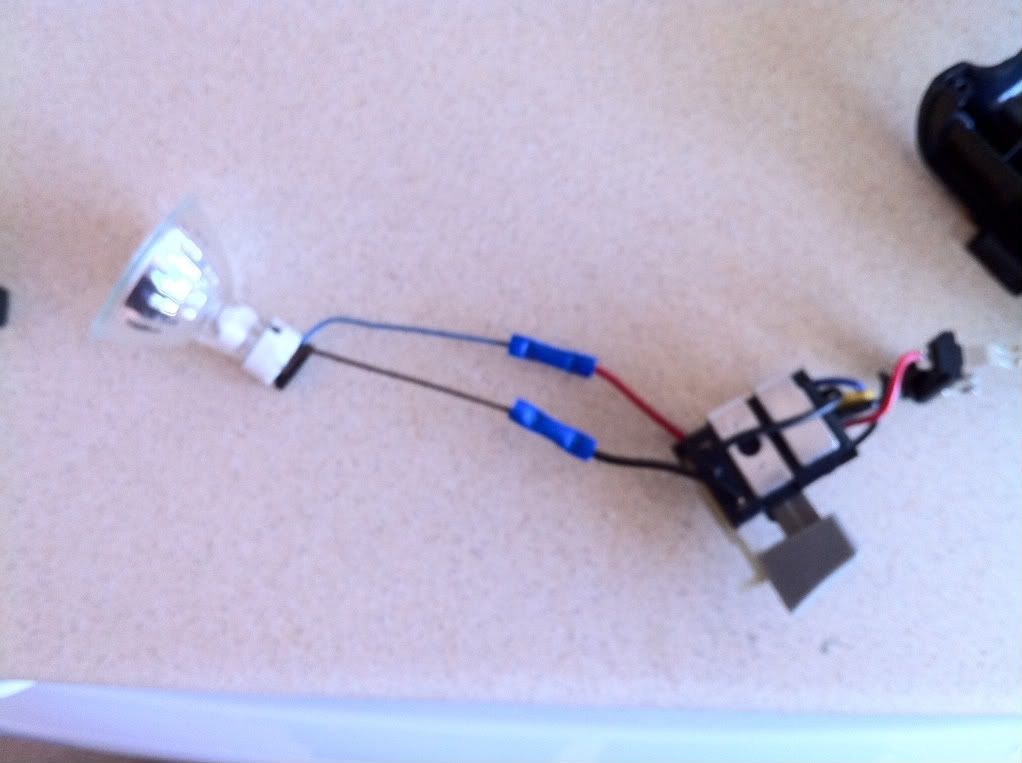
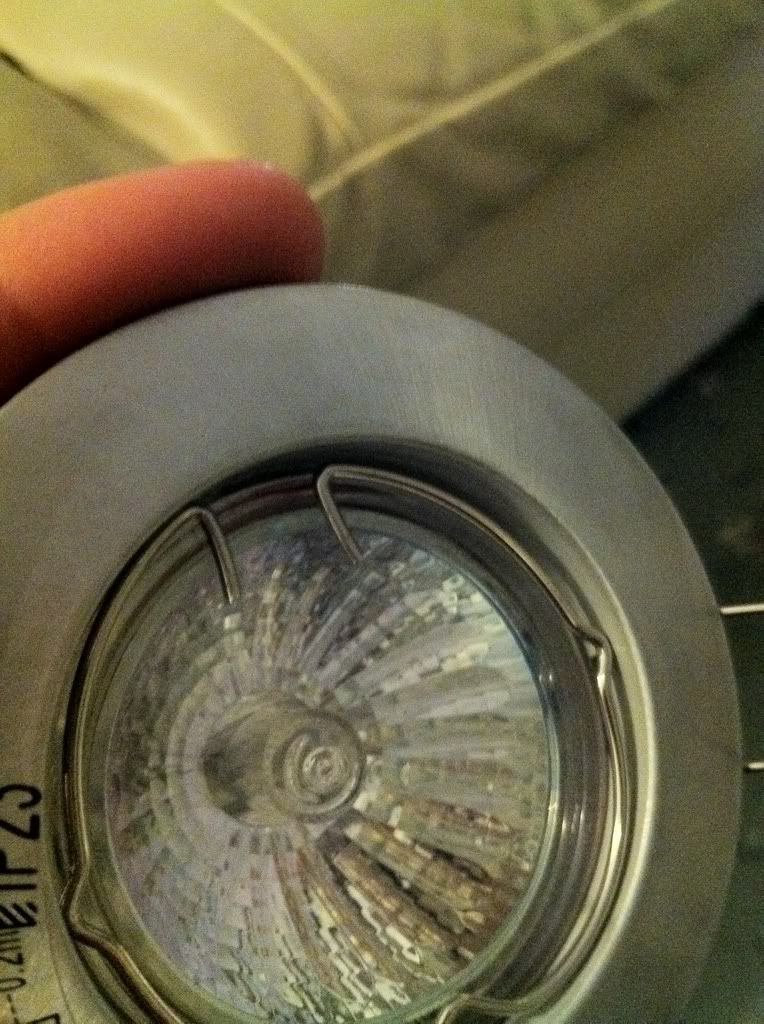
Position the bulb in place, I also glued the bottom of the bulb holder to the support.
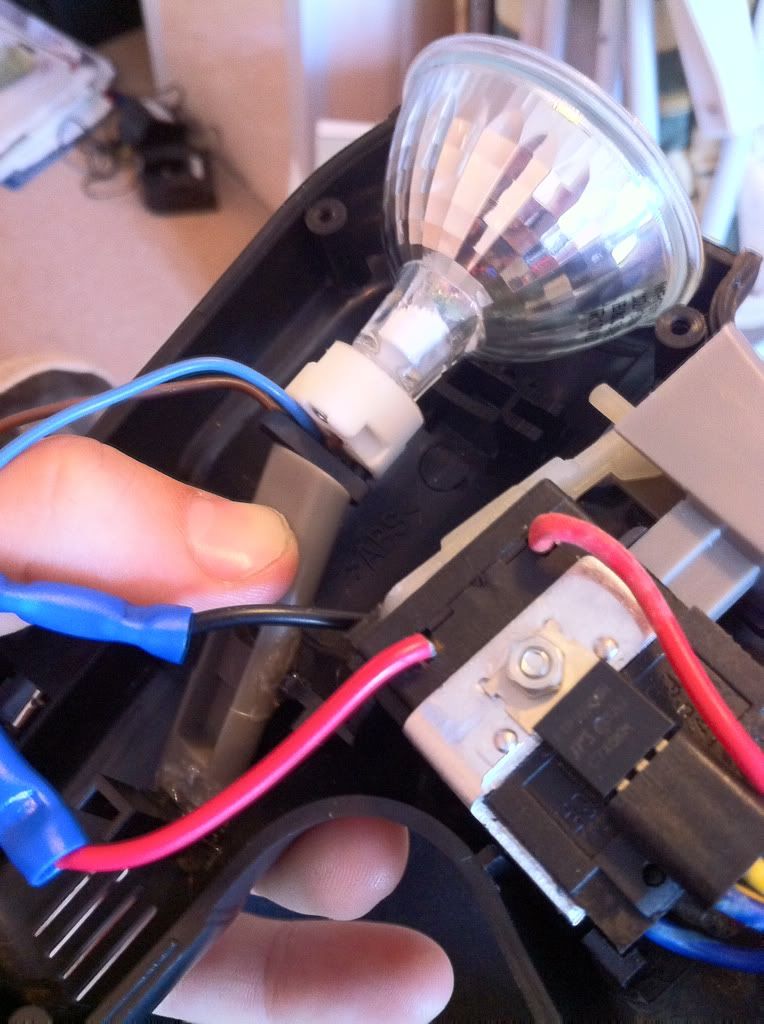
Then when all is dry, I left mine over night just to be sure it was stuck, put the drill back together leaving you with this
A quick test on a scrap bonnet in my garage reveals .....
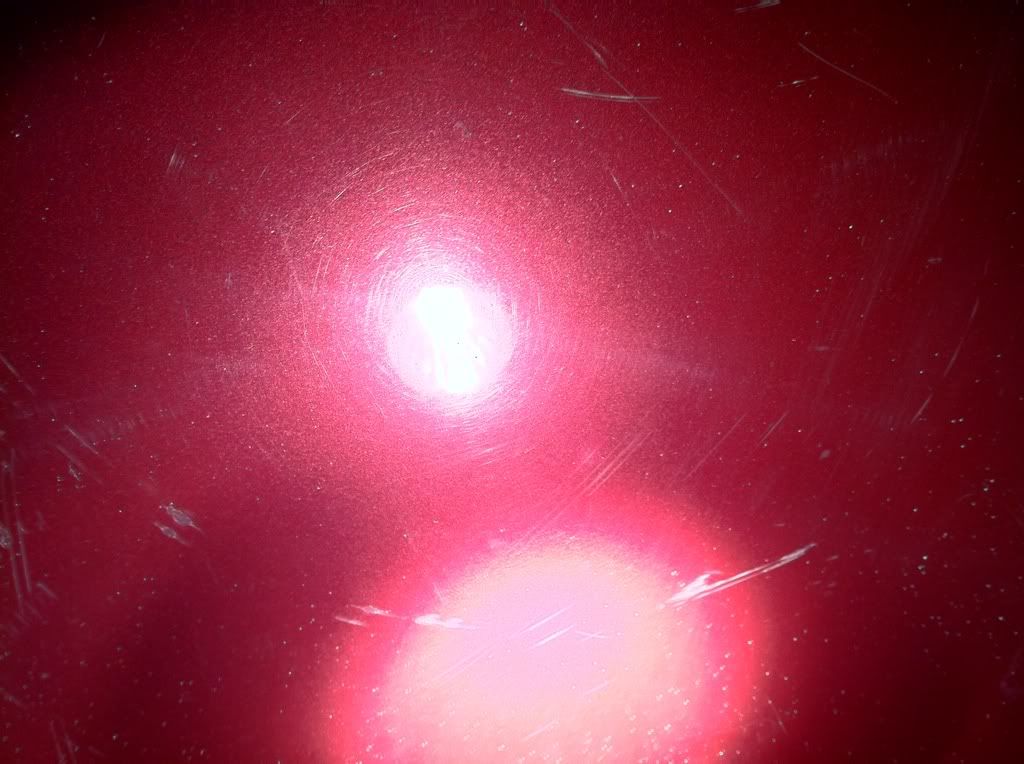
Simple really
Hope this is of use to some people. I shall be using this today when I give my car a good going over!!!
Cheers


 Threaded Mode